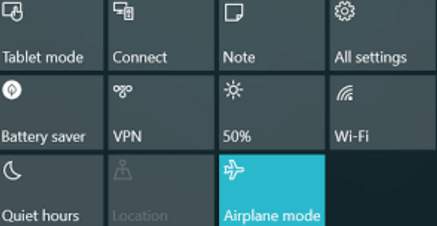
If you are also experiencing airplane mode turns on by itself, or Windows 10 airplane mode stuck problems, here are some methods that you can try on. Please bear in mind that there could be numerous causes to the Wi-Fi not working error, and you should try them one by one until you find out the right solution for you.
Option One: Turn on the physical switch on laptop
Option Two: Modify Network Adapters properties
Option Three: Change Wi-Fi channel value
Option Four: Do some BIOS setting change
Option Five: Update or reinstall Network adapters drivers
Option One: Turn on the physical or soft switch on laptop
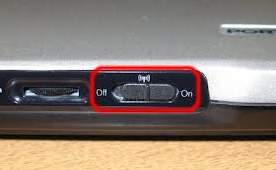
1) There is usually a physical switch on laptops that enables you to turn on and off the wireless connection. Check the sides or the keyboard pane of your computer to see if you can find such a physical switch, if you find it, switch it to the ON mode for your wireless connection.
2) On some laptops, the physical switch might not exist, but there are often shortcut keys or soft switch. You can always see a certain key with the wireless connection sign like the picture below:

Different manufacturer has different shortcut key. Look closer at your keyboard and find out the key. Then press Fn + your shortcut key to activate the Wi-Fi connection.
If problem still cannot be solved after this, please read along.
Option Two: Modify Network Adapters properties
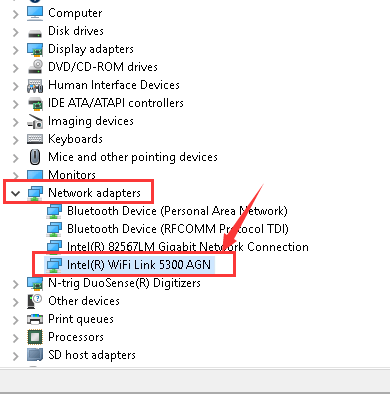
1) Open Device Manager. Expand category Network adapters, then double click the Wi-Fi adapter that you have.
2) Then go to Power Management tab. Under this tab, uncheck Allow the computer to turn off this device to save power. Then click OK to save an exit.
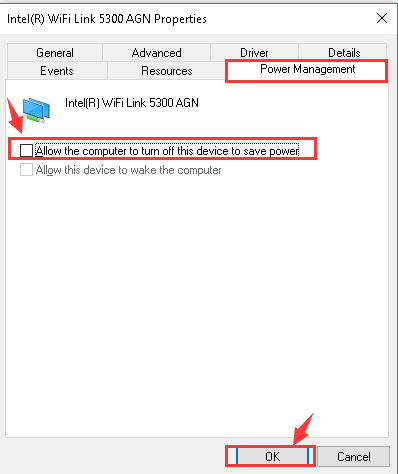
Check to see if your Wi-Fi connection works just fine.
Option Three: Change Wi-Fi channel value
1) Open Device Manager. Expand category Network adapters, then double click the Wi-Fi adapter that you have.
2) Then go to Advanced tab. Under this tab, select 802.11n Channel Width for band 2.4, then change the value to 20 MHz Only. Click OK to save the change and exit.
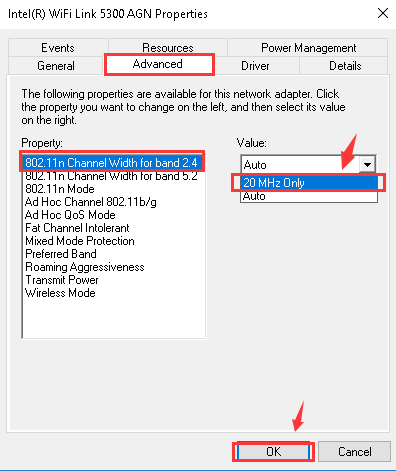
Your Wi-Fi connection should be working now.
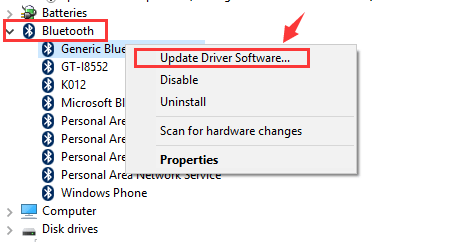
3) When you are able to connect to the Internet, you should update your wireless driver right away. Go back to Network adapters in Device Manager again. This time, right click your wireless connection device and choose Update Driver Software….
4) Then choose Search automatically for updated software.
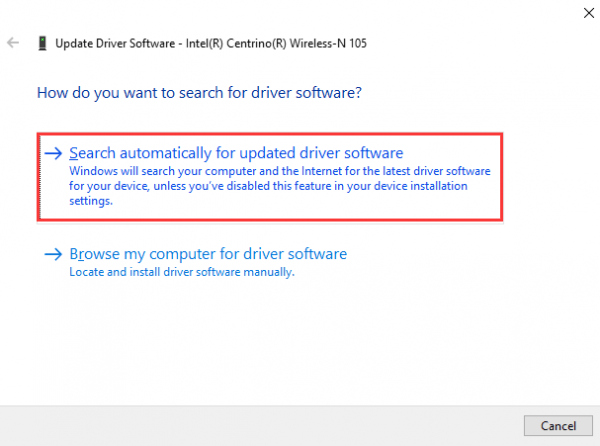
5) Wait for Windows to update the wireless connection device driver for you.
Option Four: Do some BIOS setting change
Some users mentioned that this error could be triggered by the changed settings in BIOS. So to tackle this problem, it is necessary for you to go into BIOS and do some changes. Don’t worry, it is not rocket science, you can do it by yourself by following the instructions below.
Before you go to BIOS configuration, you should know which key or combination of keys you should press to enter the configuration. For example, in ASUS laptop, the keys are Fn+F2. You can refer to the manual you have or go to the manufacturer website to search for the information.
1) In your computer desktop, click the Start button and then Shut down your computer.

2) Press and hold the button that allows you to go to the BIOS configuration and then click the power button. Do not release until the BIOS screen display.
3) Then you will see yourself at BISO configuration screen. Use your arrow to navigate to Advanced tab > Onboard Device Configuration > Onboard WLAN/ WiMax > enabled. Please note that there could be some minor differences among different brands of computer, so it is suggested that you go through your manual or the support website of your computer for more information.
4) Restart your computer to normal mode. The Wi-Fi connection should be working now.
Option Five: Reinstall Network adapters drivers
It is suggested that you download the wireless driver for your computer first from the support website of your manufacturer before proceeding this option.
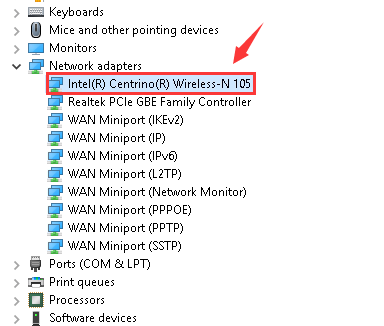
1) Open Device Manager. Expand category Network adapters, then double click the Wi-Fi adapter that you have.
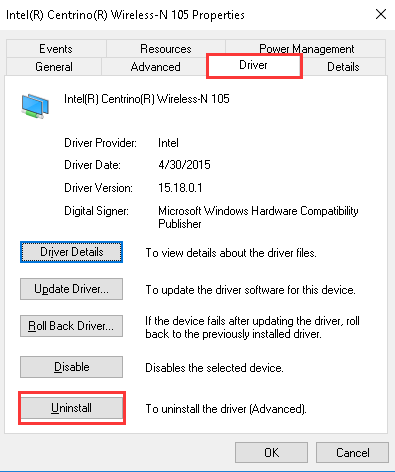
2) Go to Driver tab and choose Uninstall.
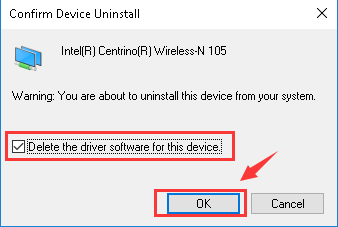
3) Make sure the Delete the driver software for this device option it checked. Then click OK to confirm and continue.
4) Now, manually install the wireless network device driver that you have downloaded onto your system.
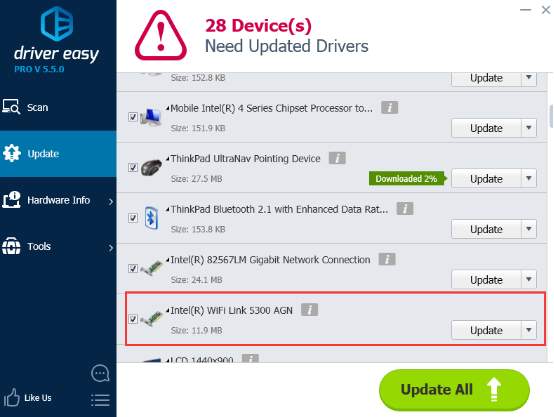
Alternatively, if you don’t want to go through such excruciating steps, you can have a try at Driver Easy. It is a product that helps you with the detect, download and install of the drivers you need on your computer. What’s more, it is very easy to use. All you need to do is to press two buttons, scan and update. Then your drivers will be up-to-date.