


Many Destiny 2 players are reporting that they get the error ‘You have lost connection to the Destiny 2 servers. Your permissions to access online multiplayer gameplay may have changed or your profile may have been signed in elsewhere.‘ and wonder how to solve this error instead of waiting for a few minutes, perhaps for days.
Why am I receiving this error?

Check the status of the Destiny 2 servers. If the server itself is not down at the moment, the potential causes of the ‘You have lost connection to the Destiny 2 servers’ error are listed below:
- Your account does not have an active PlayStation Plus or Xbox Live Gold subscription, or the subscription has expired
- The account has been signed into another console
- PlayStation Plus or Xbox Live may be undergoing maintenance or connection issues
- The consoles were recently switched between a wired or wireless connection without the console’s network settings being updated to match the new connection type
- Internet-related issues
If you’re encountering this error constantly, you may want to use the following troubleshooting steps:
Fix 1. Clear the cache
If you have an active membership and you’re quite sure that you’re not using your account on any other consoles (how to prevent unauthorized logins) but the error code persists, you can try clearing the cache to see if it helps:
Clearing the console cache
- Power off the console
- Once the console is completely powered down, unplug the power cord from the back of the console
- Let the console sit unplugged for at least 5 minutes
- Plug the power cord back into the console and power it on
- Re-launch the Destiny 2 game
Clearing the Steam cache
- From your Steam Client, go to Setting > Downloads from the top left client menu.
- Click the CLEAR DOWNLOAD CACHE button at the bottom.
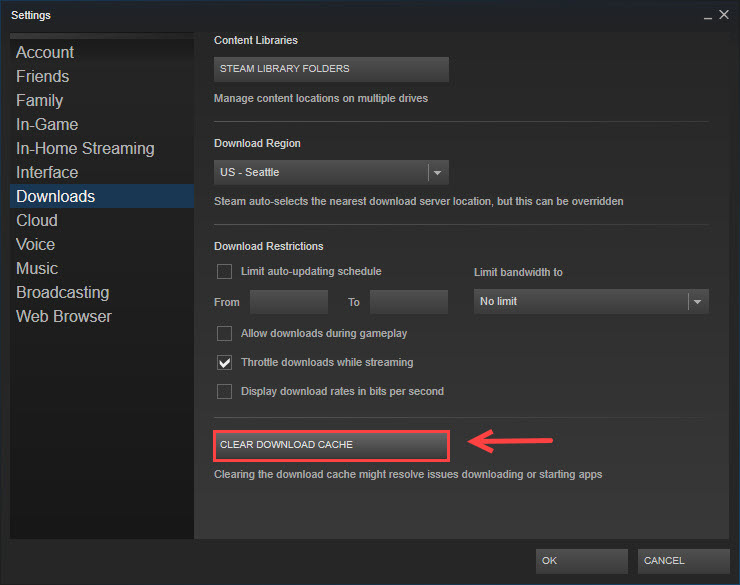
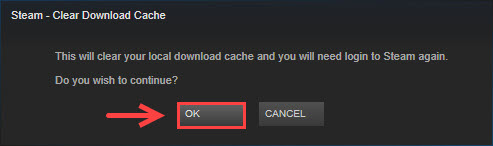
- Then select OK to confirm and acknowledge that you’ll need to log in to Steam again.
This process will not affect your currently installed games, but you will need to log into Steam afterwards.
Fix 2. Switch to a wired connection
While Destiny can be played with a strong and stable WiFi connection, many players have found that using WiFi can increase the likelihood that they will lose their connection to Destiny’s services. So we recommend a wired connection if possible. In addition, Destiny requires sufficient bandwidth to function at an optimal level.
However, if you need to play it on WiFi, you may want to improve the stability of your WiFi connection:
- Move the console/computer as close as possible to the WiFi source.
- Turn off or disable all other devices connected to the WiFi network while playing Destiny 2.
- Avoid obstructions between the console/computer and the WiFi source whenever possible, especially large appliances or other electronics.
Fix 3. Update your network adapter driver
If you are unable to get past sign-in due to “Unable to Connect” and changing to a wired connection still doesn’t work then there might be something with your network adapter driver or your network settings. Try updating or reinstalling the network adapter driver and check if it fixes the ‘You have lost connection to the Destiny 2 servers‘ error.
If you don’t have the time, patience or computer skills to update your drivers manually, you can do it automatically with Driver Easy.
Driver Easy will automatically recognize your system and find the correct drivers for it. You don’t need to know exactly what system your computer is running, you don’t need to risk downloading and installing the wrong driver, and you don’t need to worry about making a mistake when installing. Driver Easy handles it all.
You can update your drivers automatically with either the Free or the Pro version of Driver Easy. But with the Pro version it takes just 2 clicks (and you get full support and a 30-day money back guarantee):
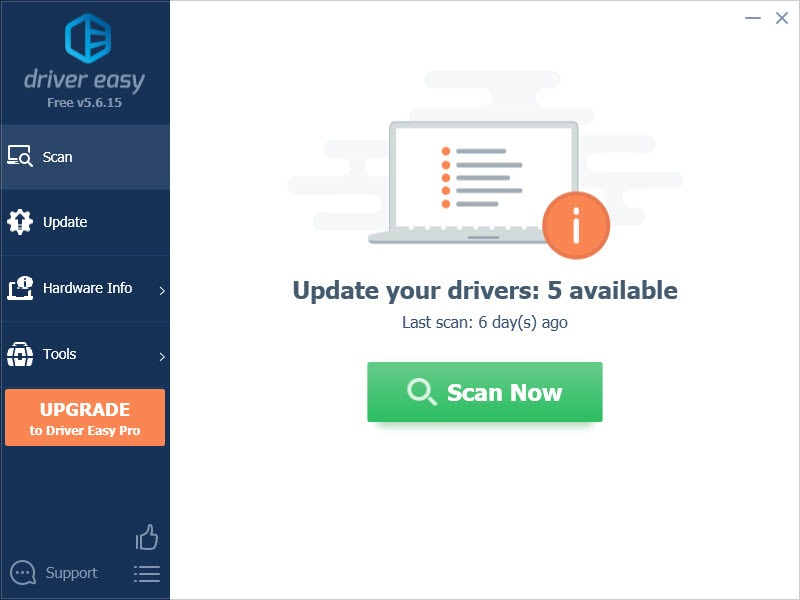
- Download and install Driver Easy.
- Run Driver Easy and click the Scan Now button. Driver Easy will then scan your computer and detect any problem drivers.
- Click the Update button next to the flagged network adapter driver to automatically download the correct version of that driver, then you can manually install it (you can do this with the FREE version).
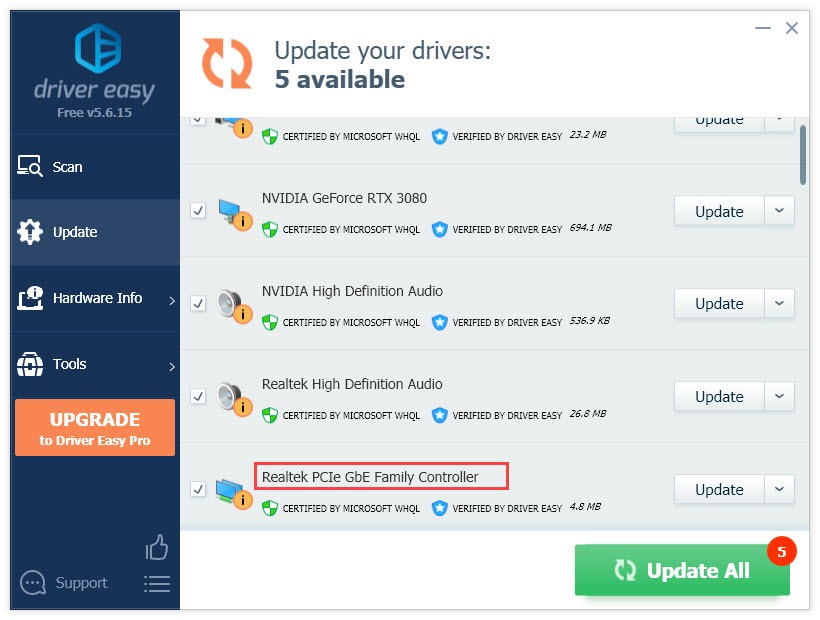
Or click Update All to automatically download and install the correct version of all the drivers that are missing or out of date on your system. (This requires the Pro version which comes with full support and a 30-day money back guarantee. You’ll be prompted to upgrade when you click Update All.) - Once the driver is updated, reboot your PC for the changes to take effect.
Fix 4. Perform a network reset
Performing a network reset potentially fixes any strange settings that may be preventing you from connecting, thus solve your ‘You have lost connection to the Destiny 2 servers‘ error. Here’s how:
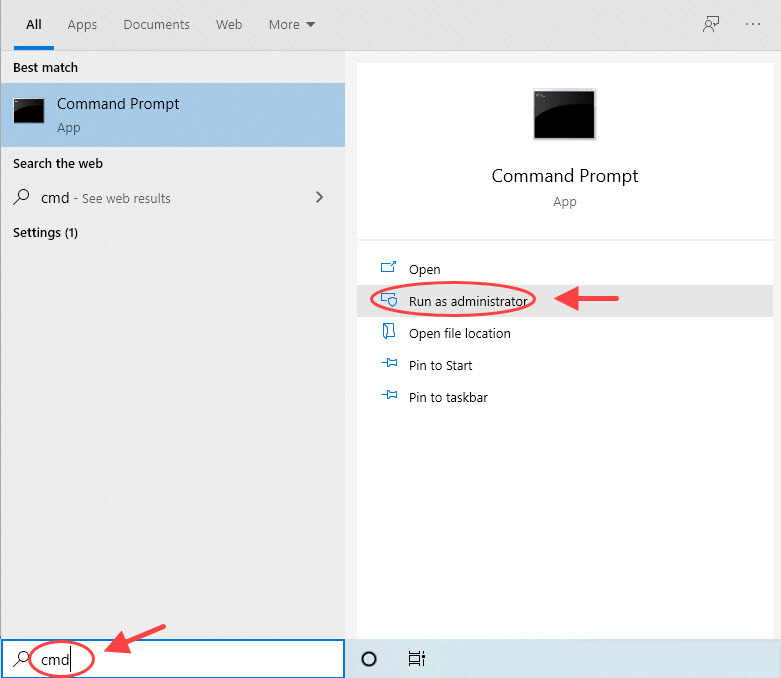
- In the Windows search box, type cmd. Under Command Prompt, select Run as administrator.
- Click OK to confirm your action.
- Once the Command Prompt window is open, type the following command lines (press Enter after entering each command line):
netsh winsock resetnetsh int ip resetipconfig /releaseipconfig /renewipconfig /flushdns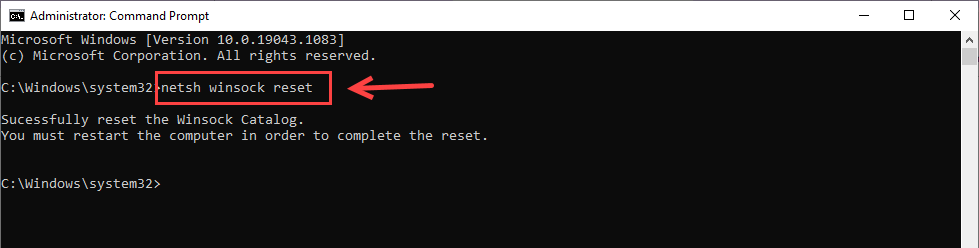
- You’ll need to restart your computer for the changes to take effect.
Fix 5. Change your DNS server
Some Destiny players find it helps when they change the DNS server to Google 8.8.8.8 and 4.4.4.4. Below you’ll find the exact steps to do that:
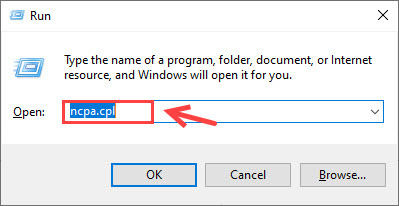
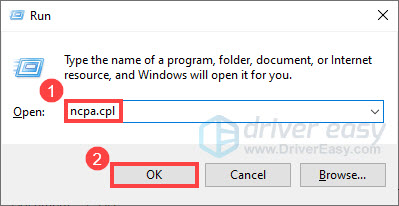
- On your keyboard, press the Windows + R key at the same time to open the Run dialog box.
- Type in ncpa.cpl and press Enter.
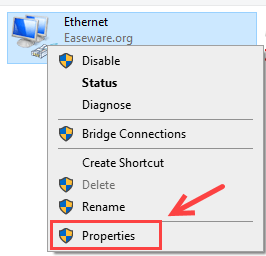
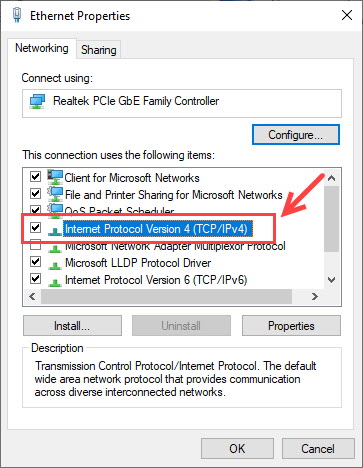
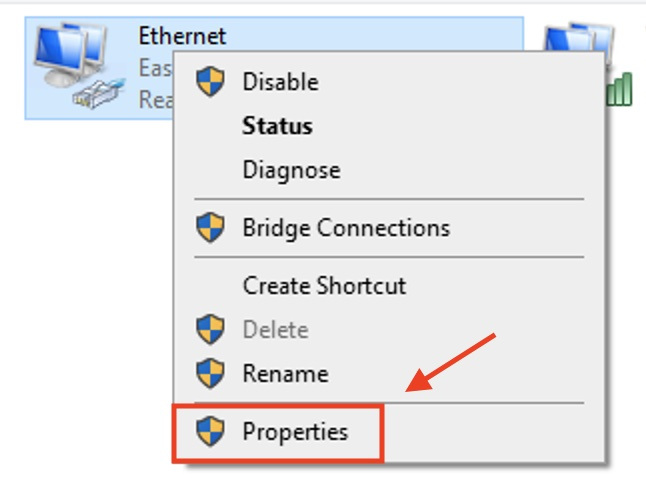
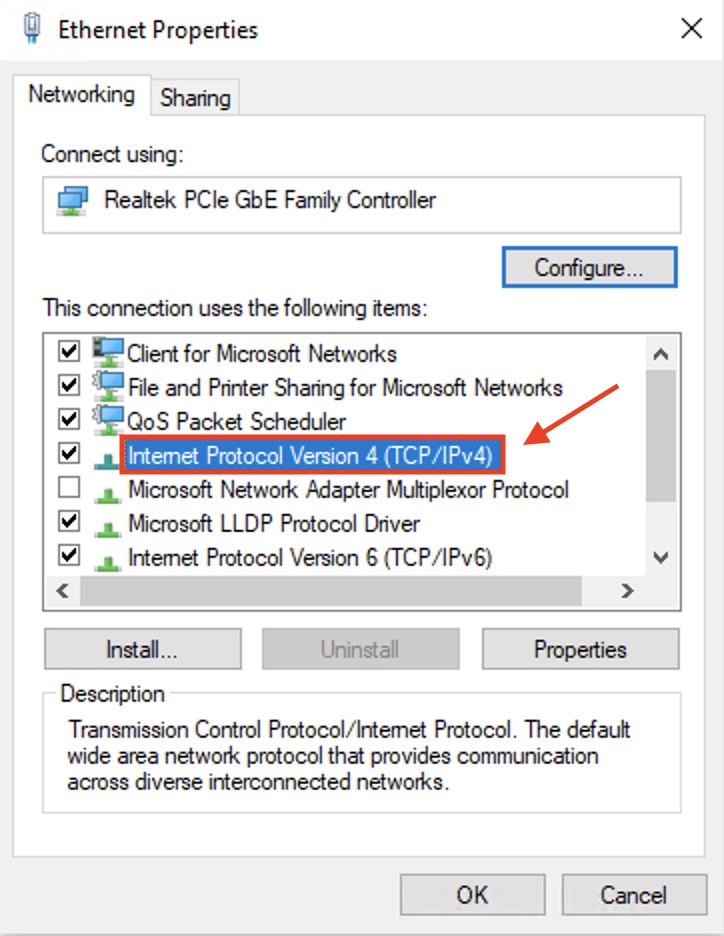
- Right-click your current network connection, and select Properties.
- Double-click Internet Protocol Version 4 (TCP/IPv4).
- Select Use the following DNS server addresses and fill in the Google DNS servers:
Preferred DNS server: 8.8.8.8
Alternate DNS server: 8.8.4.4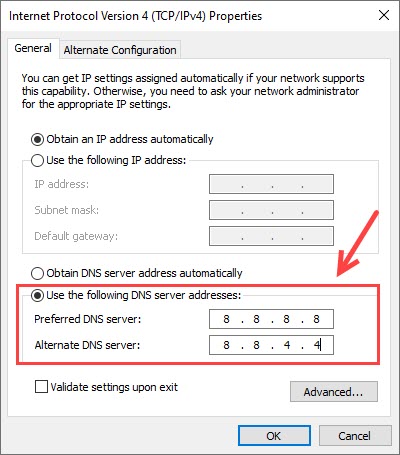
- Click OK to apply.
Fix 6. Enable UPnP or Port Forwarding
If you worked hard through the basic troubleshooting guide but still the error ‘You have lost connection to the Destiny 2 servers‘ persists, you can try setting up UPnP or Port Forwarding (we don’t recommend doing both of them).
Option 1. Enable UPnP
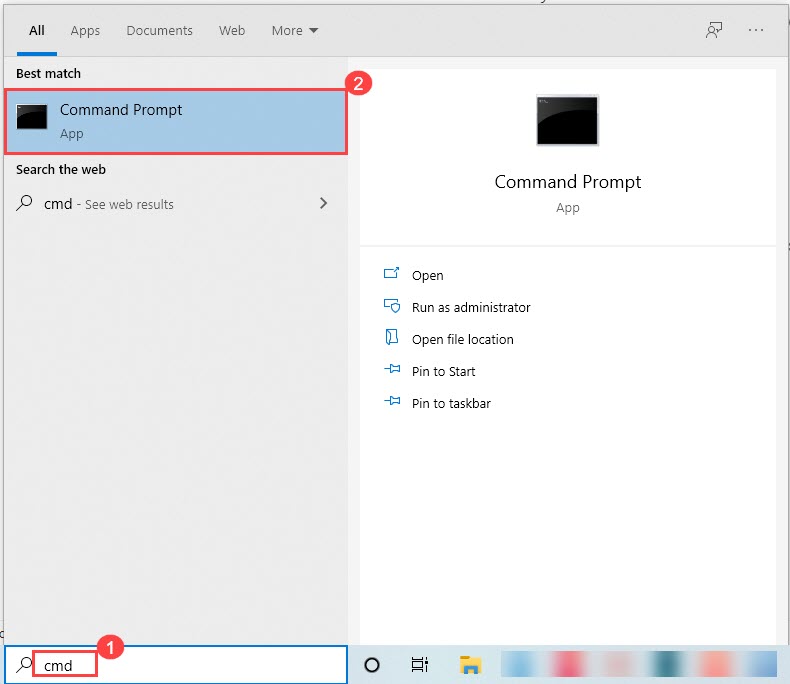
- In the Windows Seach bar, type in cmd and select Command Prompt.
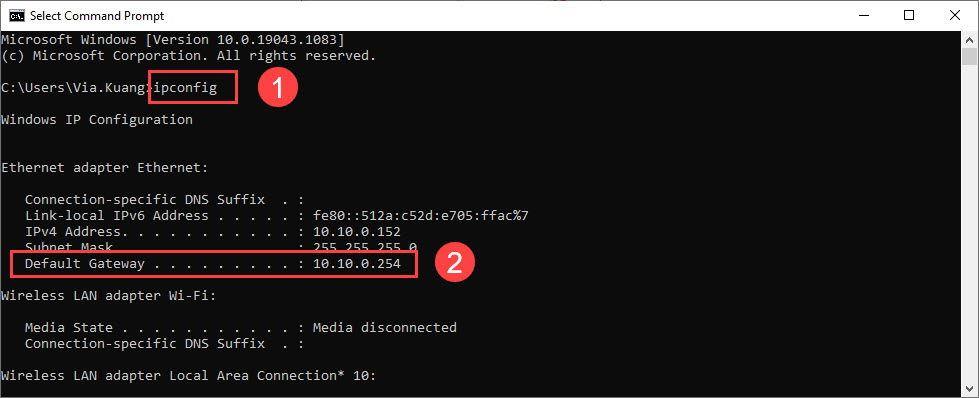
- Get your Router’s internal IP (Default Gateway) by entering ipconfig in Command Prompt.
- Copy-paste the Default Gateway address into your computer’s browser, and log in with the correct user name and password.
- Find the UPnP setting, usually located under the “LAN” or “Firewall” category.
- Enable UPnP and click Save to apply the changes.
- Disconnect and reconnect all devices on the network.
Option 2. Enable Port Forwarding
If you can’t use UPnP or don’t feel like it, you can enable Port Forwarding to allow all the connections Destiny needs. Note that you won’t be able to use more than one console to play Destiny on the same network simultaneously when using Port Forwarding. If you need this feature, I suggest you choose
Step 1. Information you’ll need
- Type cmd in the Windows search bar and select Command Prompt.
- Type in ipconfig /all and press Enter.
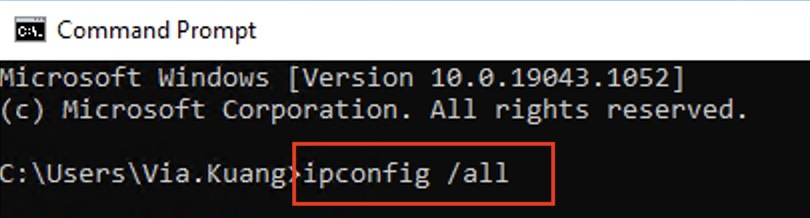
- Take tote of the following: IPv4 Address, Subnet Mask, Default Gateway and DNS Servers.
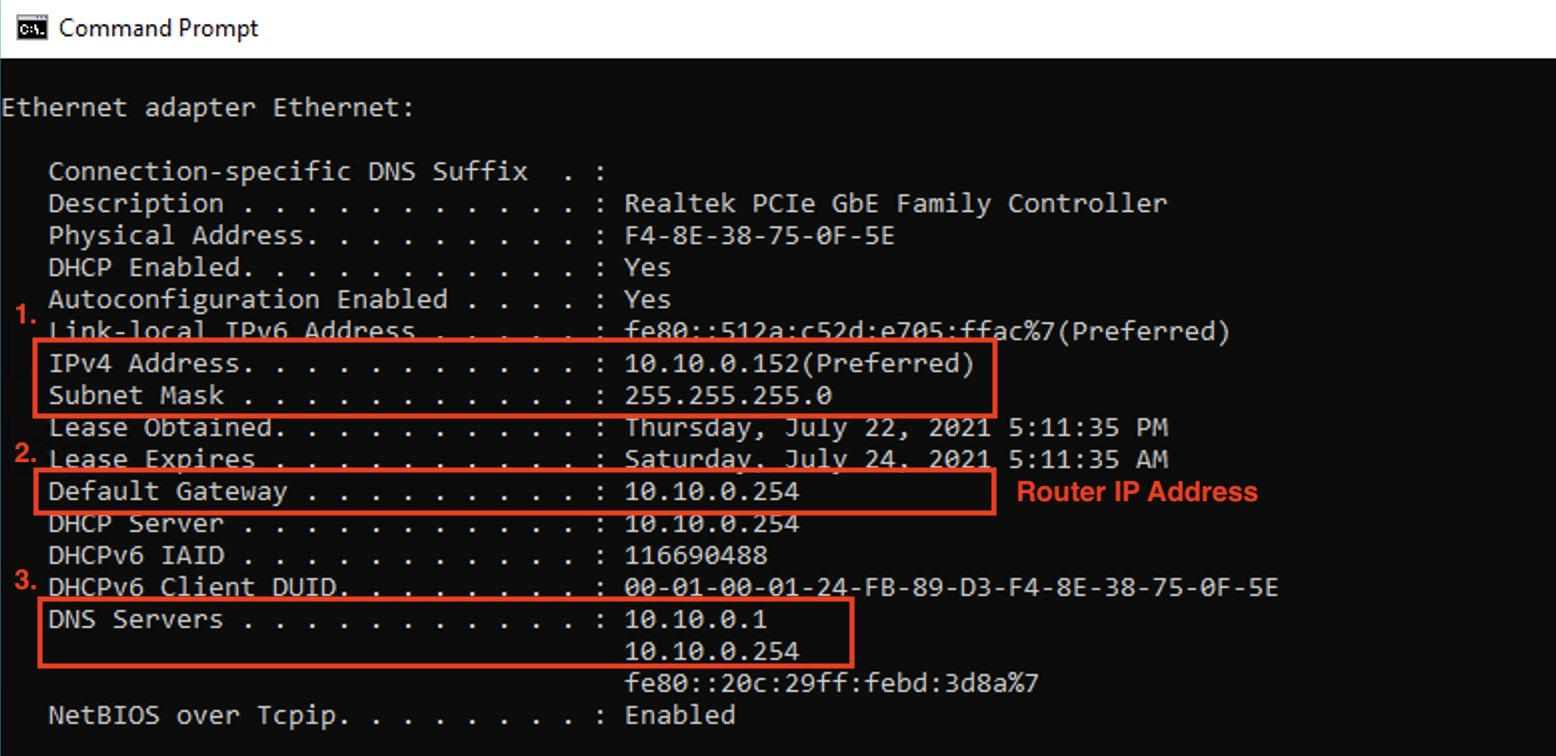
Note: Default Gateway is your router’s IP Address, which you can copy-paste to your browser’s address bar.
Step 2. Set up the static IP address
It’s recommended that you also assign a Static IP address to your computer or console to make port forwarding easier.
- On your keyboard, press the Windows key + R to open the Run box. Then enter ncpa.cpl, and select OK to open Network Connections.
- Right-click your current connection, and select Properties.
- Double-click Internet Protocol Version 4 (TCP/IPv4) from the list.
4. Select Use the following IP address, and Use the following DNS server automatically, and enter the details you copied from Command Prompt: IP address, subnet mask, default gateway, and DNS servers.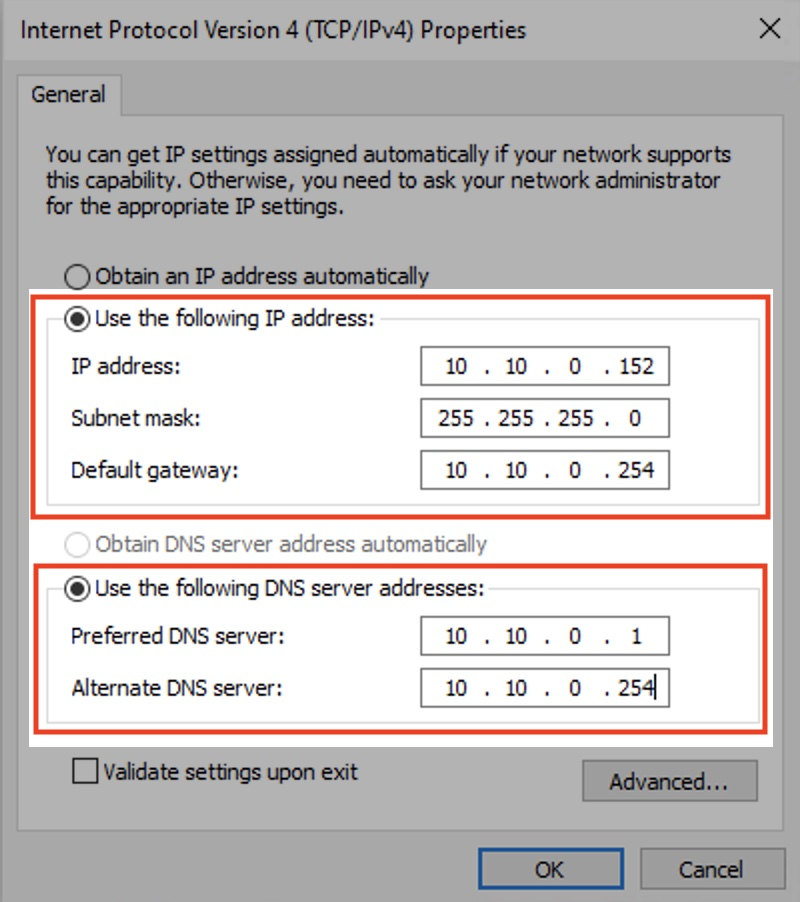
- Click OK to apply.
Step 3. Set up Port Forwarding
- On your web browser, enter the IP address of the router (Gateway Address).
- Enter the admin credentials (the username and password may differ based on the brand you are using).
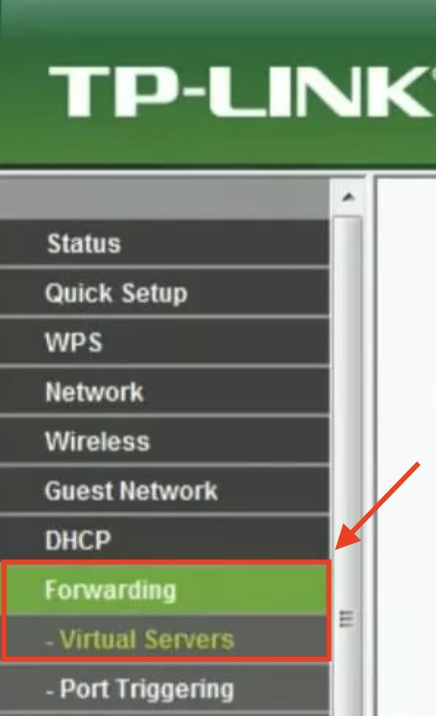
- Search for the Port Forwarding or Advanced or Virtual Server section.
- Enter the IP Address of your PC in the relevant box.
- Choose both TCP and UDP ports for your games in the appropriate box.
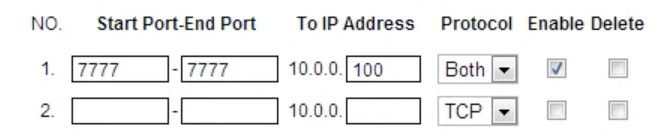
- Once complete, enable the port forwarding rule with an Enable or On option.
Ports that should be OPEN
| Platform | TCP Destination Ports | UDP Destination Ports |
| Xbox Series X|S | 53, 80, 3074 | 53, 88, 500, 3544, 3074, 27015-27200 |
| PlayStation 5 | 80, 443, 1935, 3478-3480 | 3478, 3479, 49152-65535, 27015-27200 |
| PlayStation 4 | 80, 443, 1935, 3478-3480 7500-7509 30000-30009 | 2001, 3074-3173, 3478-3479, 27015-27200 |
| Xbox ONE | 53, 80, 443, 3074 7500-7509 30000-30009 | 53, 88, 500, 3074, 3544, 4500, 1200-1299, 1001, 27015-27200 |
| PC | 80, 443, 1119-1120, 3074, 3724, 4000, 6112-6114 7500-7509 30000-30009 | 80, 443, 1119-1120, 3074, 3097-3196, 3724, 4000, 6112-6114, 27015-27200 |
| PlayStation 3 | 80, 443, 5223, 3478-3480, 8080 7500-7509 30000-30009 | 3478-3479, 3658 3074, 1001 |
| Xbox 360 | 53, 80, 443, 3074 7500-7509 30000-30009 | 53, 88, 3074, 1001 |
Ports that should be FORWARDED
| Platform | TCP Destination Ports | UDP Destination Ports |
| Xbox Series X|S | 3074 | 88, 500, 3074, 3544, 4500 |
| PlayStation 5 | If your router supports Protocol Both, use 1935,3074,3478-3480If not, use 1935, 3478-3480 | 3074, 3478-3479 |
| PlayStation 4 | 1935, 3478-3480 | 3074, 3478-3479 |
| Xbox ONE | 3074 | 88, 500, 1200, 3074, 3544, 4500 |
| PC | N/A | 3074, 3097 |
| PlayStation 3 | 3478-3480, 5223, 8080 | 3074, 3478-3479, 3658 |
| Xbox 360 | 3074 | 88, 3074 |
Did the workarounds above do the trick for you? If unfortunately no, you can try reinstalling the game. But if the error ‘You have lost connection to the Destiny 2 servers.‘ persists, for the most time, the problem isn’t likely on your end, there’s no point in worrying further. You may need to wait for a few days for the problem to go away automatically.