


Don’t know how to edit videos in Windows 10? Don’t worry! Editing videos in Windows 10 is pretty easy! After reading this post, you should be able to edit your videos in Windows 10 quite easily and easily!
Try these methods
Method 1: Edit videos with the Photos app
The Photos app is one of the built-in apps in Windows 10. Although it is called Photos, it can also be used to do some simple video editing tasks.
In the Photos app, you can not only trim your videos, but also add slo-mo and 3D effects to your videos. You can follow the instructions below to edit your videos in the Photos app:
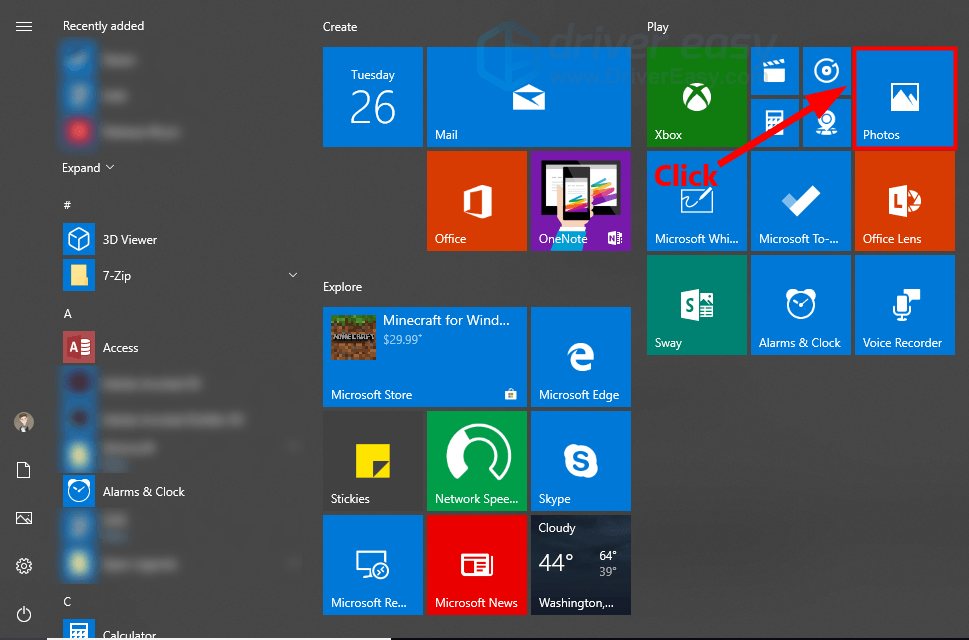
1) On your keyboard, press the Windows logo key and then click on the icon of the Photos app.
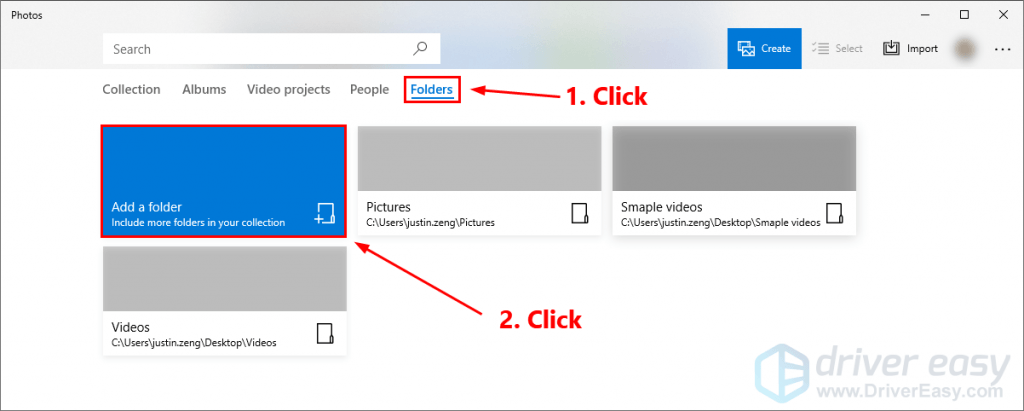
2) Navigate to the Folders tab, then click Add a folder to add the folder that contains the video(s) you’re going to edit.
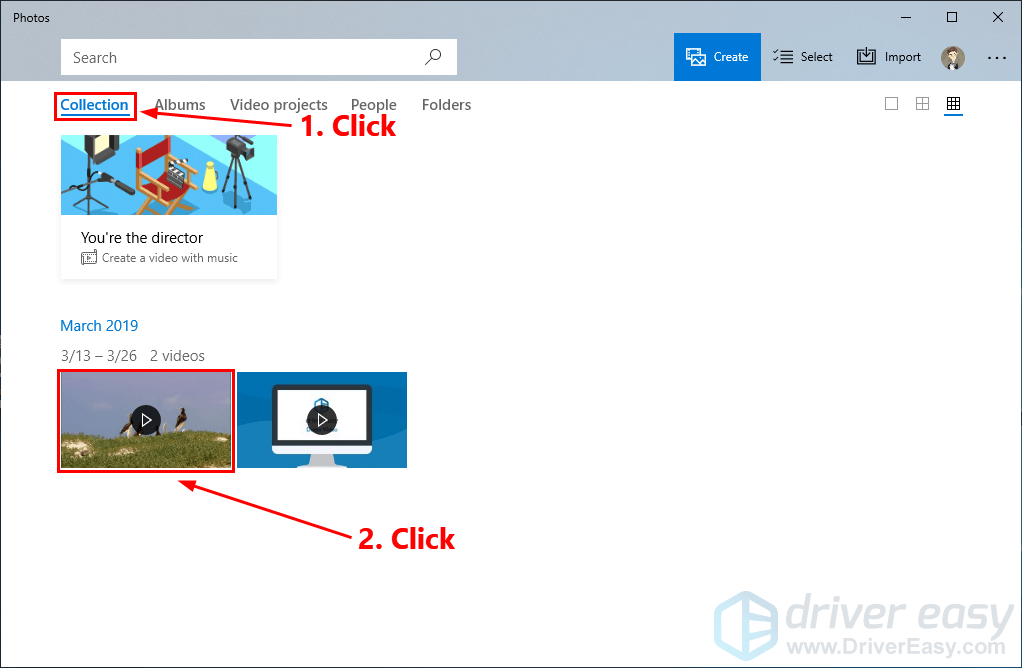
3) Click the Collection tab. Normally, you should be able to see the videos you want to edit. Click on it to play it in the Photos app.
To trim your videos:
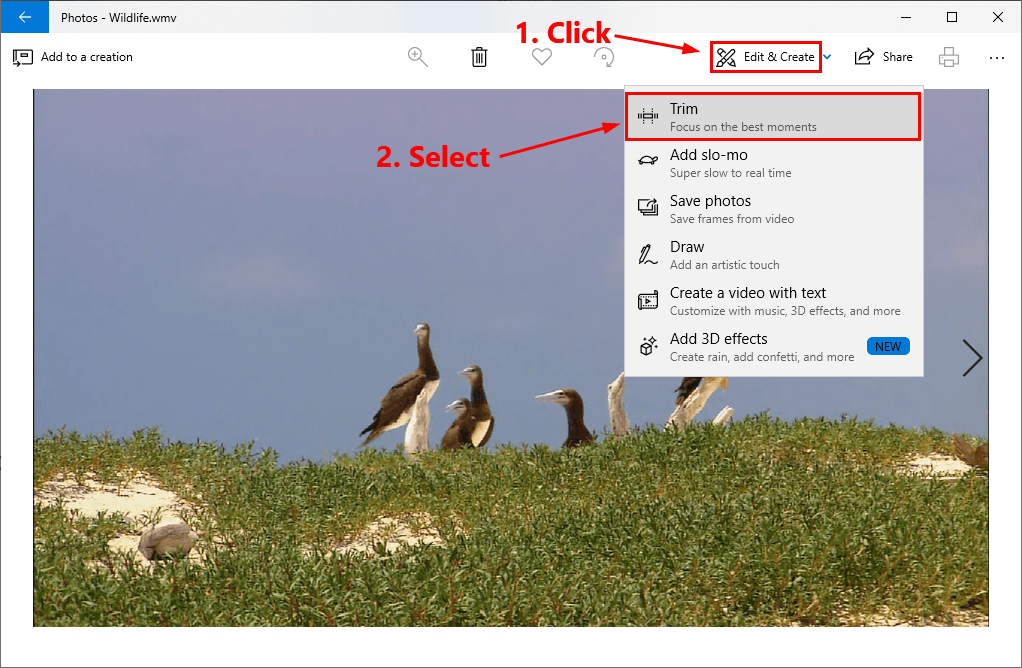
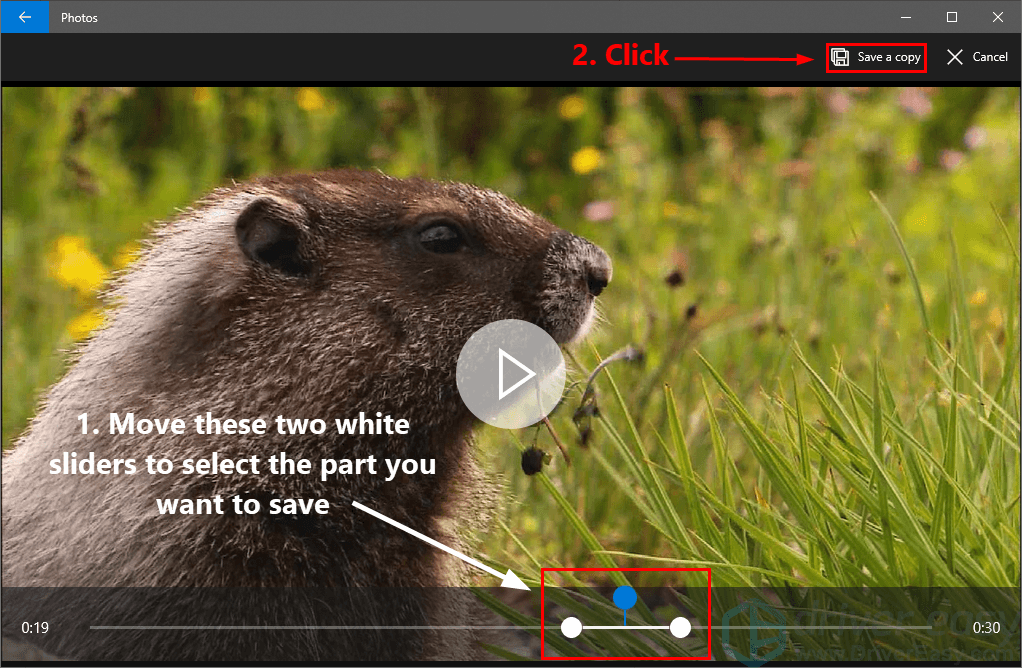
i. While playing the video, click Edit & Create and select Trim.
ii. Move these two white sliders to select the part you want to save. Then click Save a copy.
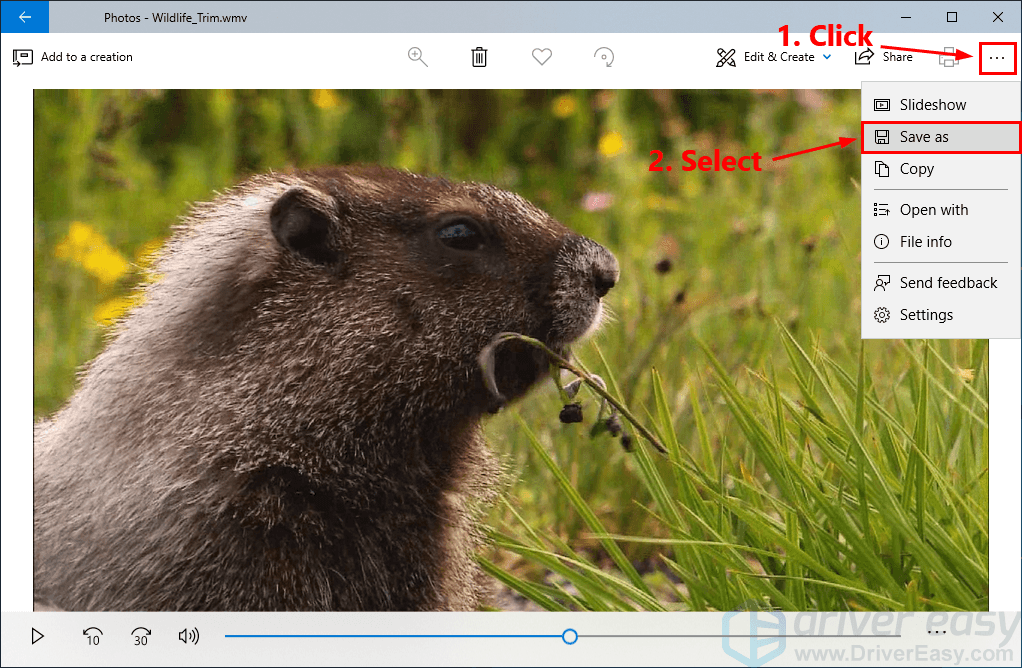
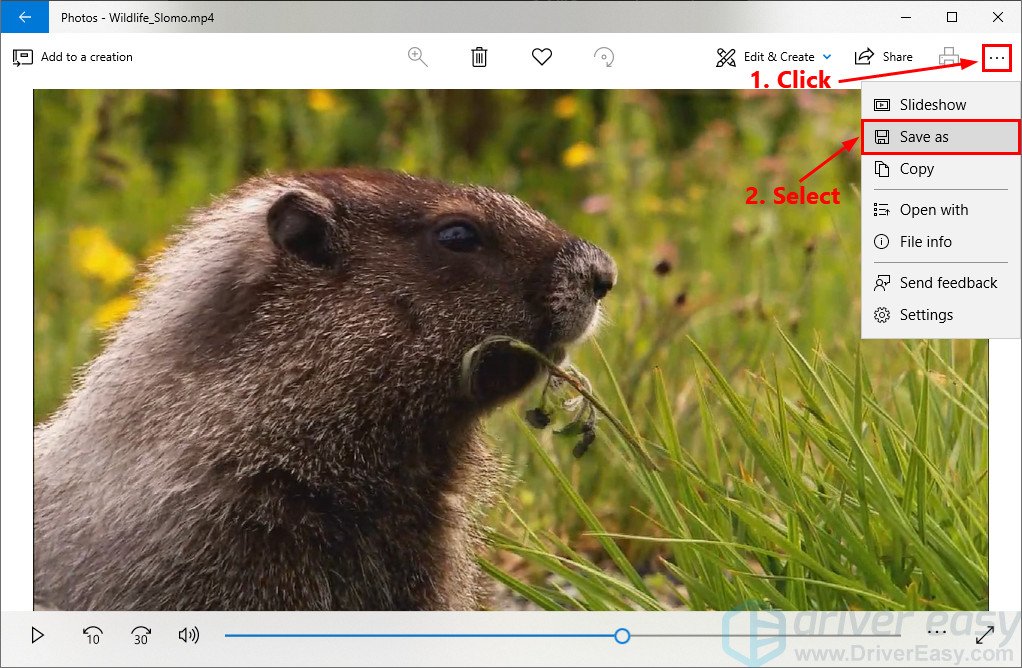
iii. To save the trimmed video, click the menu button on the upper-right corner and select Save as, then find a folder to save it.
To add slo-mo to your video:
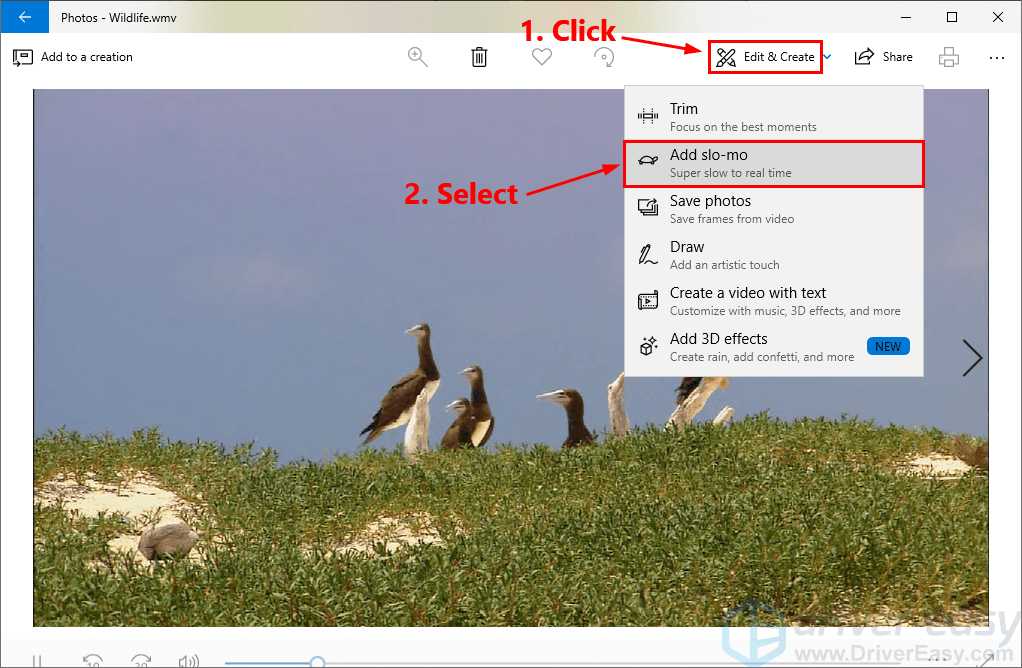
i. While playing the video, click Edit & Create, then select Add slo-mo.
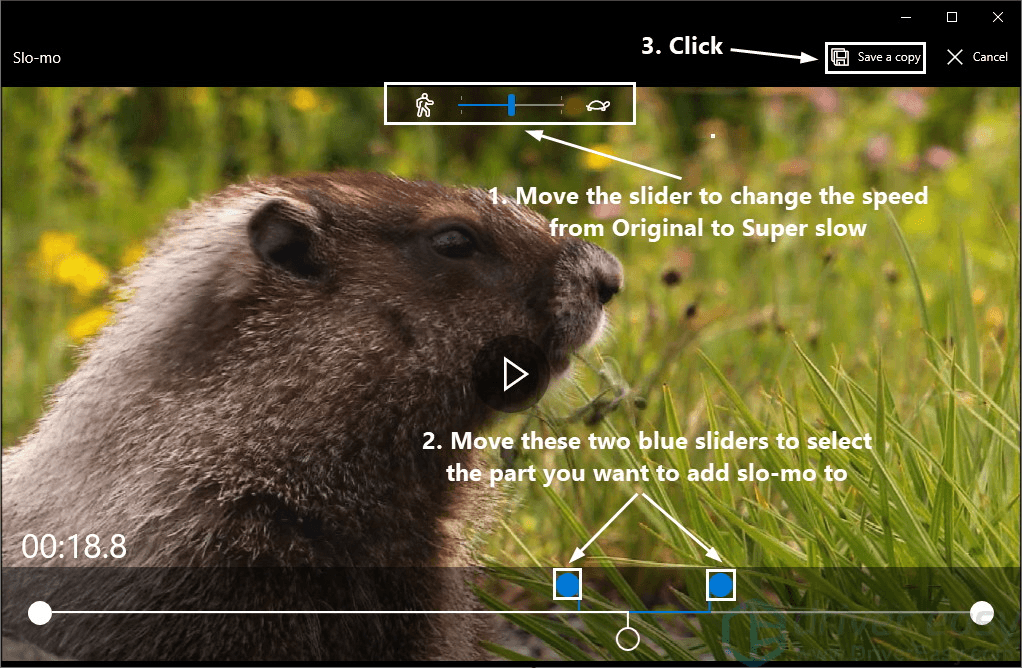
ii. On the top of the video, move the slider to set a speed rate. By moving the slider from the left to the right, you can change the speed from Original to Super slow. If you set the speed to Slower, you’ll see two small blue sliders in the play progress bar. Move these two blue sliders to select the part you want to add slo-mo to. Then click Save a copy.
iii. Click the menu button on the upper-right corner and select Save as to save the slo-mo you’ve added to your video.
To add 3D effects to your video:
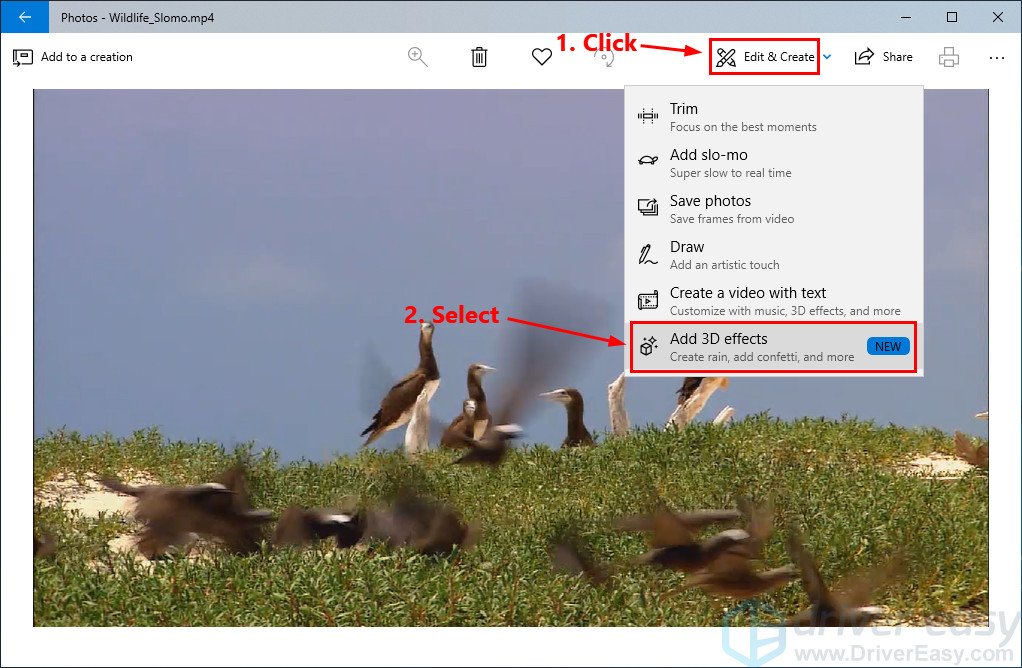
i. While playing the video, click Edit & Create, then select Add 3D effects.
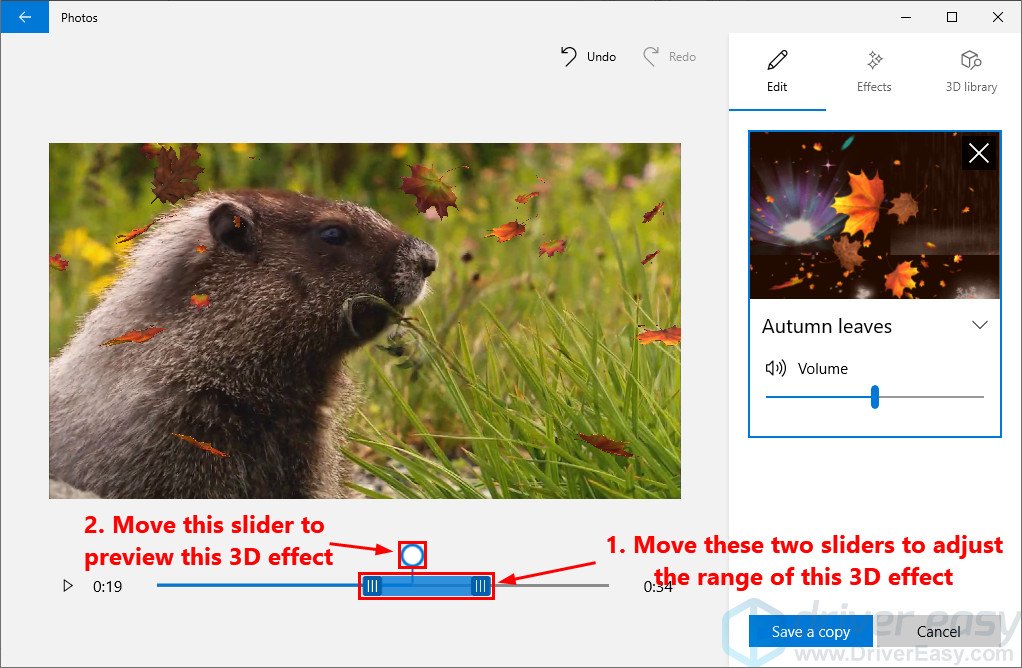
ii. Move the slider to the part you want to add 3D effects to. Then select a 3D effect from the right panel. You can also navigate to the 3D library tab to find more 3D effects.

iii. Move these two sliders on the play progress bar to adjust the range of this 3D effect. If you want to preview the effect, simply move the small round slider.
iv. Move the small round slider to another part of the video and follow the steps above to add the second 3D effect.
v. Click Save a copy to export your video.

With the Photos app in Windows 10, it’s pretty easy to do some simple video editing works. However, for some complicated video editing tasks, it’s not an ideal way to complete the task with the Photos app.
Method 2: Edit videos with a professional video editing software
In most cases, a professional video editing software is all you need to empower your imagination and creativity. With a professional video editing tool, you can edit your videos efficiently and creatively. If you have no idea what video editing software you should use, here we recommend the following two video editing software to you.
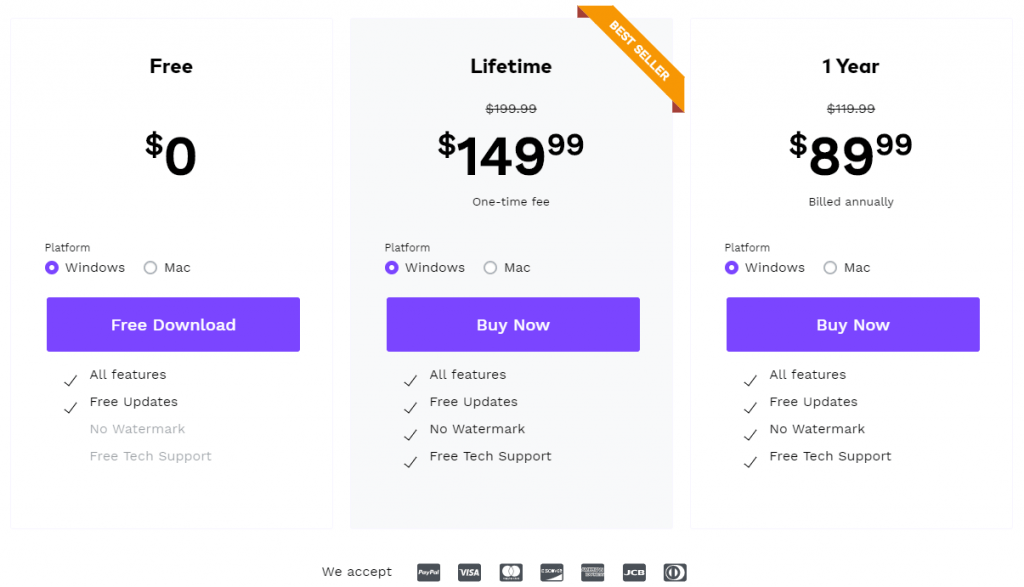
Wondershare FilmoraPro
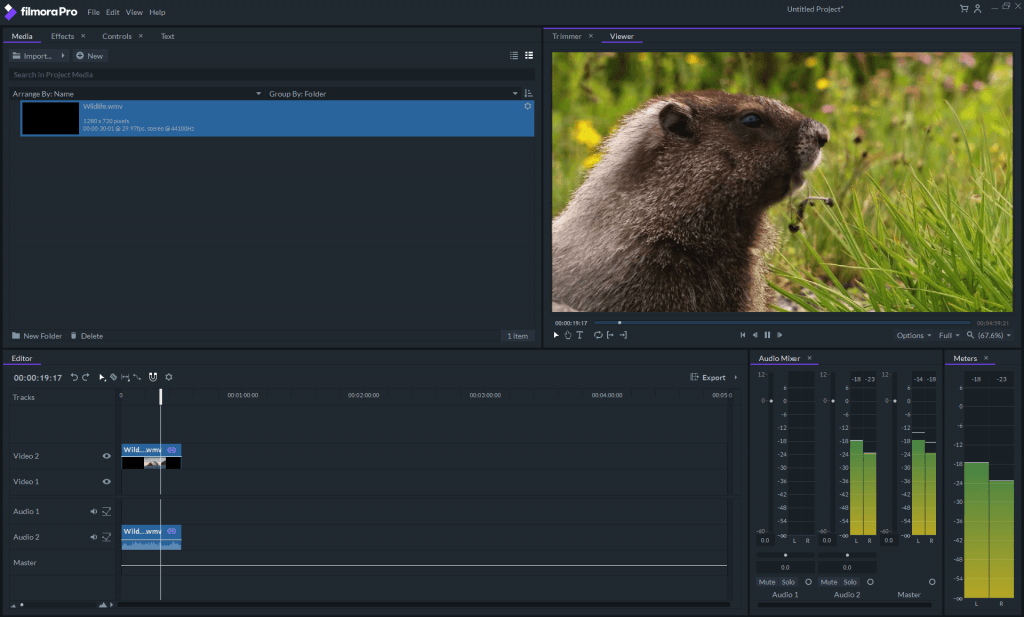
FilmoraPro is a user-friendly video editing software that can empower your creativity. With FilmoraPro, you can add masks, transition effects, green screen effects, overlays and filters easily. Besides, you can also find more video effects from Filmora Effects Store.
You can download and use the free trial version of FilemoraPro to edit your videos. With the free trial version, you can enjoy all the features and updates, but the videos exported by the free trial version will be watermarked. If you don’t want the watermark, you can choose a plan that’s best for you:
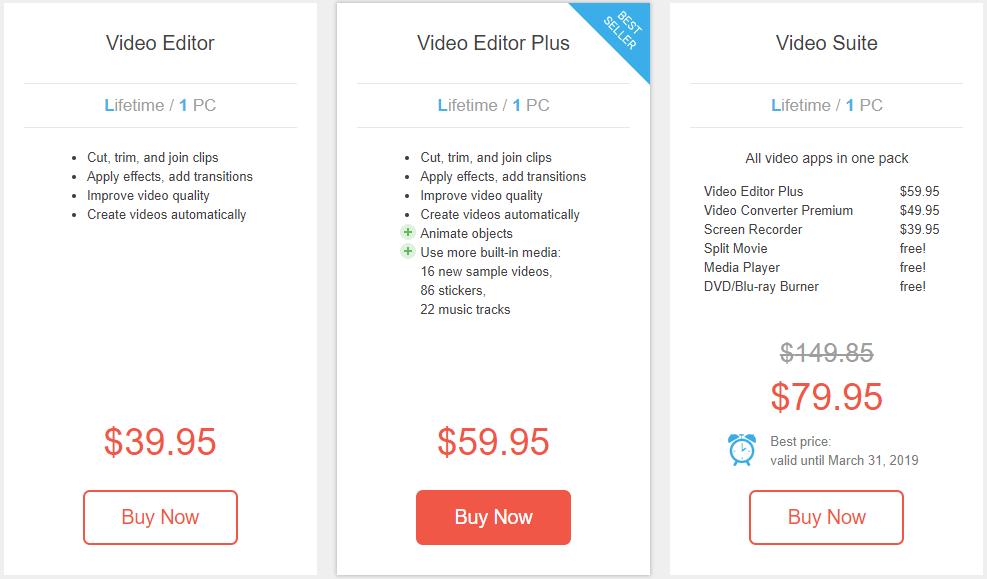
Movavi Video Editor

With Movavi Video Editor, you can use to add cool effects easily. In Movavi, you can find lots of fashionable filters, transitions, titles, stickers, etc. If the built-in effects still fail to meet your requirements, you can also find more cool effect in Movavi effects store.
You can use the free trial version for 7 days only. The videos saved by the free version will be watermarked. If you don’t like its watermark, you need to purchase a lifetime license. Before purchasing, you can get a discount coupon for Movavi Video Editor first!
Benefits: No watermark Free technical support 30-day money-back guarantee
If you have any suggestions or questions, you’re more than welcome to leave us a comment below.