


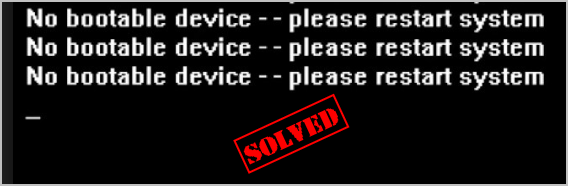
When starting your Toshiba laptop, you’re likely to see an error message like:
- No bootable device — please restart system
- No bootable device — insert boot disk and press any key
If you’re experiencing the same problem, don’t worry. This is a common issue and you can fix No bootable device on Toshiba laptops easily.
How to fix No bootable device Toshiba
Here are some solutions to try. You may not have to try them all; just work your way down the list until everything’s working again.
- Power reset your Toshiba laptop
- Set your boot order correctly
- Change the Boot Mode settings
- Things you should do after trying these methods
Method 1: Power reset your Toshiba computer
Since many computer problems can be resolved by restarting, it never hurts to restart your Toshiba computer. Follow the steps below:
1) Turn off your computer.
2) Remove any external devices including your USB drive, Bluetooth devices and headsets.
3) Remove your AC adapter cable, hard drives and your battery (if your battery is removable).
4) Press and hold the Power button for 60 seconds and release. Your laptop may boot up and turn off during this time period.
5) Plug your AC adapter and your battery back (if your battery is removable).
6) Press the Power button as normal to turn on your Toshiba laptop.
Now see if your laptop starts without popping up the “No bootable device” error.
Method 2: Set your boot order correctly
When you see “No bootable device” in Toshiba, one of the possible reasons is your computer doesn’t have the properly boot order, so your system couldn’t find the proper boot device when starting. To fix the problem, you should set the boot order correctly.
Here’s what you need to do:
1) Make sure your computer is off.
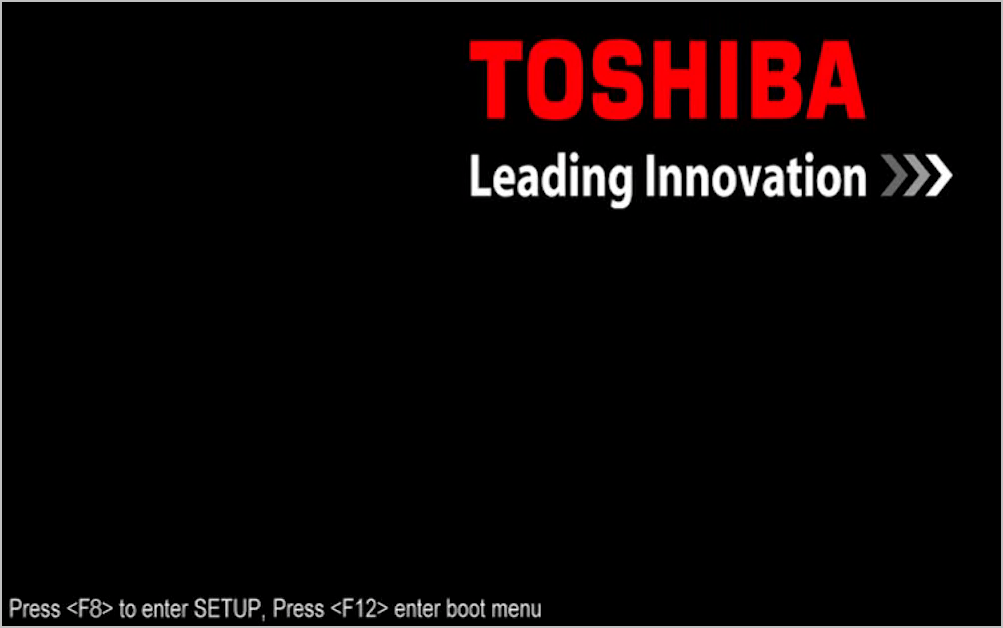
2) Press the Power button to start your computer normally, then keep pressing the F2 key after the flash logo screen appears to open the BIOS setup screen.
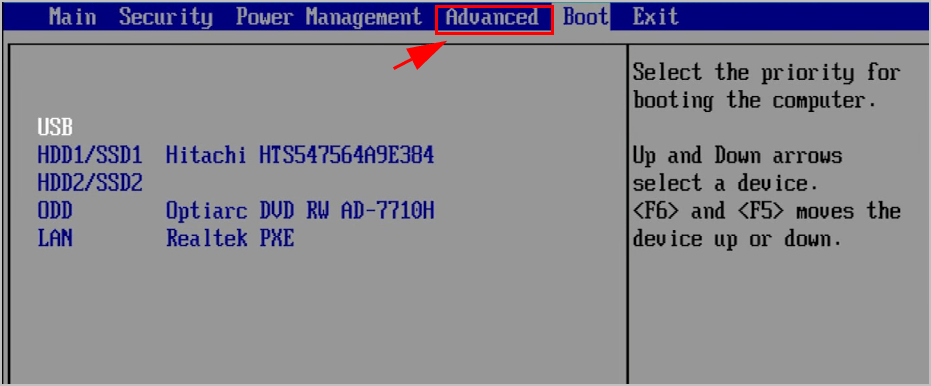
3) In BIOS, press the arrow keys to go to the Boot tab.
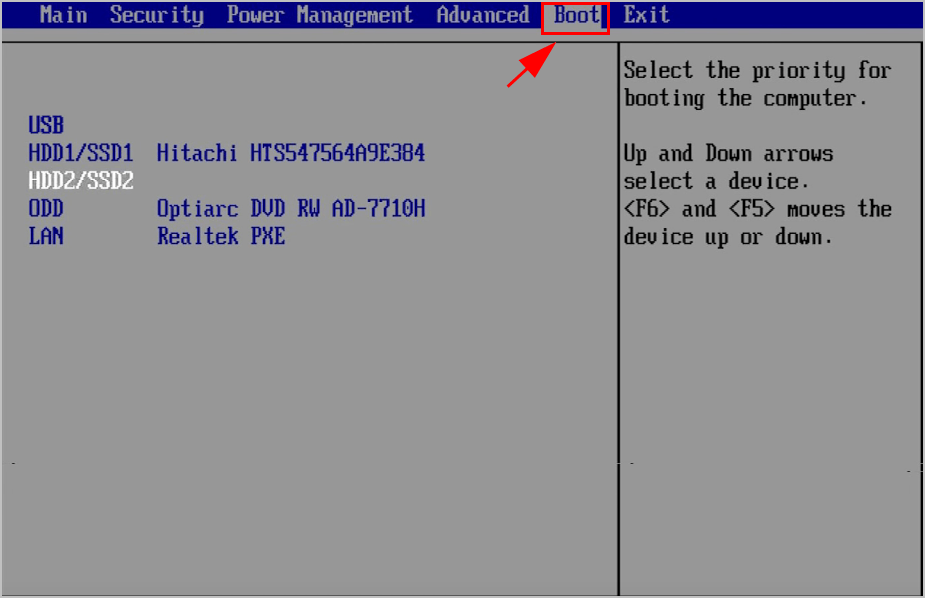
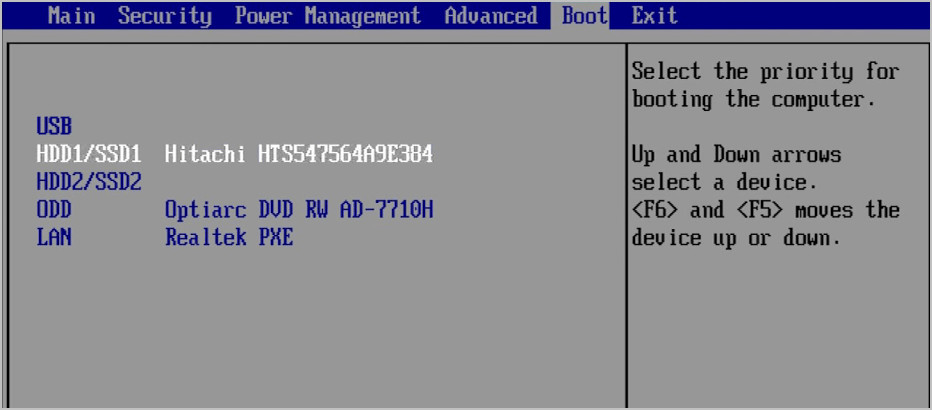
4) There you’ll see the boot options available. Use the Up and Down arrow keys to choose HDD as the first boot options.
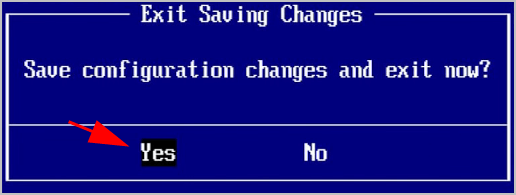
5) Save your changes and exit.
5) Then restart your computer and see if it works properly.
If this method doesn’t work, don’t give up hope. There is something else to try.
Method 3: Change the Boot Mode settings
The incorrect Boot Mode settings in BIOS can lead to “No bootable device” error in Toshiba. So follow these steps to change the Boot Mode settings:
1) Make sure your computer is off.
2) Press the Power button to start your computer normally, then keep pressing the F2 key after the flash logo screen appears to open the BIOS setup screen.
3) In BIOS, press the arrow key to go to the Advanced tab.
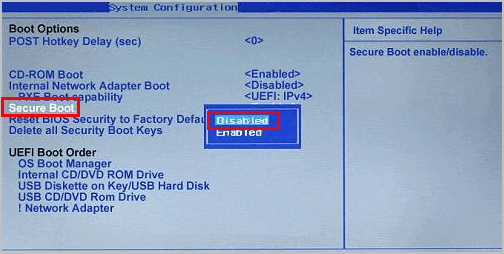
4) Go to System Configuration > Boot Mode.
5) If you’re using Windows 7, change the Boot Mode to CSM.
If you’re using Windows 8 and above, change the Boot Mode to UEFI Boot.
6) Then go to the Security tab > Security Boot, and set Security Boot to Disabled.
7) Save the changes and restart your Toshiba computer as normal.
Now you should be able to turn on your Toshiba computer properly.
Things you should do after trying these methods
If you have resolved your “No bootable device” error and turned on your Toshiba laptop successfully, you should update the devices drivers that are missing or outdated in your computer, as the error message can be caused by the driver corruption. In addition, updating your device drivers to the latest version can prevent your computer from various problems.
There are two ways to update your device drivers: manually and automatically.
Manual driver update – You can go to the manufacturer’s website, find your hardware device driver and download the latest version. Then manually install it in your computer. Be sure to download the one that is compatible with your Windows OS. This requires time and computer skills.
Automatic driver update – If you don’t have the time or patience, you can do it automatically with Driver Easy.
Driver Easy will automatically recognize your system and find the correct drivers for it. You don’t need to know exactly what system your computer is running, you don’t need to risk downloading and installing the wrong driver, and you don’t need to worry about making a mistake when installing.
You can update your drivers automatically with either the FREE or the Pro version. But with the Pro version it takes only 2 clicks (and you’ll get full support and 30-day money back guarantee):
1) Download and install Driver Easy.
2) Open Driver Easy and click Scan Now. Driver Easy will then scan the problem drivers in your computer.
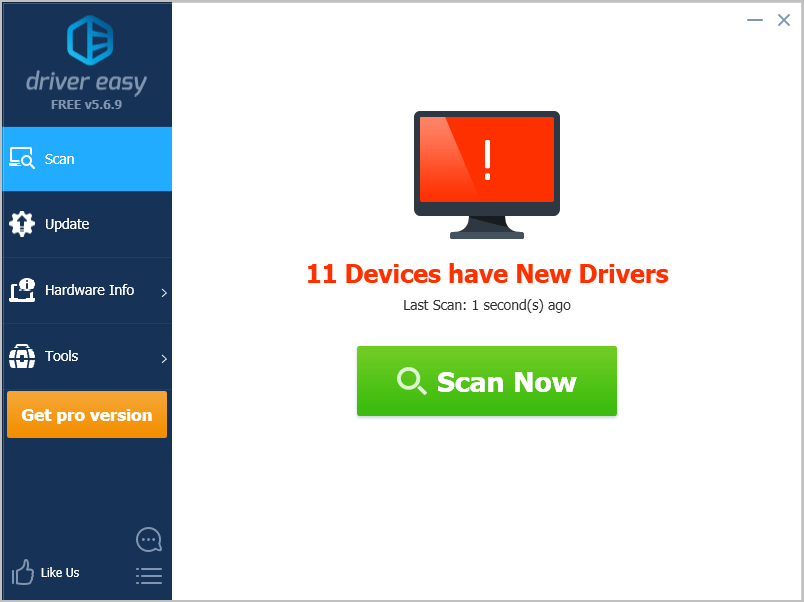
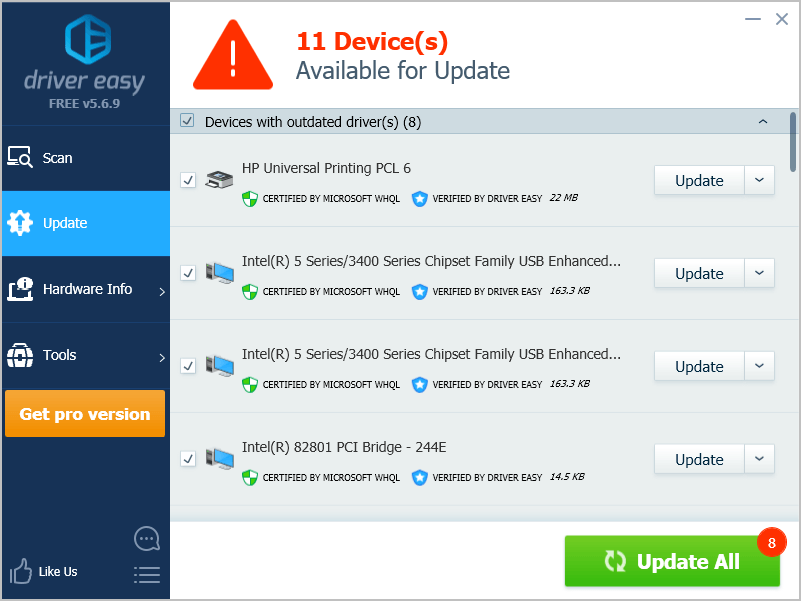
3) Click the Update button next to the flagged device to automatically download the correct version of their driver (you can do this with the FREE version). Then install it in your computer.
Or click Update All to automatically download and install the correct version of all the drivers that are missing or out of date on your system (this requires the Pro version – you’ll be prompted to upgrade when you click Update All).
4) Restart your computer to take effect.