If you see a yellow mark next to the HID keyboard device, in Device Manager, its driver could be corrupt or missing. This is what is causing your keyboard to malfunction. But don’t worry. To fix the error, you just need to update the driver.
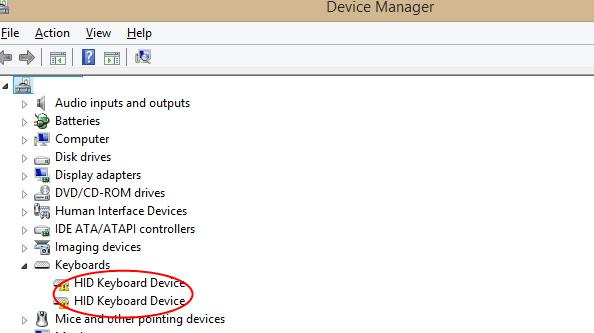
HID is short for Human Interface Device. To learn more about HID devices, you can visit HID drivers on the Microsoft website.
Here are two different ways you can update the HID keyboard device driver. Try the first, and if it doesn’t work, try the second.
  1. Update the driver manually via the Device Manager
  2. Update the driver automatically

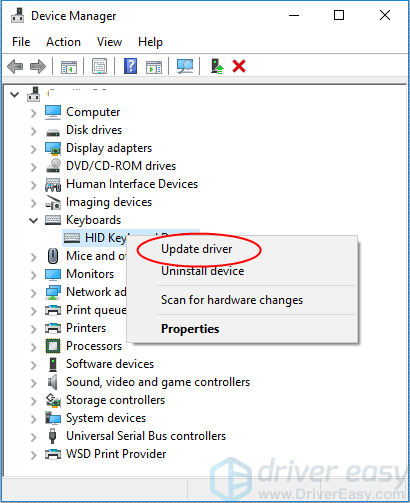
Way 1: Update the driver manually via the Device Manager

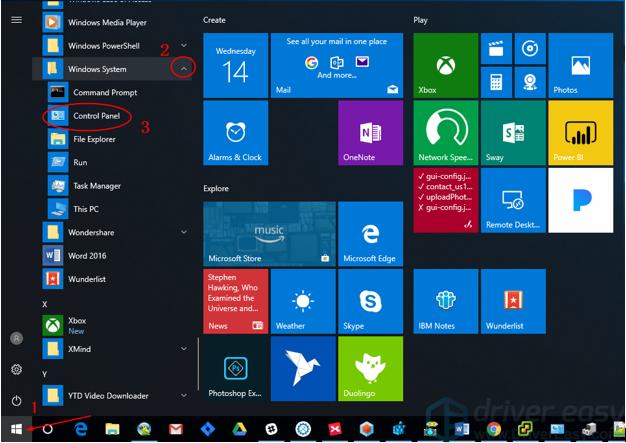
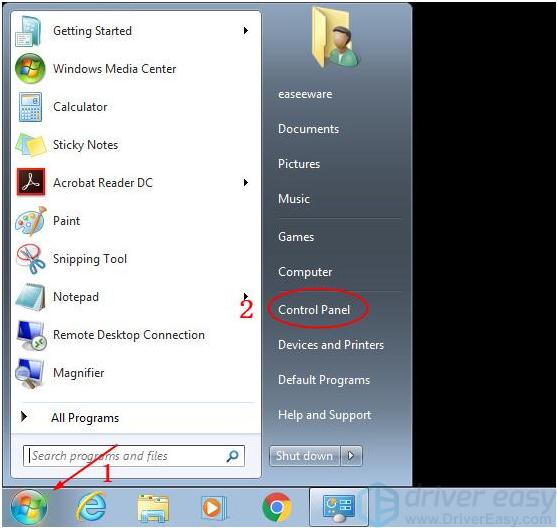
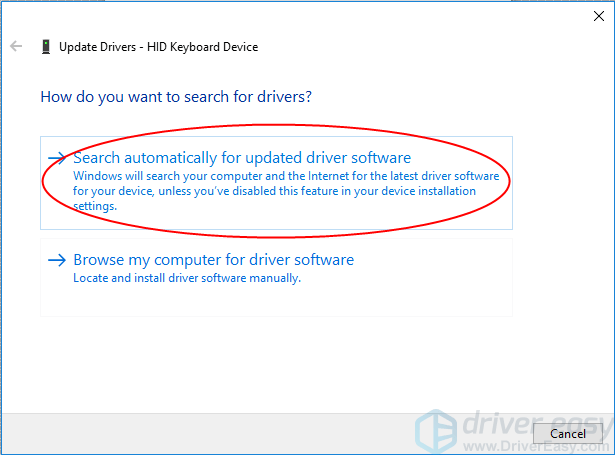
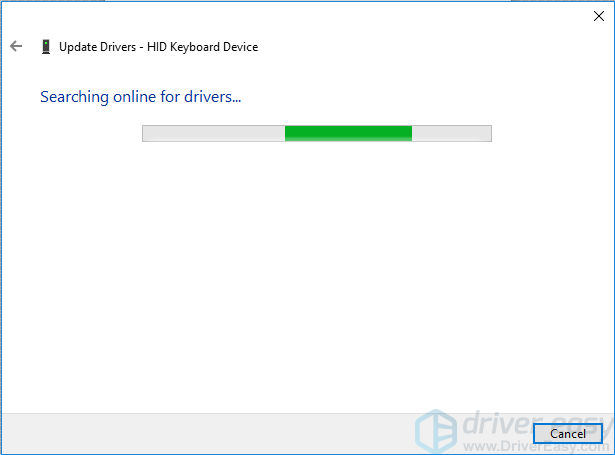
One way to update the driver is through Device Manager. Just follow the instructions below: First, Open Device Manager. If your keyboard works properly, follow these steps to access Device Manager: 1) On your keyboard, press Win+R (Windows logo key and R key) at the same time to invoke the run box. 2) Type devmgmt.msc and click the OK button.

If your keyboard doesn’t work because of the corrupt or missing HID keyboard driver, use your mouse to access Device Manager. The steps are different depending on the system your computer is running: If you’re using Windows 10, follow these steps : 1) Click the Start menu. Expand the Windows System folder and click Control Panel.

3) View by Small icons and click Device Manager.

If you’re using Windows 7, follow these steps: 1) Click the Start menu. Then click Control Panel.

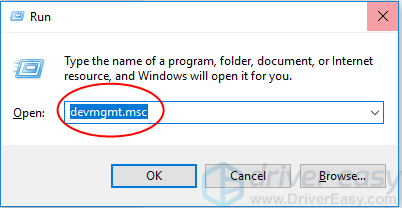
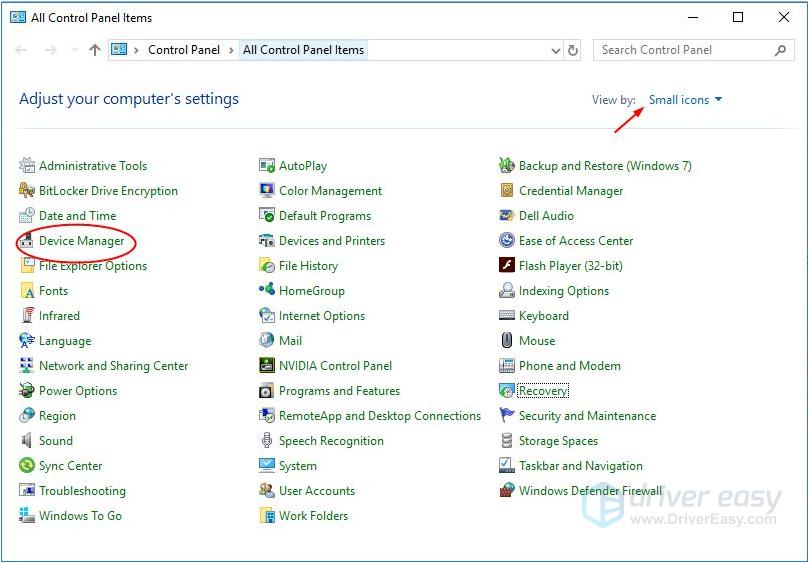
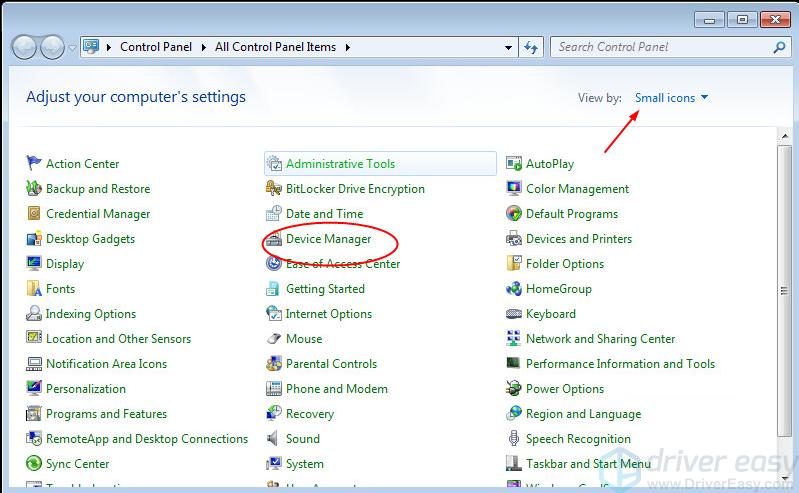
2) View by Small icon and click Device Manager.

After opening Device Manager, follow these steps to update the driver. 1) Right-click on the HID Keyboard Device.

2) Select Update driver software (in some cases, this could be Update driver). 3) Click Search automatically for updated driver software.

4) Wait for a while until the update completes (the process could take up to one minute).

5) Check to see if the yellow mark in Device Manager is gone.

Way 2: Update the driver automatically

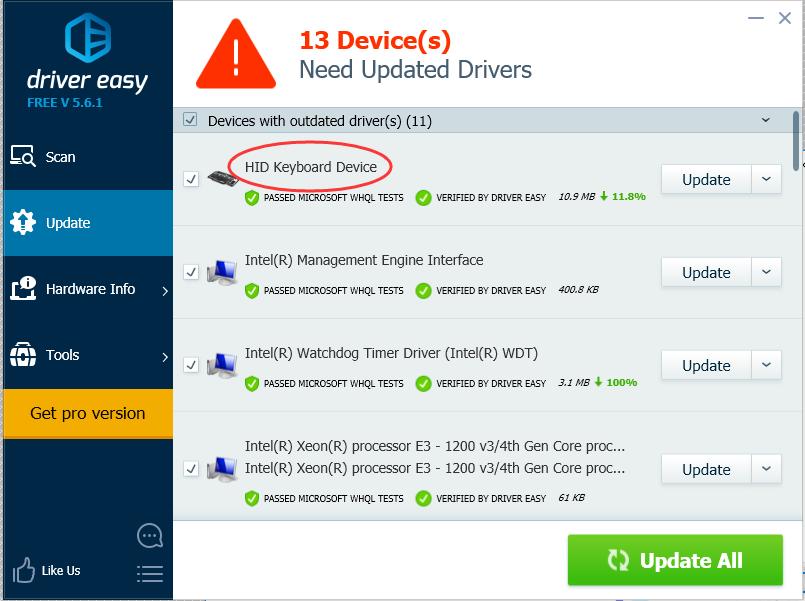
If you don’t have the time, patience or computer skills to update the driver manually, you can do it automatically with Driver Easy. Driver Easy will automatically recognize your system and find the correct drivers for it. You don’t need to know exactly what system your computer is running, you don’t need to risk downloading and installing the wrong driver, and you don’t need to worry about making a mistake when installing. You can update your drivers automatically with either the FREE or the Pro version of Driver Easy. But with the Pro version it takes just 2 clicks (and you get full support and a 30-day money back guarantee): 1) Download and install Driver Easy. 2) Run Driver Easy and click Scan Now. Driver Easy will then scan your computer and detect any problem drivers.

3) Click the Update button next to a flagged HID keyboard device to automatically download and install the correct version of this driver (you can do this with the FREE version). Or click Update All to automatically download and install the correct version of all the drivers that are missing or out of date on your system (this requires the Pro version – you’ll be prompted to upgrade when you click Update All).

3) After updating the driver, check to see if the yellow mark in Device Manager is gone. Hope you can update the HID keyboard device driver successfully with the instructions above. If you have any questions or ideas, please feel free to leave your comments below.
56
56 people found this helpful
guest
0 Comments
Inline Feedbacks
View all comments