


Trying to connect your computer to a printer on your network? It’s very easy. Follow the step-by-step guide below, and you’ll finish the configuration very quickly.
To connect to a printer on your network
- Connect your printer to your network:
- If you want to use your printer wirelessly, connect it to your wireless network in the settings on your printer. (You may need to consult your printer manual for instructions on how to do so.)
- If you want to set up a wired printer connection, connect a network cable to your printer and to your router.
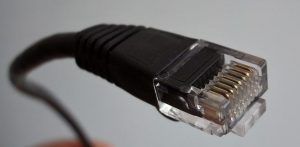
A network cable.
- Turn on your printer.
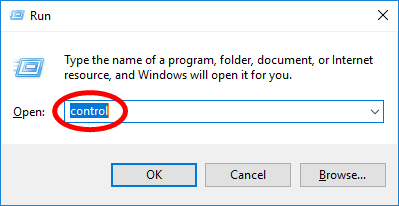
- On your computer, press the Windows logo key and R on your keyboard at the same time to invoke the Run box.
- Type “control” then press Enter on your keyboard.
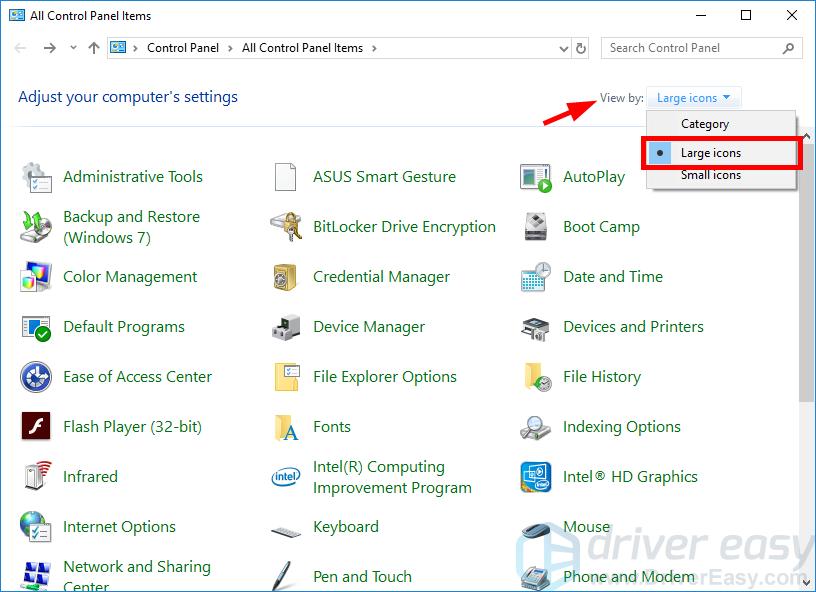
- Select Large icons from the View by drop-down menu.
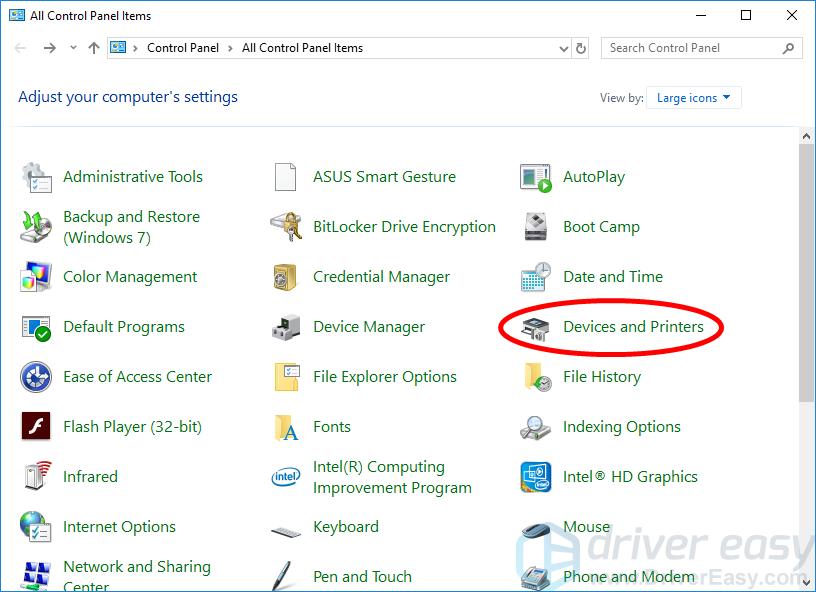
- Click Devices and Printers.
- Click Add a printer.

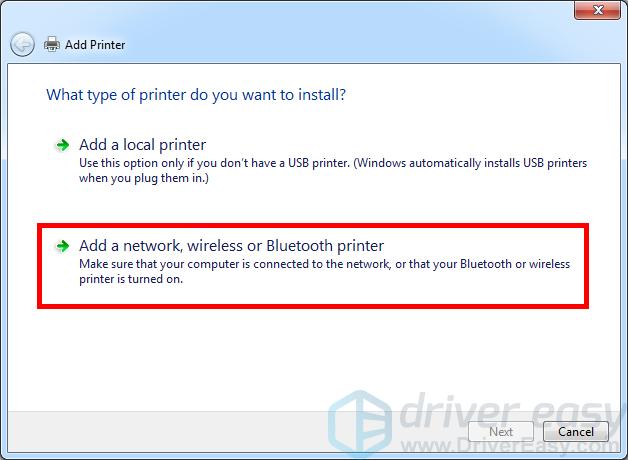
- If you’re using Windows 7, click Add a network, wireless or Bluetooth printer. If not, skip this step.
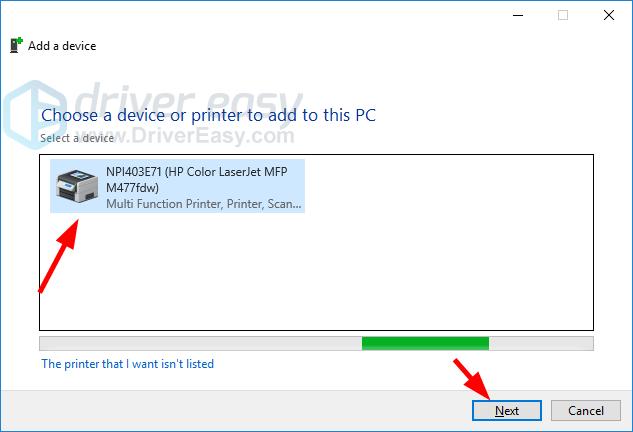
- On the Add a device wizard:
- If you see your printer, select it and click Next, then follow the on-screen instructions to add your printer to your computer.
- If you don’t see your printer, click The printer that I want isn’t listed.
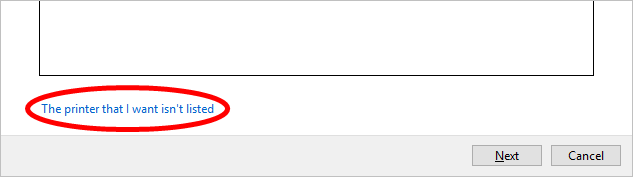 Then select an option to find your printer. We recommend you:
- Choose the option of Select a shared printer by name, then click Browse to find your printer on your network.

- Select Add a printer using a TCP/IP address or hostname to find your printer with its IP address. (You may need to check your printer manual for instructions on how to set up or find the IP address on your printer.)

- Choose the option of Select a shared printer by name, then click Browse to find your printer on your network.
- If you see your printer, select it and click Next, then follow the on-screen instructions to add your printer to your computer.
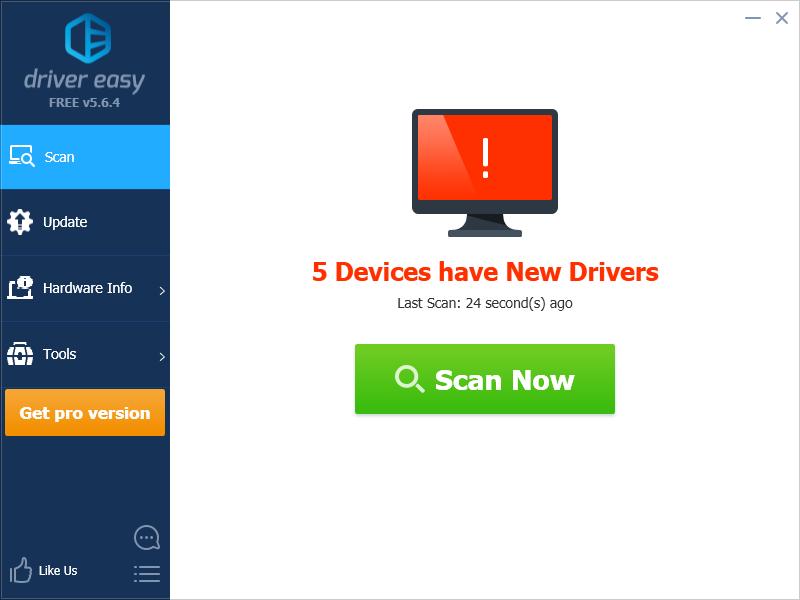
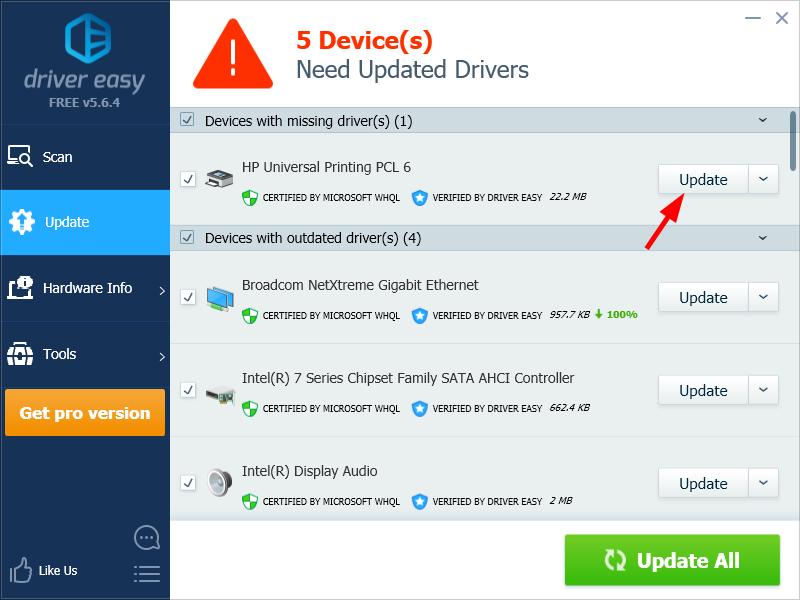
- Update your printer driver to make sure the printer is running properly on your computer. If you don’t have the time, patience or computer skills to update the printer driver manually, you can do it automatically with Driver Easy.Driver Easy will automatically recognize your system and find the correct drivers for it. You don’t need to know exactly what system your computer is running, you don’t need to risk downloading and installing the wrong driver, and you don’t need to worry about making a mistake when installing.
You can update your drivers automatically with either the FREE or the Pro version of Driver Easy. But with the Pro version it takes just 2 clicks (and you get full support and a 30-day money back guarantee):
- Download and install Driver Easy.
- Run Driver Easy and click Scan Now button. Driver Easy will then scan your computer and detect any problem drivers.
- Click the Update button next to your printer to automatically download and install the correct version of this driver, then you can manually install it. Or click Update All to automatically download and install the correct version of all the drivers that are missing or out of date on your system (this requires the Pro version – you’ll be prompted to upgrade when you click Update All).
You can do it for free if you like, but it’s partly manual. If you have any issue with Driver Easy, please contact Driver Easy’s support team at support@drivereasy.com for advice. You should attach the URL of this article so they can help you better.
- Restart your computer.
- Try printing a document using your printer to see if it is correctly set up.
0 Comments
Most Voted