


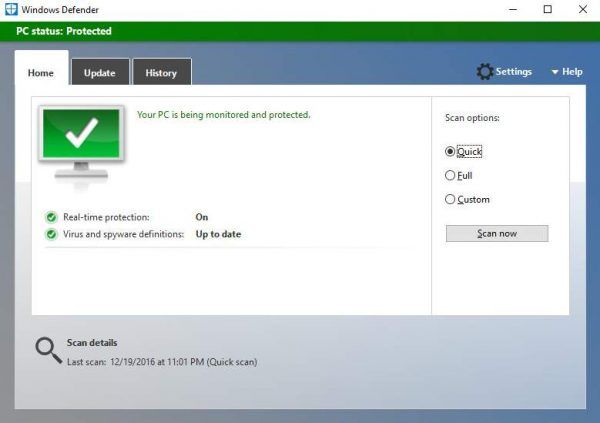
Windows Defender is the antivirus software that are built in Windows 8.1 and 10 on every edition. Just as other antivirus software, it is meant to protect your computer from any possible viruses, spyware or other sorts of malicious code.
If you don’t have another trusted antivirus program installed or running on your computer, Windows Defender will automatically run since it doesn’t want your system to go unprotected.
On some occasions, Windows Defender seems to have trouble turning itself on. In such case, you need to manually turn Windows Defender on so as to avoid any unwanted attacks coming from virus or Trojans.
To turn Windows Defender on, you can follow the steps below to get it down easily!
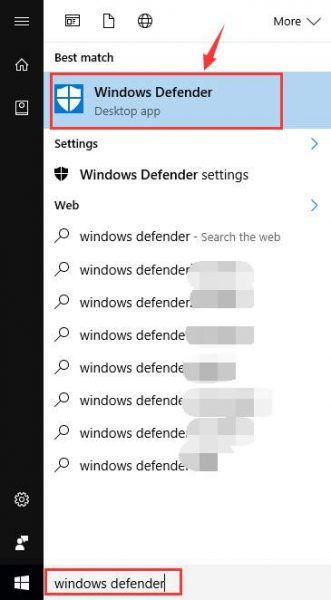
1) On the Start panel, type windows defender in the search bar and then choose Windows Defender from the list of choice.
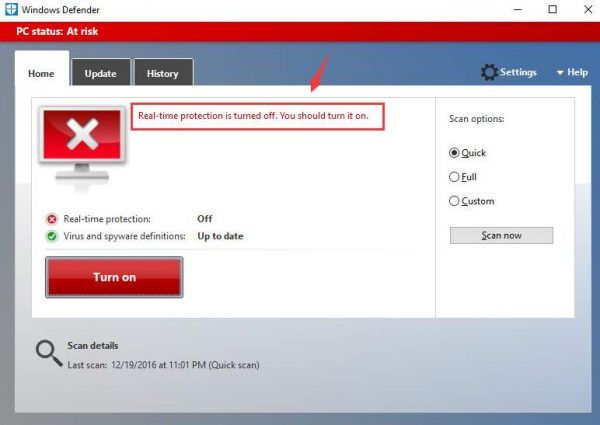
2) If you have been using some other antivirus programs, or that you have not turned it on before, you will be seeing the screen shot as below:
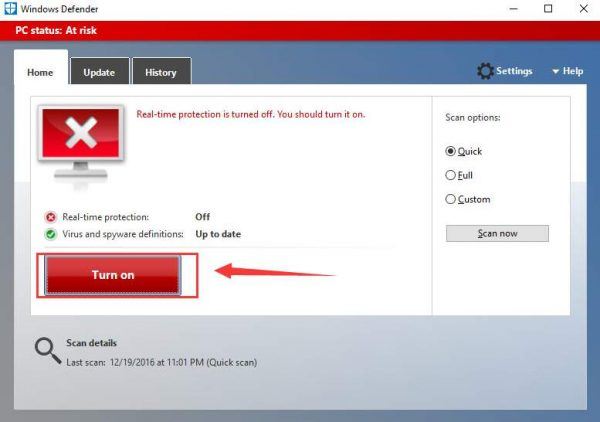
3) Press the Turn on button here to turn on the real-time protection provided by Windows Defender.
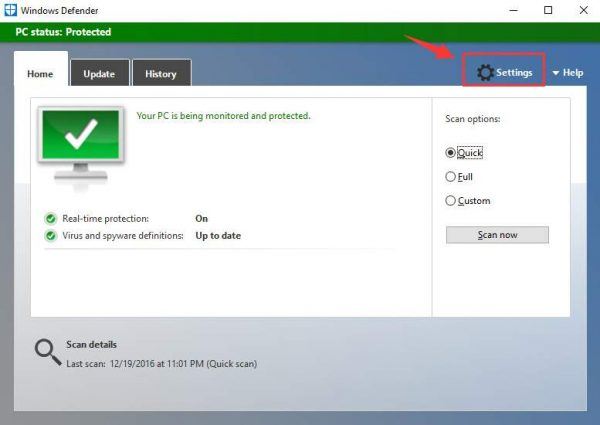
4) If you are looking for more features to change on Windows Defender, press the Settings button on the top right corner, then you will be lead to the Settings window.
5) You will be able to see more features that you can make some changes to by using the toggle buttons.
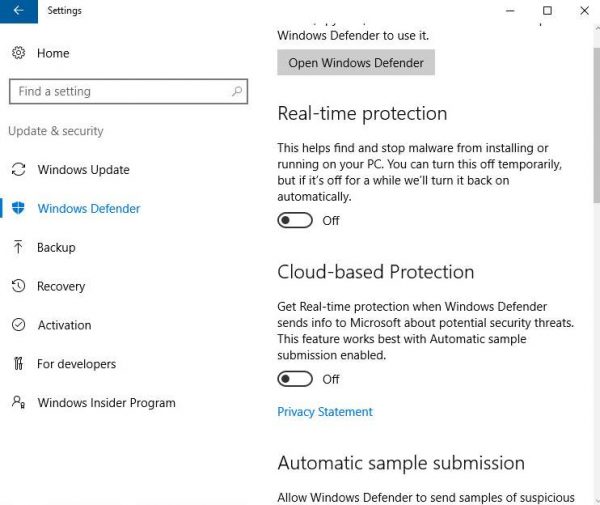
Note: If you have installed a third-party antivirus, the buttons here will be grayed out and you will not be able to change the settings. If you still want to use Windows Defender, you need to uninstall the other antivirus software first.
Related post: