


Your Razer headset’s microphone may not work for several reasons. To fix Razer mic issues, it’s necessary to follow the usual troubleshooting steps first, and then some Razer-specific solutions.
Try these fixes
Most of the time, the Razer headset mic not working is usually not caused by the microphone itself, but rather by settings or driver-related problems. Below are five fixes for you to try.
- Allow access to your microphone
- Set your Razer headset mic as the default device
- Update audio drivers
- Reinstall your Razer software
- Run the hardware troubleshooting tool
Before we move further
Here are some quick checkups that you can do before we move on to the fixes below:
- If you’re using a 3.5mm headset, make sure that there’s no first or debris in the audio ports and audio jack. If needed, clean the audio jack and ports with a clean cloth or a can of compressed air.
- If you’re using a wired USB headset, make sure that your headset is plugged into the USB port on your computer, instead of a USB hub.
- If you’re using a Bluetooth headset, delete the headset from your computer first, then try to connect it again via Bluetooth.
- For Bluetooth headsets, also make sure that your device is fully charged and turned on.
- Try the headset on a second device (like a computer or a mobile phone) to see how it works. If your headset microphone fails on two different devices, the problem could be with the headset itself.
Fix 1. Allow access to your microphone
It’s very likely that your Razer headset mic not working is caused by the wrong privacy settings. Here’s how to do quick troubleshooting:
On Windows 10
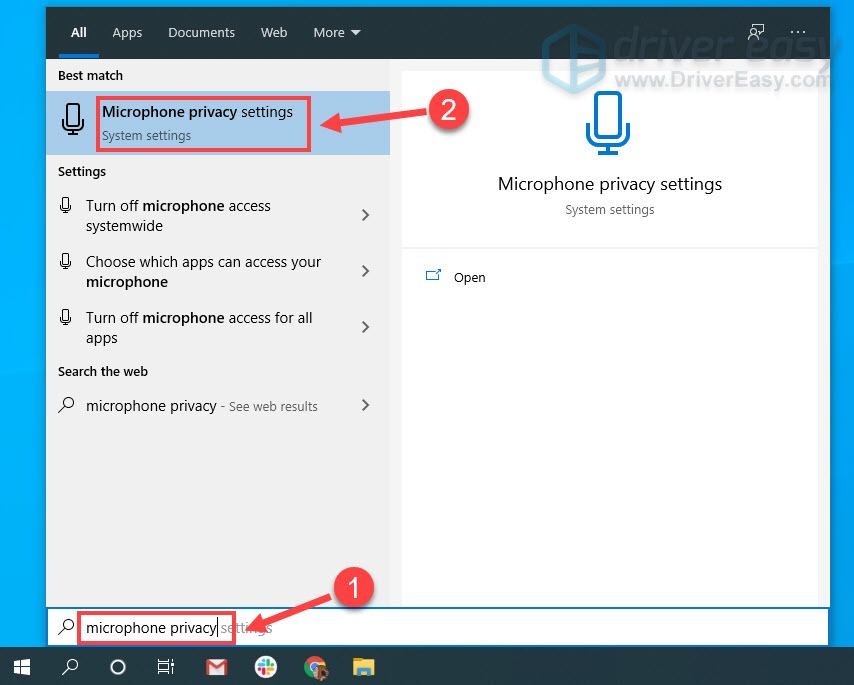
- Press the Windows logo key on your keyboard. Then, type microphone privacy in the search box and click Microphone privacy settings.
- Click the Change button and toggle on the Microphone access for this device.
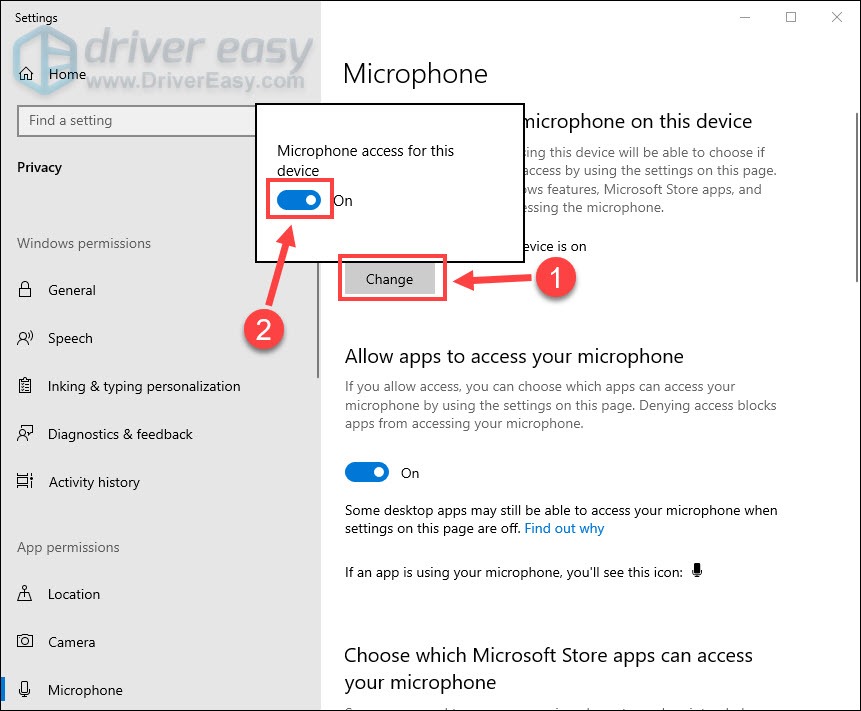
- Scroll to Allow apps to access your microphone and turn on the button.
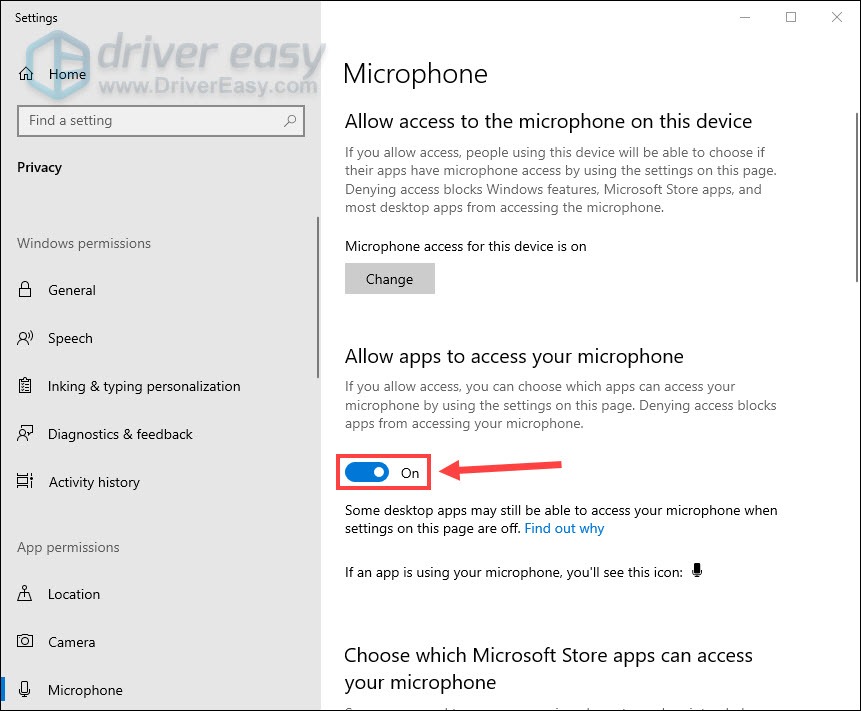
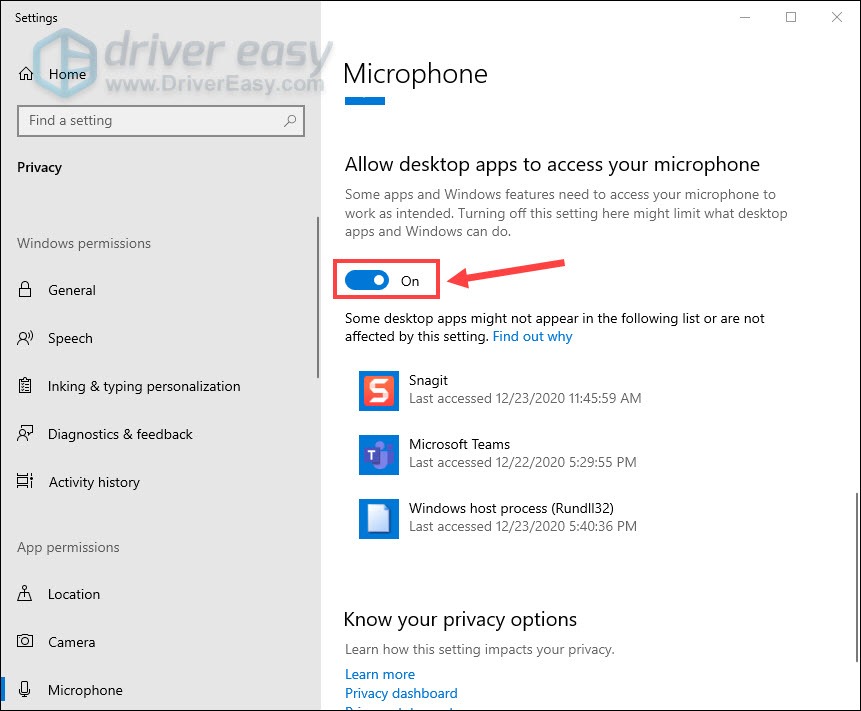
- Scroll down to turn on desktop apps’ access to your microphone.
On Windows 11
- On your keyboard, press the Windows logo key
 and I at the same time to open the Windows Settings.
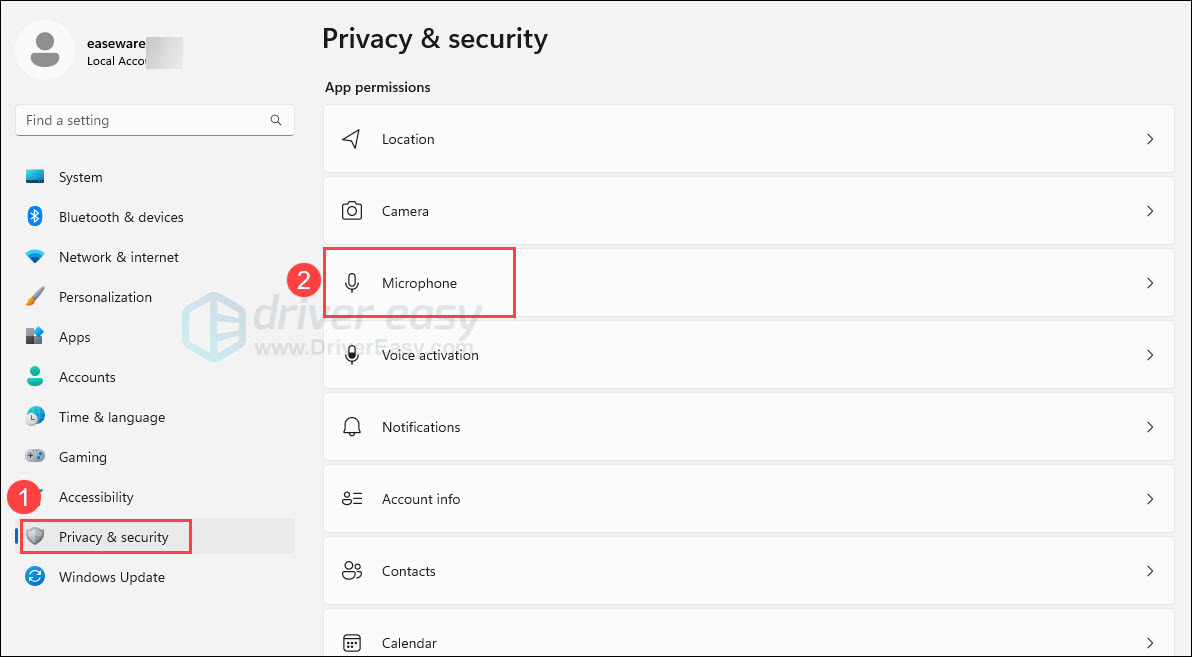
 - From the left pane, select Privacy & security. Then scroll down to the App permissions section, and click Microphone.
- You will now see a toggle switch labeled Let apps access your microphone. Click on this toggle switch
 to enable microphone access for your apps.
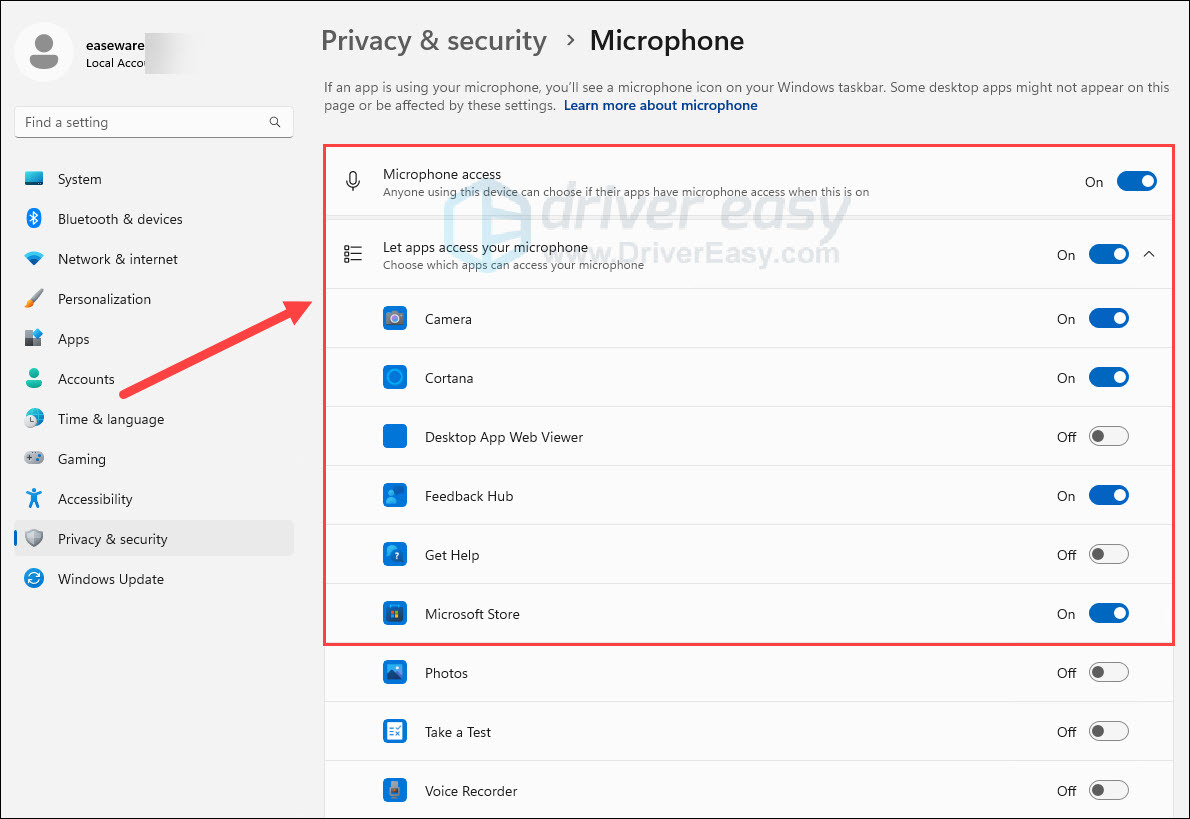
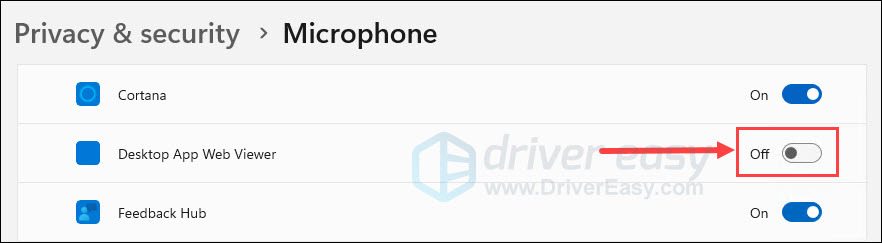
- If you want to grant microphone access to specific apps, just scroll down to find the App you want in the list, and then toggle the microphone access on or off as needed.
- Once you’ve made your selections, close the Settings window. Your microphone permissions are now set up as desired on Windows 11.
If this doesn’t work well for you, please move on to the next fix.
Fix 2. Set your Razer headset mic as the default device
The main reason why your Razer headset mic is not working is that your Razer headset is not set as the default recording device. Here’s how to do it:
On Windows 10
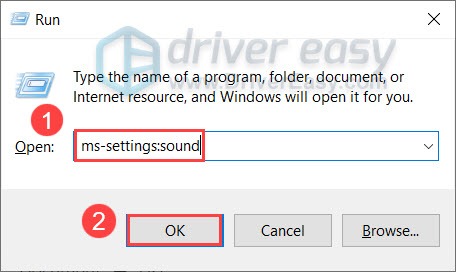
- On your keyboard, press Win+R (the Windows logo button and the r button) at the same time to invoke the Run box. Type or paste ms-settings:sound and click OK.
- Under the Input section, make sure your input device is set to your desired one. Then click Device properties and test microphone.

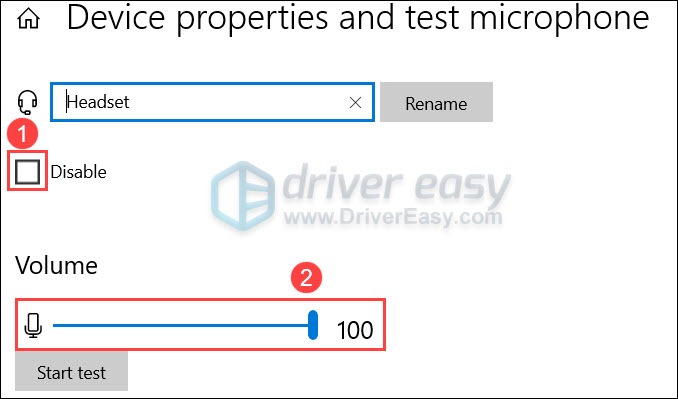
- Make sure the box next to Disable is unchecked, and the slider under Volume is set to 100.
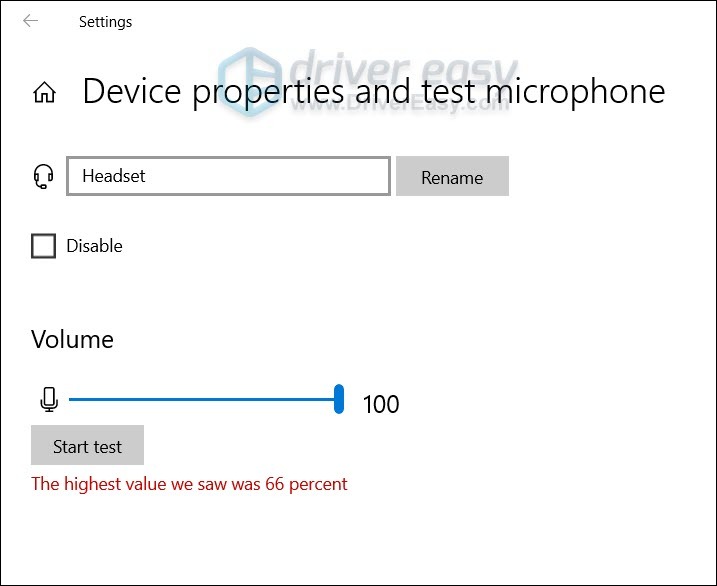
- Click Start test and tap or speak to your microphone. Then click Stop test. If you’re prompted The highest value we saw was xx (xx > 0) percent, it means your microphone has been set up correctly.
On Windows 11
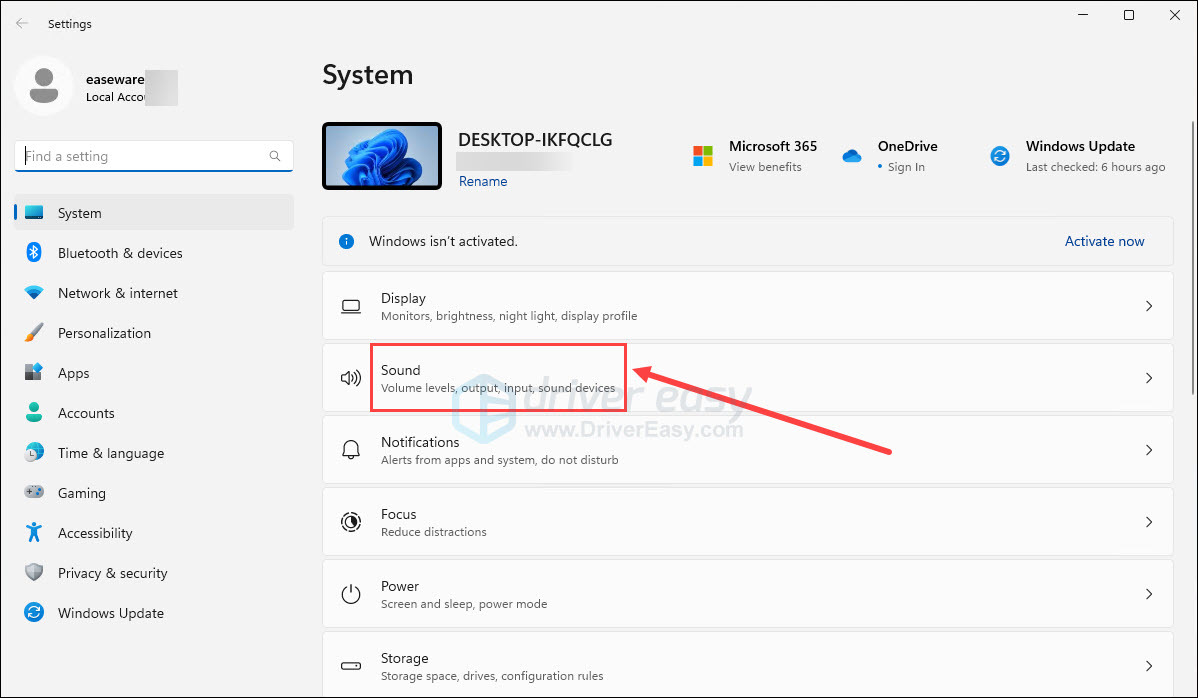
- On your keyboard, press the Windows logo key and I at the same time to open the Windows Settings.
- Click Sound.
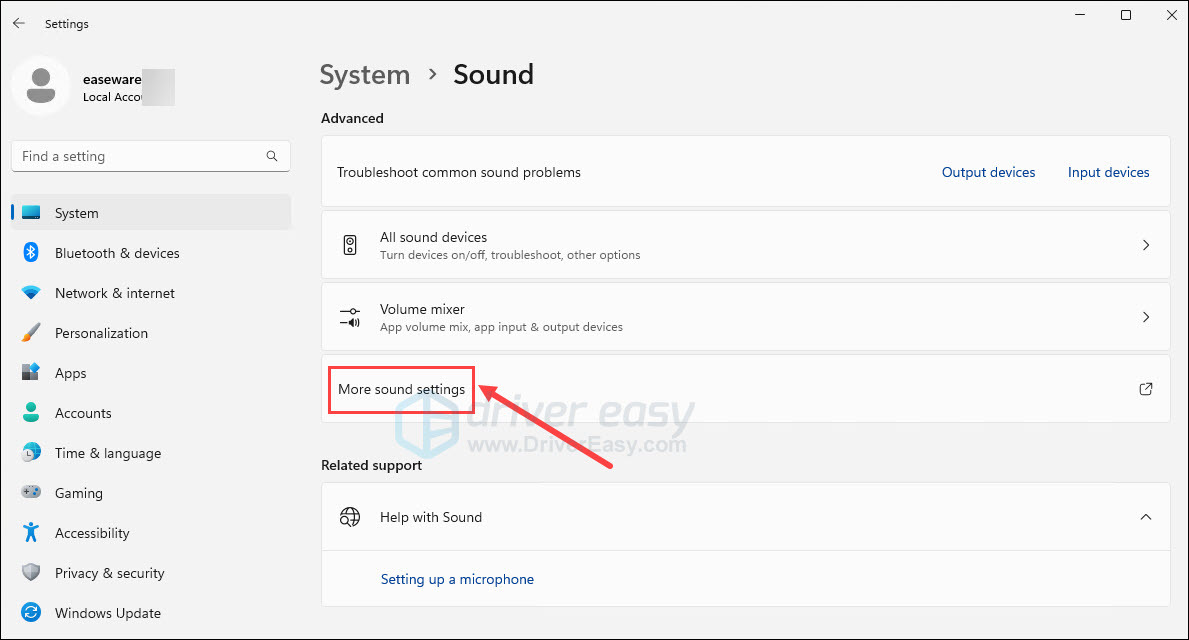
- Scroll down to the Advanced section, and click More sound settings.
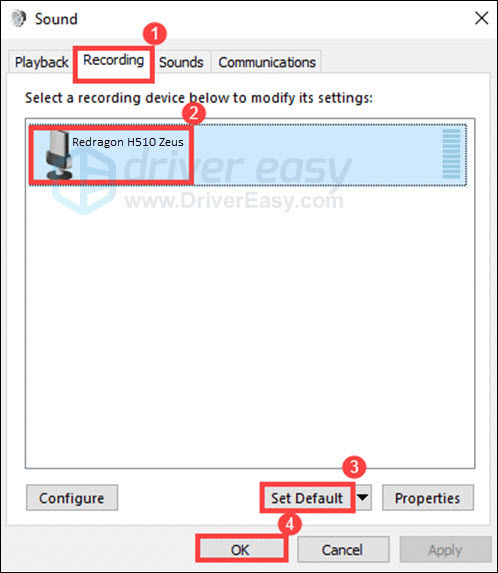
- Go to the Recording tab, Click to highlight your microphone, and then click Set Default. Click OK when finished.
If this doesn’t work to fix the Razer headset mic issue, please move on to the next fix.
Fix 3. Update audio drivers
Normally, when you plug your Razer headset into your computer, the related audio drivers will be installed automatically. However, sometimes it may not work as expected. So updating all the related Audio drivers is always a quick solution:
You can update your driver manually or automatically. The manual process is rather time-consuming and technical, which involves searching for the right driver version for your sound card and your Razer headset. We don’t recommend it unless you have excellent computer knowledge.
Updating your driver automatically, on the other hand, is very easy. Simply install and run Driver Easy, and it will automatically find all the devices on your PC that need new drivers, and install them for you.
You can update your drivers automatically with either the 7 days free trial or the Pro version of Driver Easy. It takes just 2 clicks, and you get full support and a 30-day money-back guarantee with the Pro version:
- Download and install Driver Easy.
- Run Driver Easy and click the Scan Now button. Driver Easy will then scan your computer and detect any problem drivers.

- Click the Activate & Update button next to the flagged device to automatically download and install the correct version of this driver.
Or click Update All to automatically download and install the correct version of all the drivers that are missing or out of date on your system (You’ll need the Pro version for this – when you select Update All, you’ll get a prompt to upgrade. If you’re not prepared to purchase the Pro version yet, Driver Easy provides a 7-day trial at no cost, granting access to all Pro features like fast downloads and easy installation. No charges will occur until after your 7-day trial period ends.)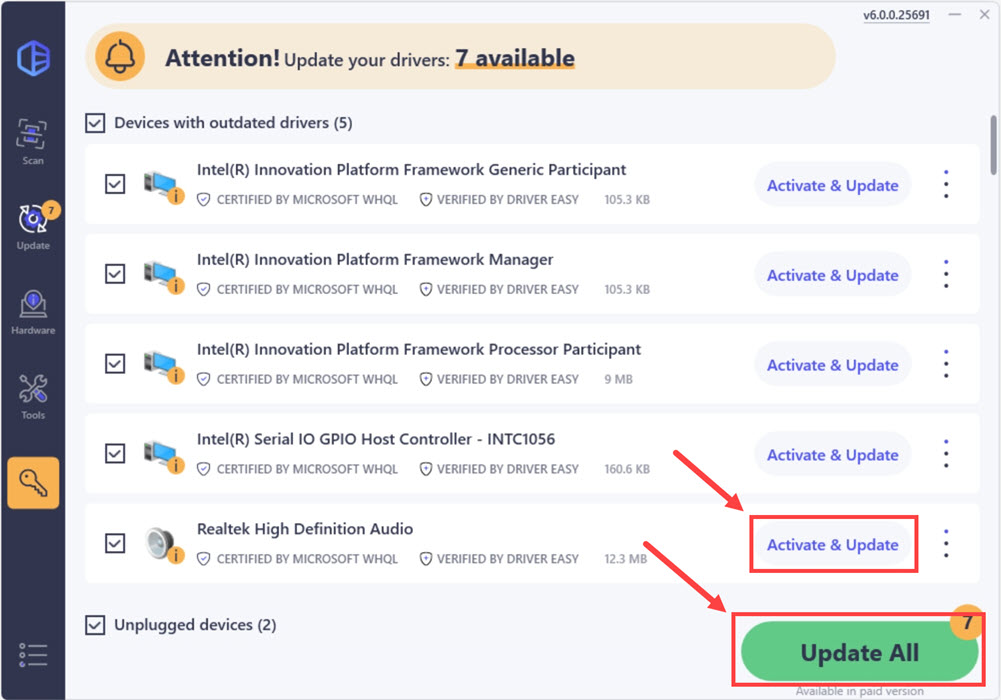
- After updating, restart your computer to take effect.
Fix 4. Reinstall your Razer software
Another possible cause of your Razer headset mic not working is the interference from the Razer software. This happens a lot, especially after a Windows Update. So you may need to try uninstalling Razer such as Razer Synapse, Razer Surround, etc.
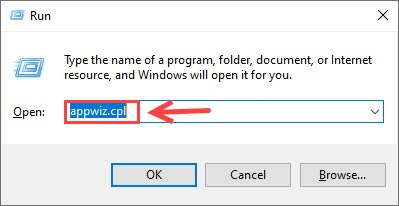
- On your keyboard, press the Windows logo key + R at the same time. Type appwiz.cpl in the Run box and press Enter.
- Right-click your Razer software and select Uninstall.
- Once completed, you can visit the Razer software download center to install the software you want.
Fix 5. Run the hardware troubleshooting tool
If these workarounds above failed to resolve your Razer headset mic not working, don’t worry. The built-in Windows diagnostics tool may find you a real fix.
On Windows 10
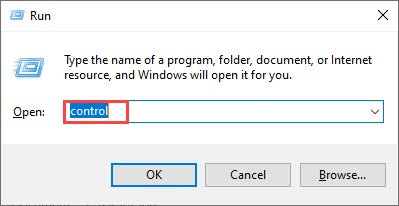
- On your keyboard, press the Windows logo key + R at the same time. Type control in the Run box, and press Enter.
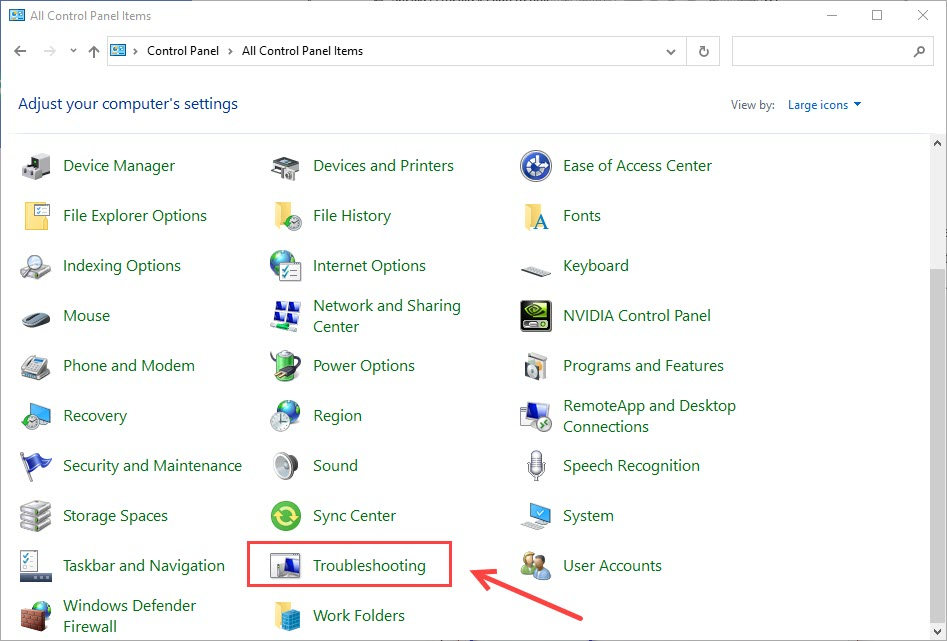
- On the top right corner, click View by Large icons. Scroll down and select Troubleshooting.
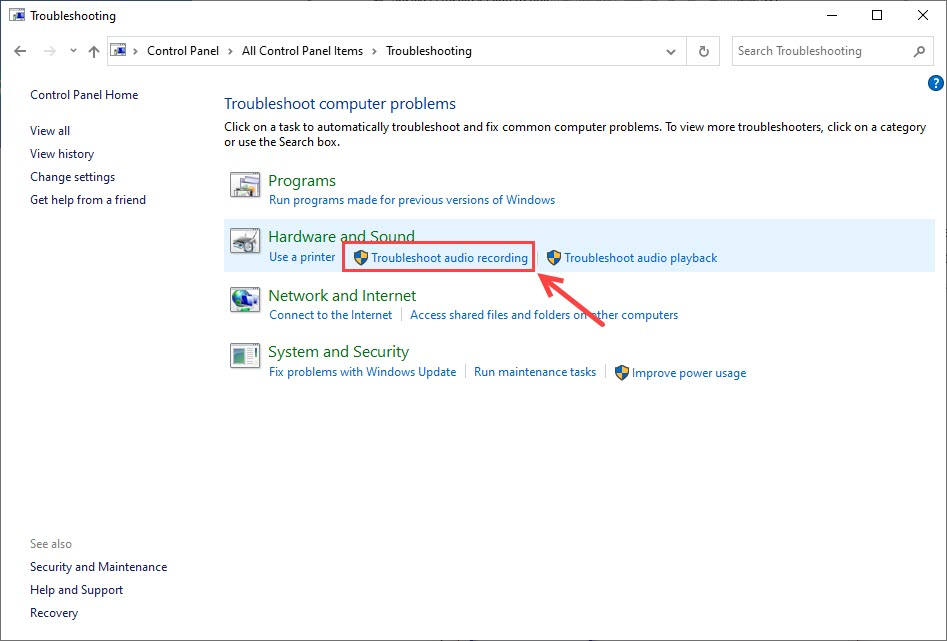
- Under Hardware and Sound, click Troubleshoot audio recording.
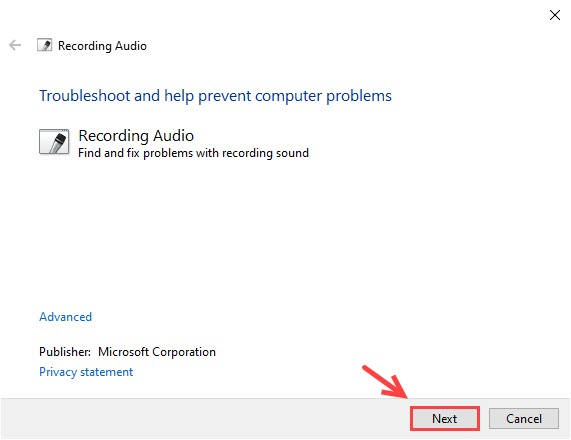
- When this troubleshooter window shows up, click Next to continue.
- You will be prompted to choose one of your devices and click Next to continue.
- Apply the fix if there are any.
On Windows 11
- On your keyboard, press the Windows logo key + R at the same time. Type control in the Run box, and press Enter.
- On the top right corner, click View by Large icons. Scroll down and select Troubleshooting.
- Click Run for Audio troubleshooter.
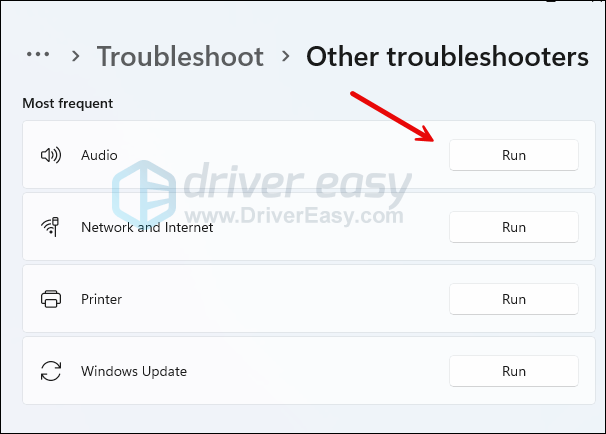
- Follow the on-screen instructions to run the troubleshooter and apply any fix if you see it.
Your Razer headset should be working perfectly now. You can start voice chatting with your teammates right now. But if unfortunately your mic is still not working, you can check the mic mute button (at the end of your microphone) or the hardware faulty.
If you need further assistance, you can try submitting a support ticket to Razer Support Team.