


If the sound is not working on your HP laptop (either HP pavilion or HP Envy laptop), don’t worry. This is a common issue. The good news is, you can fix sound not working on HP laptop quickly and easily.
How to fix HP Laptop Sound Not Working
Here are the solutions that have helped people resolve the sound problem. You don’t need to try them all; just work your way down until your sound works.
- Troubleshoot the hardware issue
- Check the audio settings in your Windows
- Update your audio driver
- Reinstall your audio driver
Fix 1: Troubleshoot the hardware issue
The hardware problem can cause the sound not working issue, so you can follow the instructions below to troubleshoot and identify your sound problem.
1. Check the speaker on your laptop
It’s likely your speaker on your laptop just working, so the sound is not working. You can take a look at the speaker on your laptop and see there’s any cloth or dust on the speaker. Make sure the speaker works proper.
2. Check the headphone jack or your headset
If you’re connecting your headset to your laptop, and the audio is not working through your headphone, disconnect your headphone from your laptop.
If the sound gets working again, it should be a problem of the headphone jack on your laptop, so you can clean the jacks with a cotton swab or soft brush; Or it can be a problem of your headphone, replace with another headphone cord or try another new headphone to have the sound working through your headphone.
If the sound is still not working, here’s the next thing to try…
Fix 2: Check the audio settings in your Windows
If the hardware is working properly, the sound issue can be caused by the incorrect settings in your laptop. Follow the steps below to check the settings for your sound.
1. Make sure that audio is not muted
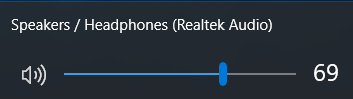
Make sure that the audio icon at the bottom right on your desktop is not muted. Click the sound icon to toggle between mute and sound .
Plus, you can drag the volume to the medium or maximum to see if there’s any sound.
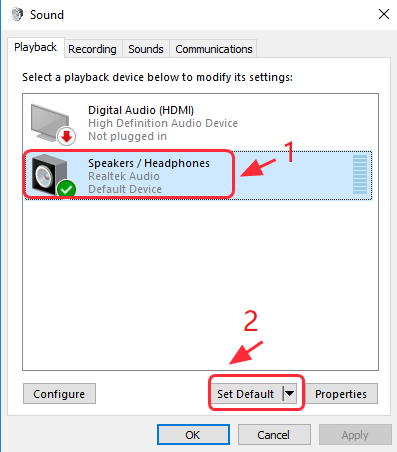
2. Make sure your audio device is set as default
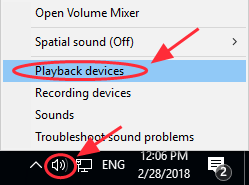
1) Right click the volume icon at the bottom right corner, and click Playback devices.
2) Check your audio device in the Playback tab. Make sure there’s a green check next to your audio device, and that shows that your audio device is the default playback device.
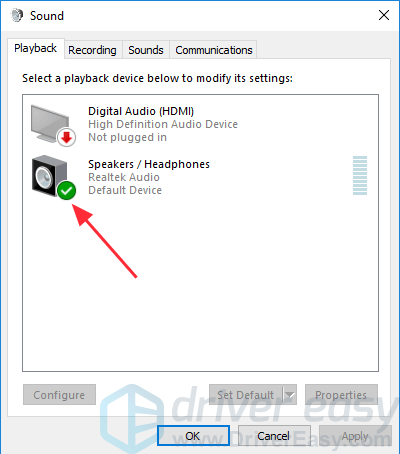
3) If your audio device is not the default device, click Set Default. Then click OK to save.
3) Test the sound on your laptop so see whether there is any sound.
3. Switch the audio format
If your audio device is the default device, but the sound problem still persists, you can change the audio format to fix the issue.
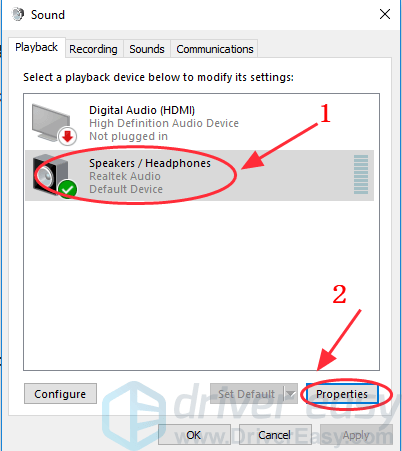
1) Right click the volume icon at the bottom right corner, and click Playback devices.
2) Select your audio device in the Playback tab, and click Properties.
3) Click Advanced. In Default Format, choose another different audio rate, then click the Test button. Then play a music or audio to test.
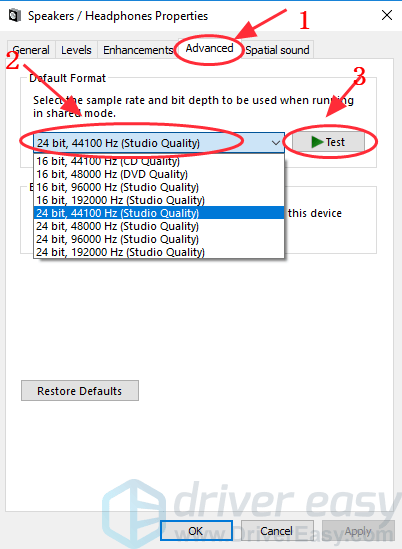
4) You will need to repeat this until you find a proper audio format. Once you find the proper audio format to work, click OK to save the settings.
4. Make sure the sound device is enabled in Device Manager
If your sound device is disabled in Device Manager, the sound stops working in your laptop.
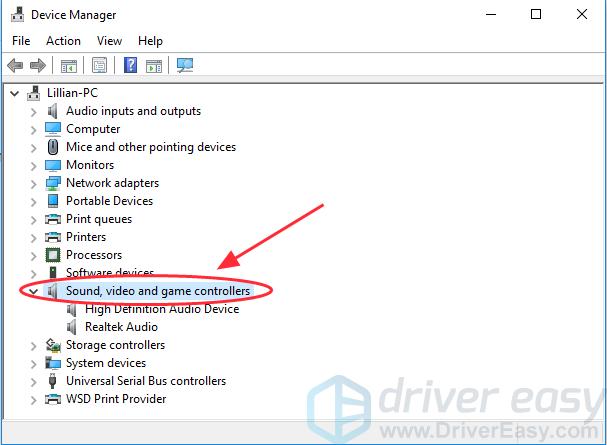
1) Open Device Manager in your laptop.
2) Double click Sound, video and game controllers to expand it.
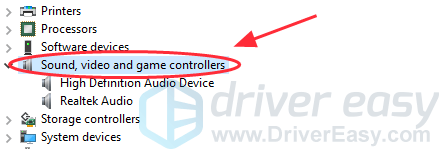
3) Make sure there’s NOT a down arrow displayed next to the volume icon in your sound device, like this:
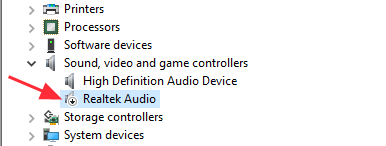
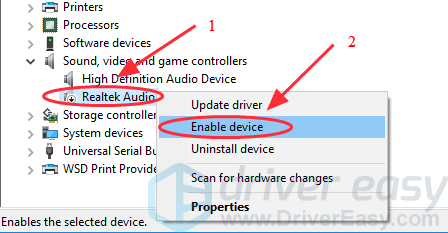
If a down arrow displays on the volume icon, the sound device is disabled. Right click the device name, and select Enable device to enable your sound device.
4) Try the sound to see if it works.
Fix 3: Update your sound driver
A missing or outdated sound driver can cause the sound not working, so you can try to update your driver to the latest version to fix the problem.
There’re two ways to update drivers: manually and automatically.
Manually update your sound driver – You can manually update the audio driver by searching on the manufacturer’s website, find the latest and correct driver that’s matched with your Windows OS, and install it in your computer. This requires time and computer skills.
Automatically update your sound driver – If you don’t have time or patience to manually update drivers, you can automatically update drivers with Driver Easy.
Driver Easy will automatically recognize your system and find the correct driver for your computer.
1) Download and install Driver Easy.
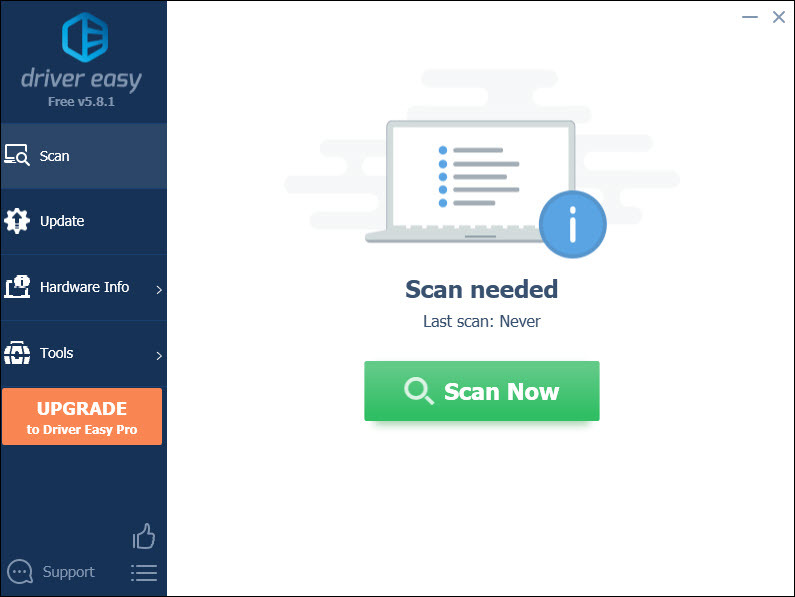
2) Run Driver Easy and click Scan Now. Driver Easy will then scan your computer and detect any problem drivers.
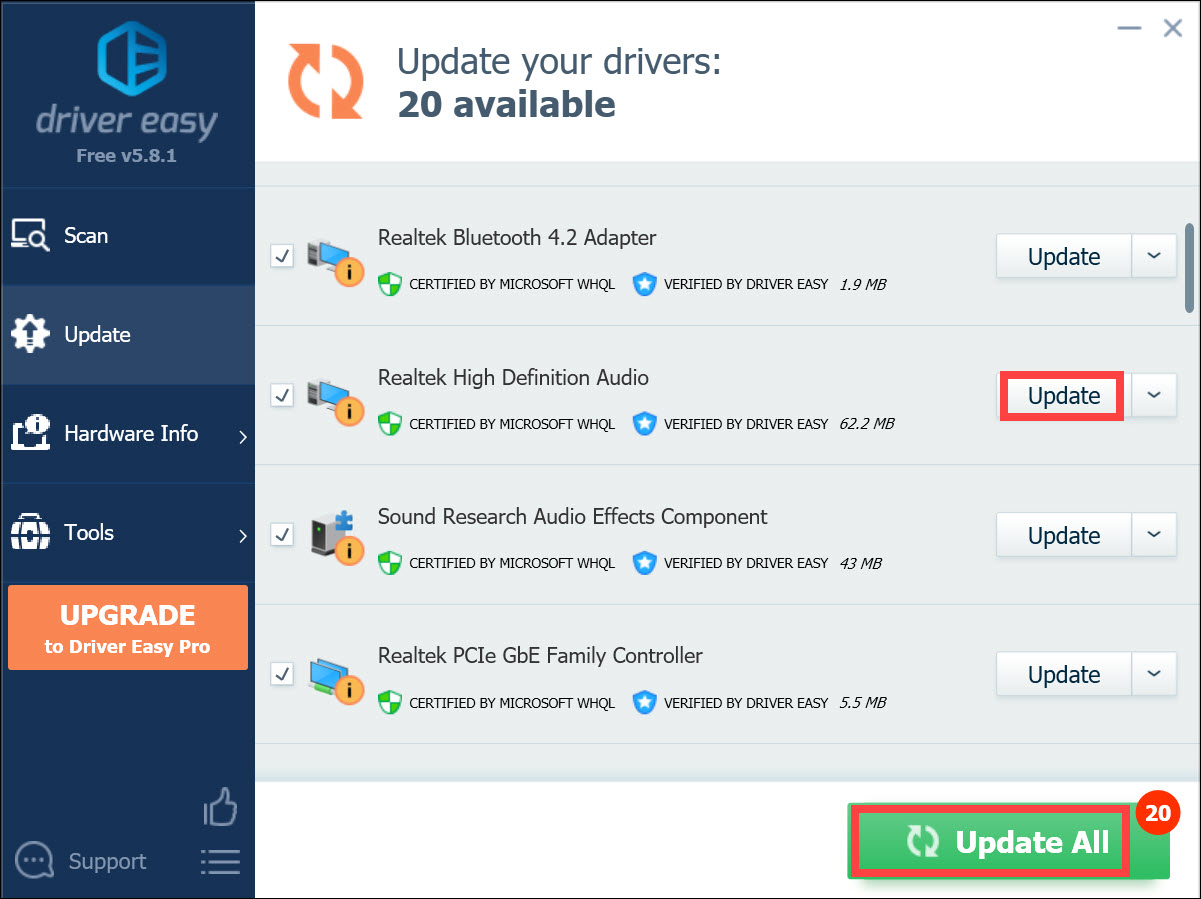
3) Click the Update button next to a flagged audio driver to automatically download and install the correct audio driver (You can do this with the FREE version).
Or click Update All to automatically download and install all the latest correct drivers that is missing or outdated (This requires the Pro version. You will be prompted to upgrade when you click Update All).
4) Restart your computer and check whether your problem is solved.
Fix 4: Reinstall your audio driver
HP laptop sound not working issue can be caused by the driver corruption, so you can uninstall the existed sound driver in your laptop and reinstall a new driver for your sound device.
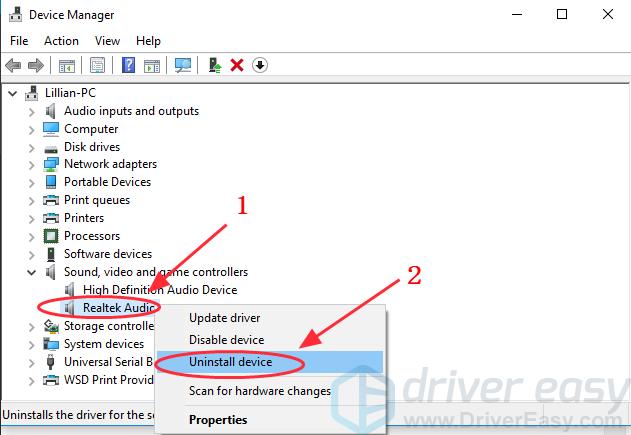
1) Open Device Manager in your laptop.
2) Double-click Sound, video and game controllers to expand it.
3) Right-click your sound device and click Uninstall device.
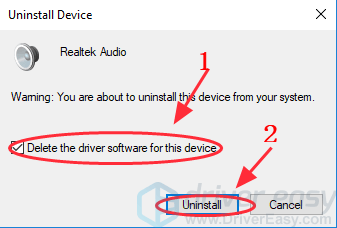
4) Confirm the uninstallation. Check the box next to Delete the driver software for this device if there’s an option like this, then confirm the uninstall.
5) Restart your computer and Windows will automatically download and install the sound driver for your device. After that, check the sound to see if it works.
These are the fix easy solutions to fix the sound not working on HP laptop. If you have any questions, feel free to comment below and we will see what more we can do to help.