


If you have a SteelSeries Arctis 7 headset, you must be a game enthusiast. You can read this article to know how to setup SteelSeries Arctis 7 and use it in a better way.
SteelSeries Arctis 7 Headset
The SteelSeries Arctis 7 headset is a good gaming headset recommended by many professional websites.
The Arctis 7 uses the Arctis 2.4 G wireless connection. The interference-free range can reach to 12 meters (40 ft).
Its mic has been recognized as the best mic in gaming which can deliver studio-quality voice clarity and background noise cancellation.
The Arctis 7 headset can capture every detail in game, the sound is its competitive advantage. And there’s no need to worry about the battery. With 24 hours of battery life, the Arctis 7 can accompany you to complete every game without stop and charge.
How to setup Steelseries Arctis 7 headset
The Steelseries Arctis 7 headset box contains 4 contents: a mobile/console cable; a wireless transmitter; a micro-USB charging cable and the headset.
Connect with your PC/Mac/PS4
To set the Arctis 7 at your PC/MAC/PS4, you’ll need the wireless transmitter.
- Connect the wireless transmitter to your PC/MAC/PS4.
- Hold the power button for at least 3 seconds to power your headset on.
Connect with your mobile phone/XBOX
If you want to connect the headset to your mobile phone or XBOX, you can simply use the mobile/console cable to connect the device.
Repair to the transmitter
The Arctis 7 already pairs to the transmitter, but if you need to pair it again, press and hold the transmitter’s pairing button for 5 seconds until the indicator light starts to flash.
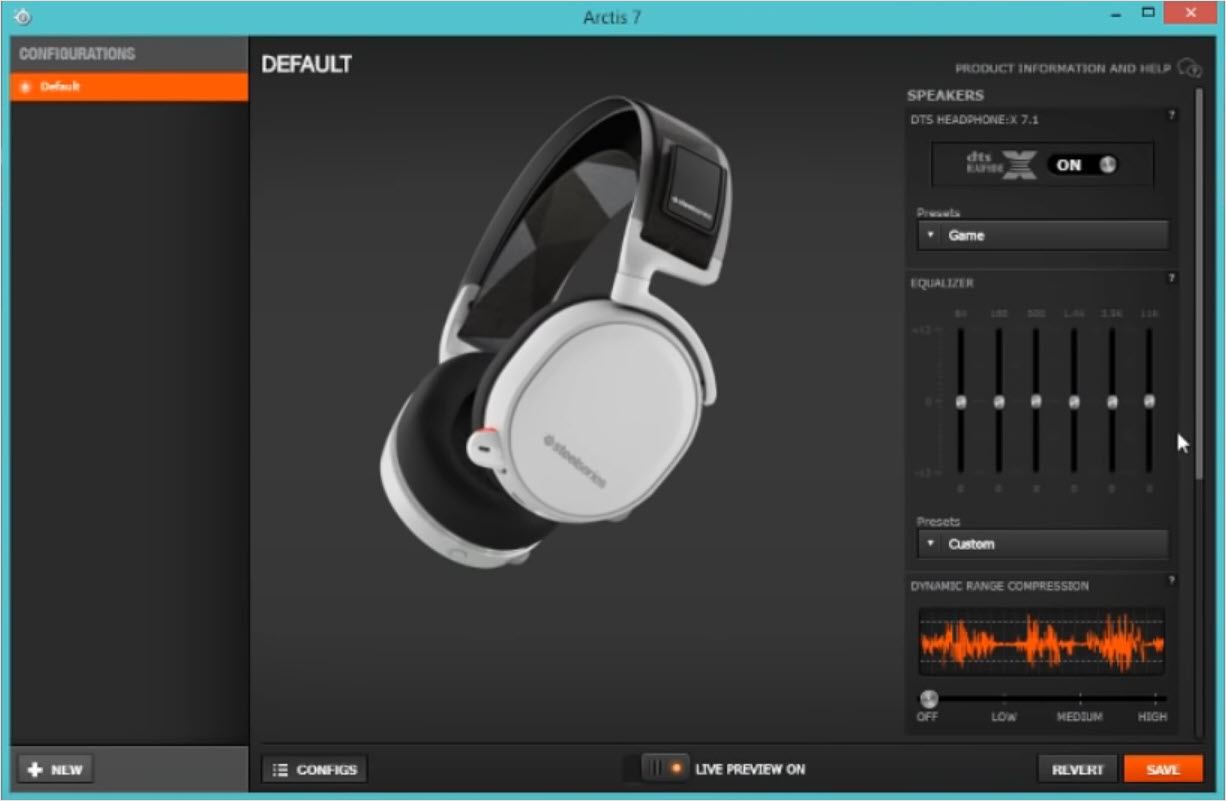
In order to manage the Arctis 7 perfectly, you’ll need the SteelSeries Engine.
How to download SteelSeries Engine 3.15.2
- Go to Steelseries official website.
- Click Windows/macOS according to your operating system.

- Follow the on-screen instructions to finish the installation.
- Manage Arctis 7 in the SteelSeries Engine.
Troubleshoot the Arctis 7 problem
If Arctis 7 mic not working, you can read this article to find fixes.
In order to prevent problems and get a better sound effect, it’s very important to keep your drivers updated.
In order to save time, you can use Driver Easy to update your drivers automatically. Driver Easy will automatically recognize your system and find the correct drivers for it. You don’t need to risk downloading and installing the wrong driver, and you don’t need to worry about making a mistake when installing.
You can update your drivers automatically with either the FREE or the Pro version of Driver Easy. But with the Pro version it takes just 2 clicks (and you get full support and a 30-day money back guarantee):
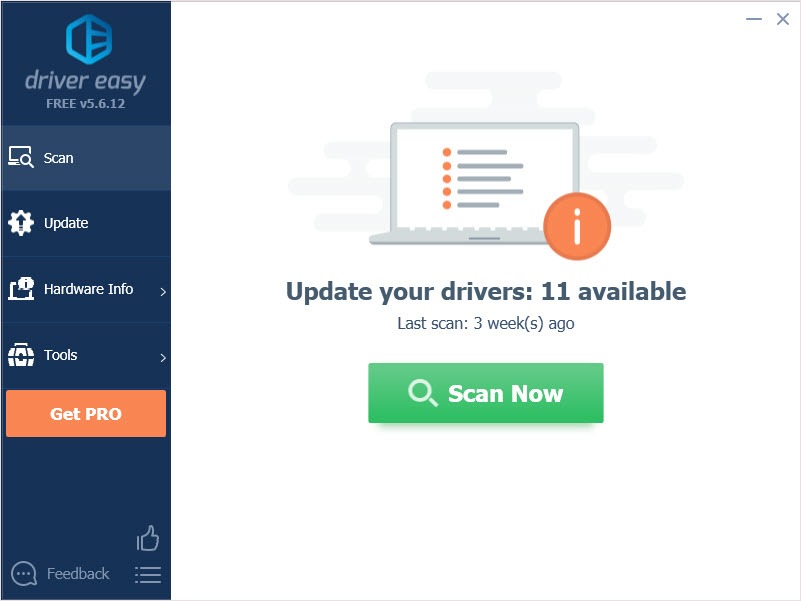
- Download and install Driver Easy.
- Run Driver Easy and click Scan Now button. Driver Easy will then scan your computer and detect any problem drivers.
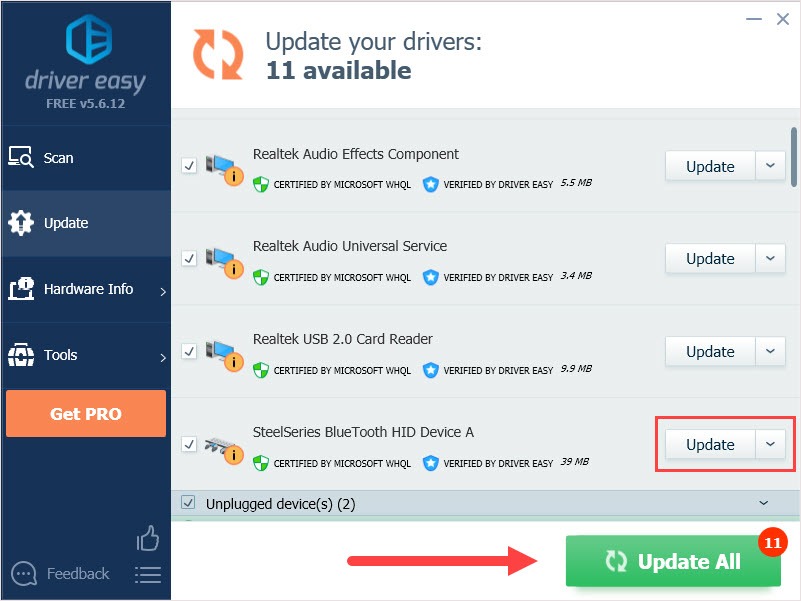
- Click the Update button next to the driver to automatically download and install the correct version of this driver (you can do this with Free version). Or click Update All to automatically download and install the correct version of all the drivers that are missing or out of date on your system (this requires the Pro version – you’ll be prompted to upgrade when you click Update All).
Thanks for reading. Hope this article meets your need. And you are welcome to leave comments below.