


You won’t be happy when you’re playing Dragon Quest 11 with a random crashing issue. The crashes may happen when you through a scene, wait for loading screen or even at the startup. Don’t worry, you’re not alone. Here are some fixes you can try.
Before you start, check your system requirements first. If your computer doesn’t reach the minimum requirements, you may encounter crashes.
DRAGON QUEST XI Minimum Requirements
| OS | Windows 7 SP1/ Windows 8.1 / Windows 10 64-bit |
| Processor | Intel Core i3-2105 / AMD A10-5800K |
| Memory | 8 GB RAM |
| Graphics | NVIDIA GeForce GTX 750Ti / AMD Radeon RX 470 |
| Storage | 32 GB available space |
DRAGON QUEST XI Recommended Requirements
| OS | Windows 7 SP1/ Windows 8.1 / Windows 10 64-bit |
| Processor | Intel Core i5-6600 / AMD Ryzen 7 1800X |
| Memory | 8 GB RAM |
| Graphics | NVIDIA GeForce GTX 1060 / AMD Radeon RX Vega 56 |
| Storage | 32 GB available space |
Try these fixes:
- Download the latest patch
- Manage Virtual Memory
- Delete specific files from the save folder
- Underclock your clock speed
Fix 1: Download the latest patch
If you haven’t been updated your game for a while, you can update your game. The official keeps releasing new patches, the latest version may solve the crashing issue.
Fix 2: Manage Virtual Memory
If the game crashes happened in the loading screen, you can try this fix. By changing the setting of Virtual Memory, the crash should be gone.
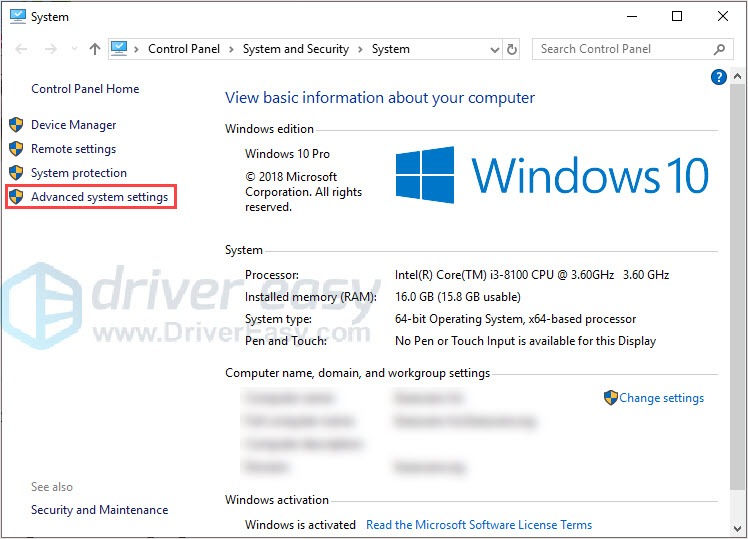
- Press the Windows logo key + Pause to open System.
- Click Advanced system settings.
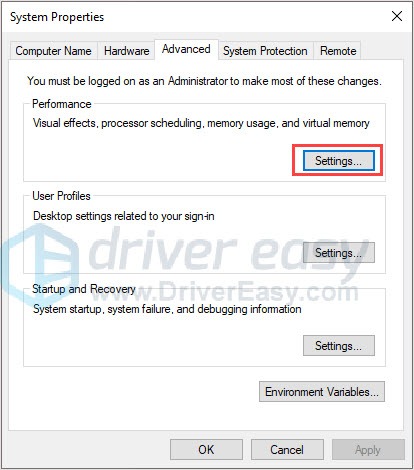
- Under the Advanced tab, click Settings.
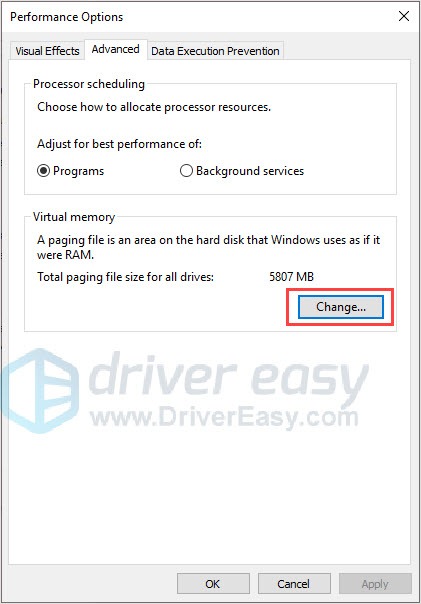
- Under Virtual memory, click Change.
- Uncheck Automatically manage paging file size for all drives and make sure you’ve check System managed size.
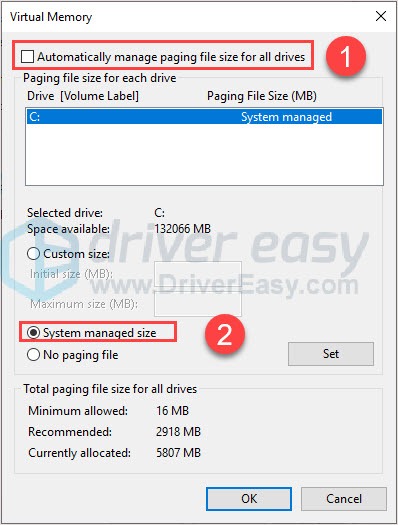
- Click Set > OK.
- Reboot your computer can check whether the crash will appear or not.
Fix 3: Delete specific files from the save folder
It’s possible some of the files in your game folder is corrupted, you can delete the specific files to get rid of crashes.
Note: If you’re worried about data losing, you can copy all files in a separate folder.
- Run Steam.
- In the LIBRARY, right-click on the game and click Properties.
- Choose LOCAL FILES and click BROWSE LOCAL FILES.
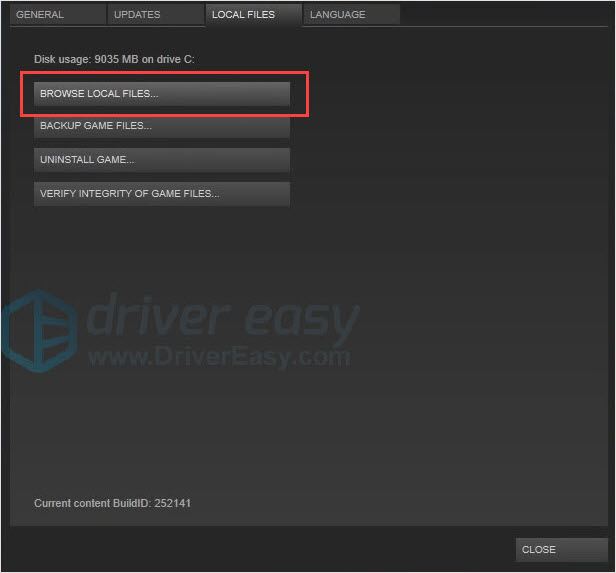
- Navigate to the save folder, delete Data(999).sav & Data(999).bak.
- Reboot your computer and check the issue is solved or not.
Fix 4: Underclock your clock speed
The game is built with an old Unreal Engine version. This may be the reason for the random crashes. You can underclock your CPU speed by 100 MHz or 150 MHz to see whether it helps or not.
Bonus: Update your drivers
To get a better gaming experience, it’s very important to keep your drivers updated. There are two ways you can download your graphics and sound card drivers.
Option 1 – Manually – You’ll need some computer skills and patience to update your drivers this way, because you need to find exactly the right the driver online, download it and install it step by step.
OR
Option 2 – Automatically (Recommended) – This is the quickest and easiest option. It’s all done with just a couple of mouse clicks – easy even if you’re a computer newbie.
Option 1 – Download and install the driver manually
You can download drivers from their official websites. Enter your model name to find the correct model and choose your specific flavor of Windows system (Window 10 64-bits or etc.) Then download the driver manually.
Option 2 – Automatically update drivers
If you don’t have the time, patience or computer skills to update the Aura driver manually, you can do it automatically with Driver Easy.
Driver Easy will automatically recognize your system and find the correct drivers for it. You don’t need to know exactly what system your computer is running, you don’t need to risk downloading and installing the wrong driver, and you don’t need to worry about making a mistake when installing.
You can update your drivers automatically with either the FREE or the Pro version of Driver Easy. But with the Pro version it takes just 2 clicks (and you get full support and a 30-day money back guarantee):
- Download and install Driver Easy.
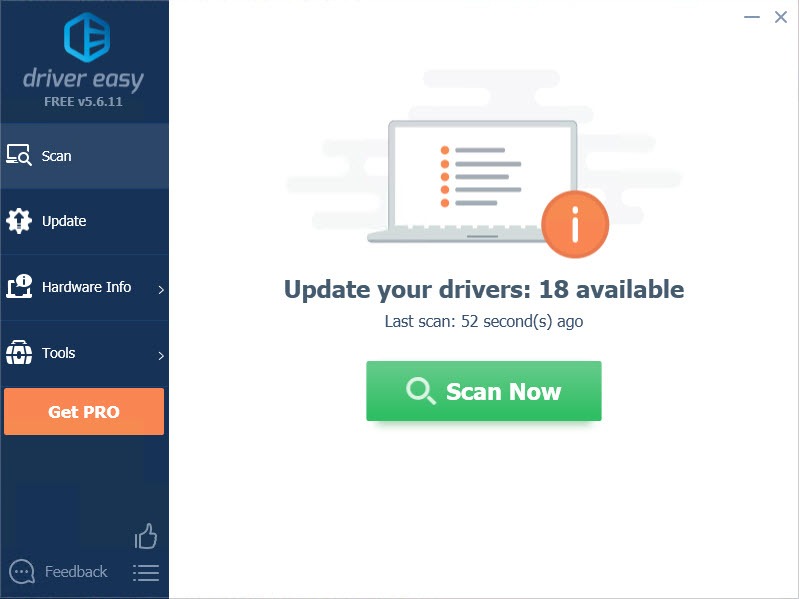
- Run Driver Easy and click Scan Now button. Driver Easy will then scan your computer and detect any problem drivers.
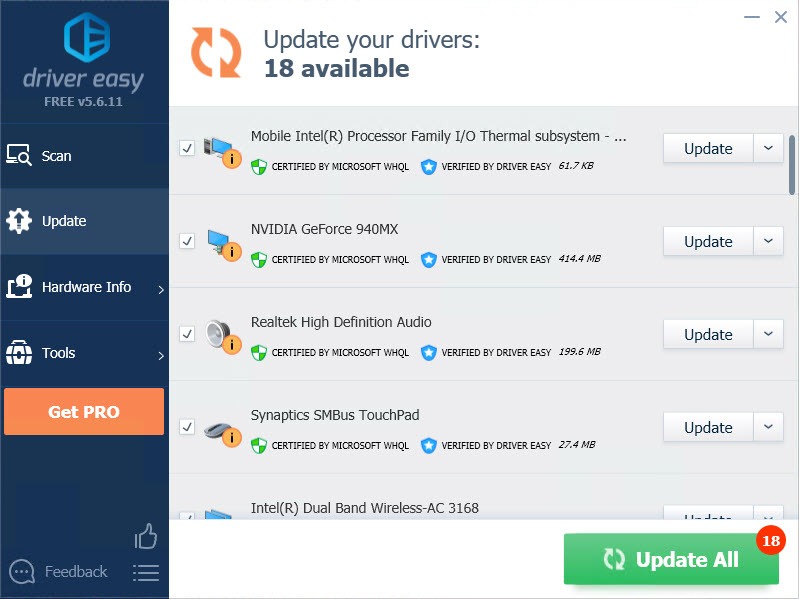
- Click the Update button next to the driver to automatically download and install the correct version of this driver (you can do this with Free version). Or click Update All to automatically download and install the correct version of all the drivers that are missing or out of date on your system (this requires the Pro version – you’ll be prompted to upgrade when you click Update All).
Thanks for reading. Hope this article meets your need. And you are welcome to leave comments below.