


Ugh, the annoying blue screen of death error again! And this time, the failed component is vgk.sys, as pointed out by the on-screen error code. If this is also you, don’t worry; this is usually not a hard issue to tackle: the vgk.sys file is related to the Vanguard anti-cheat engine in Riot Valorant. With that in mind, we’ll know how to move further to get the vgk.sys BSOD issue fixed easily.
Try these fixes to get the vgk.sys blue screen of death error fixed
You don’t have to try all the following fixes: simply work your way down the list until you find the one that does the trick to fix the vgk.sys blue screen of death error for you.
- Clean update the graphics card driver with DDU
- Reinstall Vanguard and Valorant
- Enable Vanguard service
- Repairing Valorant game files
- Try a system restore or a reset
1. Clean update the graphics card driver with DDU
One of the very common reasons for the vgk.sys blue screen of death error is an outdated or faulty graphics card driver. In this case, it’s recommended that you do a clean reinstallation of the display card driver. To do so, DDU (Display Driver Uninstaller) is usually recommended, as it can do a pretty good job removing all the older or faulty display driver files on your computer.
To do a clean reinstallation of the display card driver with DDU:
- Download and search for the execution file of the display card driver from the website of your GPU manufacturer:
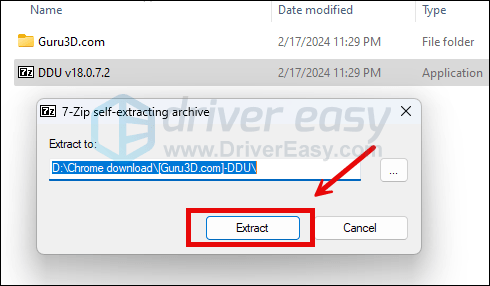
- Download DDU from the official download page. Then unzip the folder, and double-click the DDU file to further extract the execution file.
- Boot your computer into Safe Mode as instructed here: Start Safe Mode using the System Configuration tool
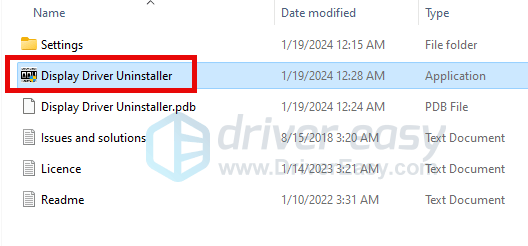
- When in Safe Mode, go to the folder where you unzip the DDU execution file. Double-click to run Display Driver Uninstaller.
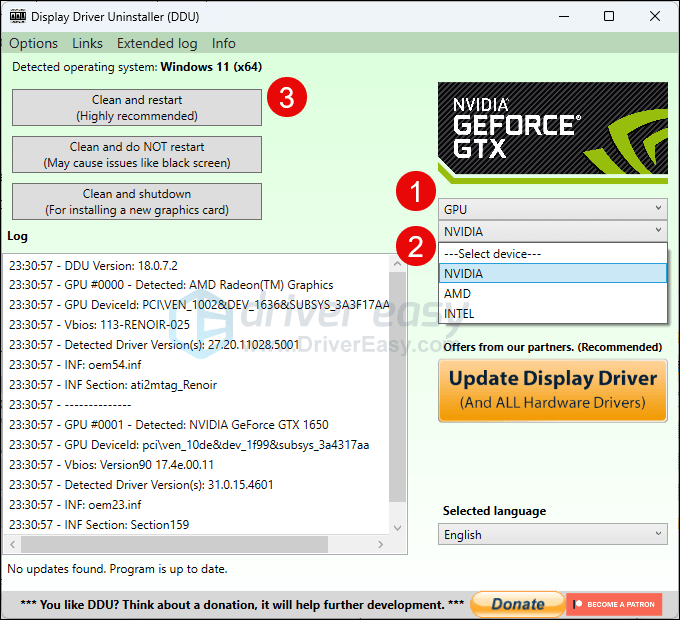
- Select GPU and your GPU manufacturer on the right side. Then click Clean and restart.
- Your computer should restart when the old driver files for your graphics card are cleaned.
- Double-click the setup file for the display card driver you’ve downloaded from step 1 to run the driver installation.
- Restart your computer afterward to see if the vgk.sys blue screen of death error remains.
If you don’t know what driver to download in the very first place, or the time or patience to do all the above, you can do it automatically with Driver Easy. Driver Easy will automatically recognize your system and find the correct drivers for it. You don’t need to know exactly what system your computer is running, you don’t need to be troubled by the wrong driver you would be downloading, and you don’t need to worry about making a mistake when installing. Driver Easy handles it all.
- Download and install Driver Easy.
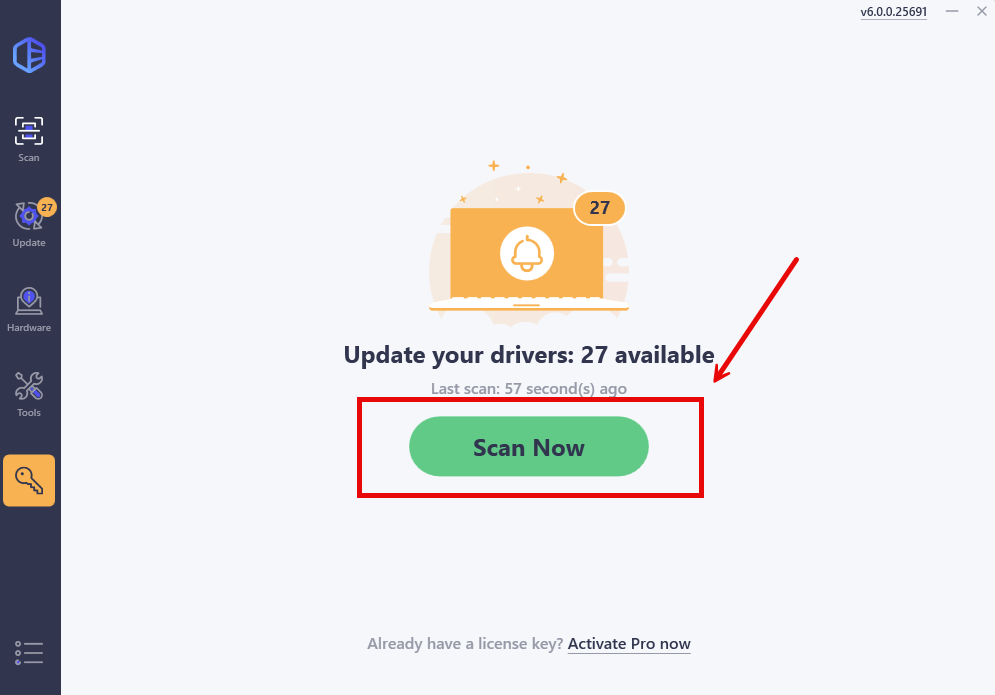
- Run Driver Easy and click the Scan Now button. Driver Easy will then scan your computer and detect any problem drivers.
- Click Update All to automatically download and install the correct version of all the drivers that are missing or out of date on your system.
(This requires the Pro version which comes with full support and a 30-day money-back guarantee. You’ll be prompted to upgrade when you click Update All. If you’re not ready to buy the Pro version, Driver Easy offers a 7-day free trial which includes access to all the Pro features such as high-speed download and one-click install. You won’t be charged anything until your 7-day trial has ended.)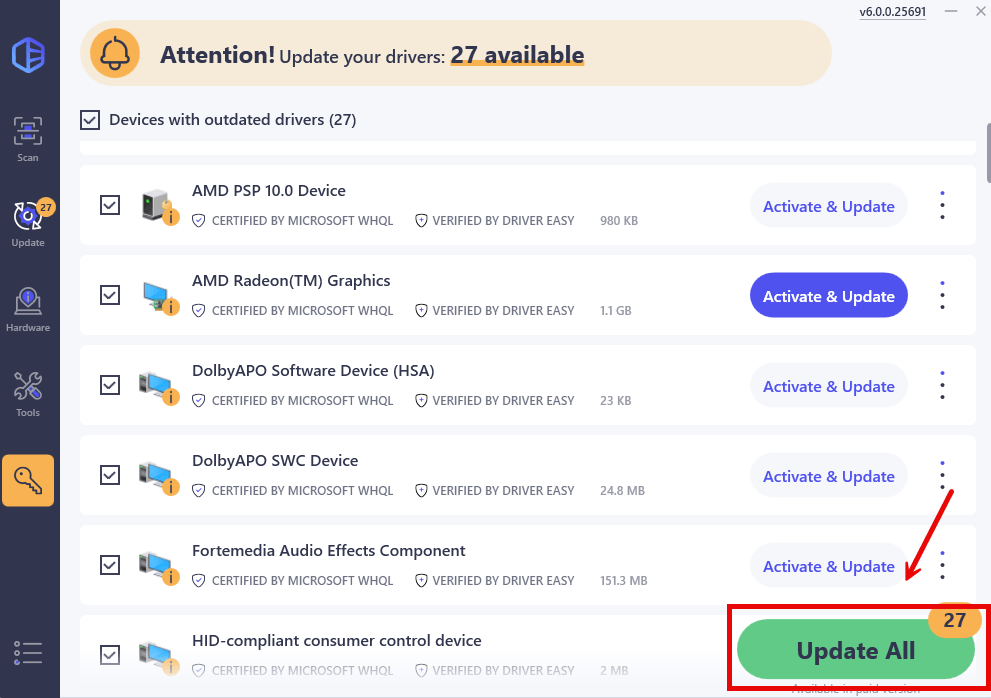
- Restart your computer for the changes to take effect.
Then see if the latest correct graphics driver helps to stop the vgk.sys blue screen of death error. If this fix doesn’t work for you, try the next fix, below.
2. Reinstall Vanguard and Valorant
If the latest graphics card driver doesn’t fix the vgk.sys blue screen of death error for you, you should consider reinstalling Vanguard and Volrant, in case a corrupted file in the game is the culprit to the BSOD error. To do so:
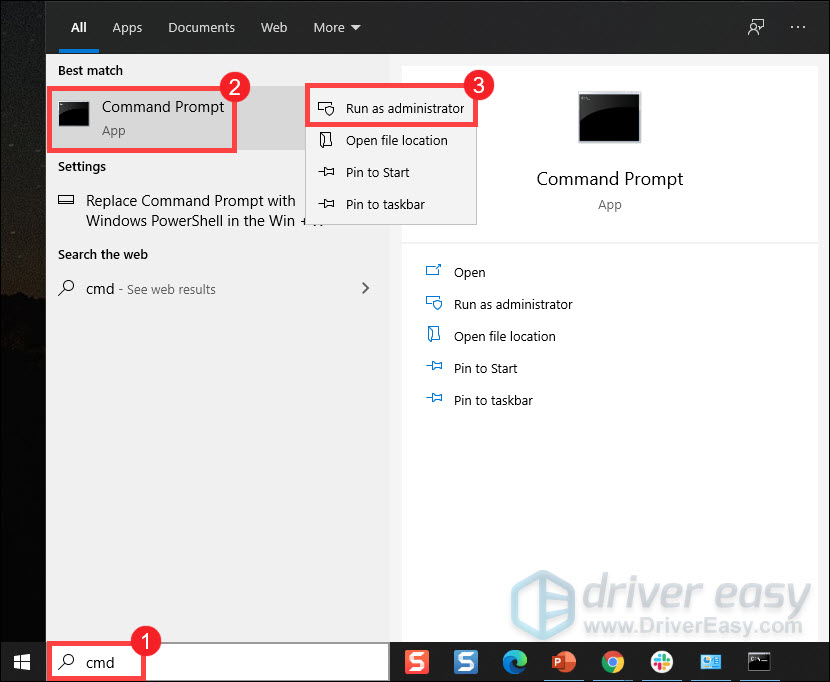
- In the Search box, type cmd. Right-click Command Prompt from the results and select Run as administrator.
- Copy and paste these two commands and hit Enter after each one:
sc delete vgcsc delete vgk - Restart your computer afterward.
- Once your computer is rebooted, press the Windows logo key and E at the same time to open File Explorer.
- Click C Drive > Program Files. Right-click on the Riot Vanguard folder and select Delete.

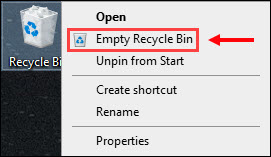
- From your desktop, right-click Recycle Bin, and select Empty Recycle Bin to delete the Riot Vanguard folder completely. (Note: if you have any important documents in the Recycle Bin, make sure you’ve restored them before you confirm to permanently delete all files in it.)
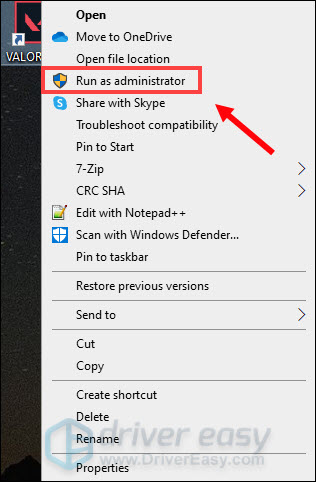
- Right-click on the VALORANT shortcut and select Run as administrator.
- Wait for Vanguard to be installed.

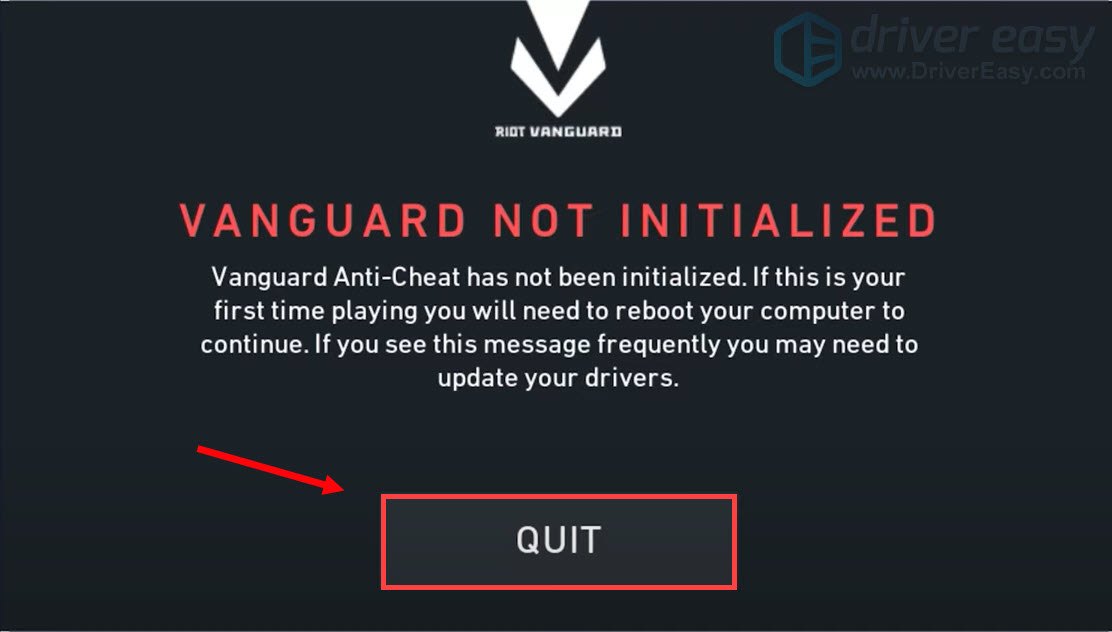
This will take several minutes to complete. Once it’s finished, click the PLAY button. - When you receive the error VANGUARD NOT INITIALIZED, simply click QUIT.
- Now restart your computer to finish the installation process.
Once your computer restarts, right-click on the VALORANT shortcut and select Run as administrator again (as instructed in step 7 above) to see if running the game invokes the vgk.sys blue screen of death error again. If the problem remains, please move on.
3. Enable Vanguard service
Vanguard is Riot’s all-new anti-cheat system which is required to play VALORANT. So you need to ensure that it’s granted with full system rights and permissions to see if the vgk.sys blue screen of death error remains. To check it, follow the instructions below:
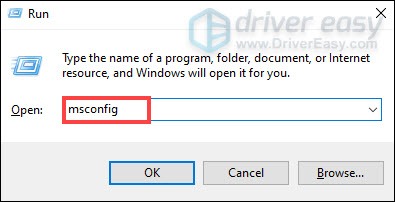
- On your keyboard, press the Windows logo key and R at the same time to open the Run dialog box.
- Type msconfig and press Enter.
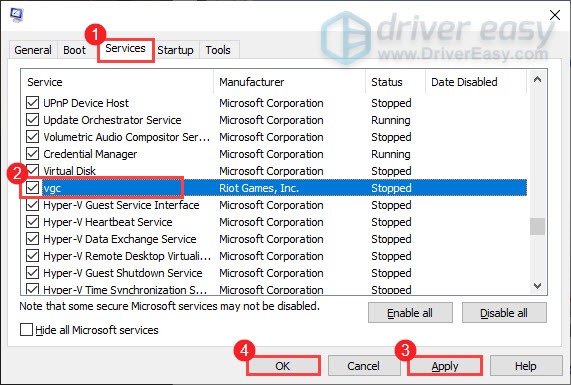
- Click on the Services tab. Locate the vgc service. Tick the box next to it to enable the service. Then press Apply > OK.
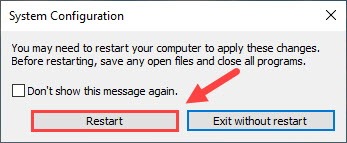
- Click Restart.
After rebooting your computer, play your game like how you usually do it and see if the vgk.sys blue screen of death error is still seen. If so, you need to change vgc’s startup type as well. To do so:
- On your keyboard, press Windows logo key and R at the same time to open the Run dialog box.
- Type services.msc and press Enter.
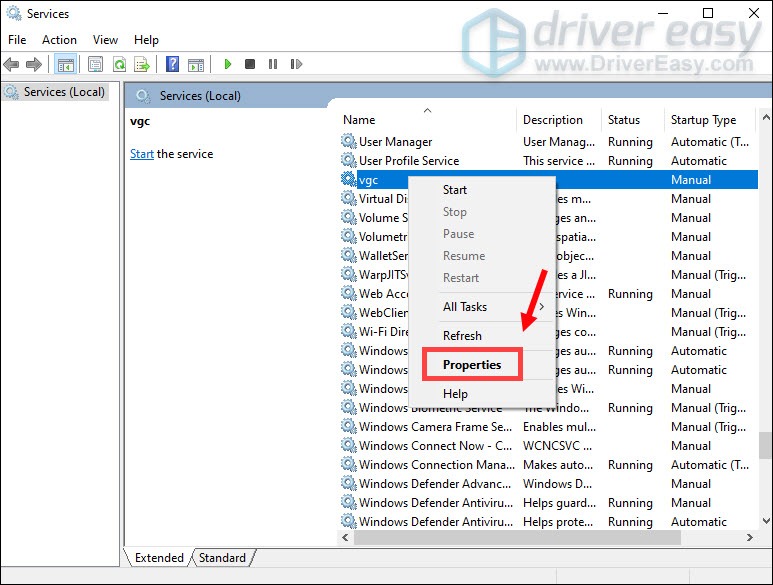
- Right-click vgc and select Properties.
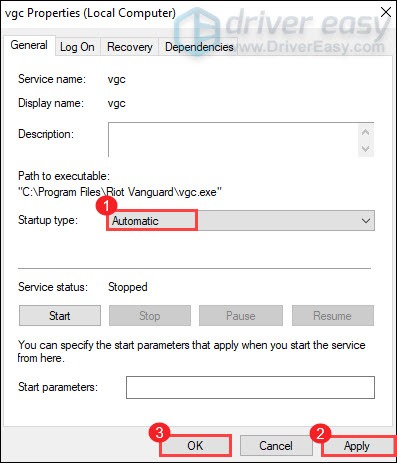
- In Startup type, click on the down arrow and select Automatic. Then click Apply > OK.
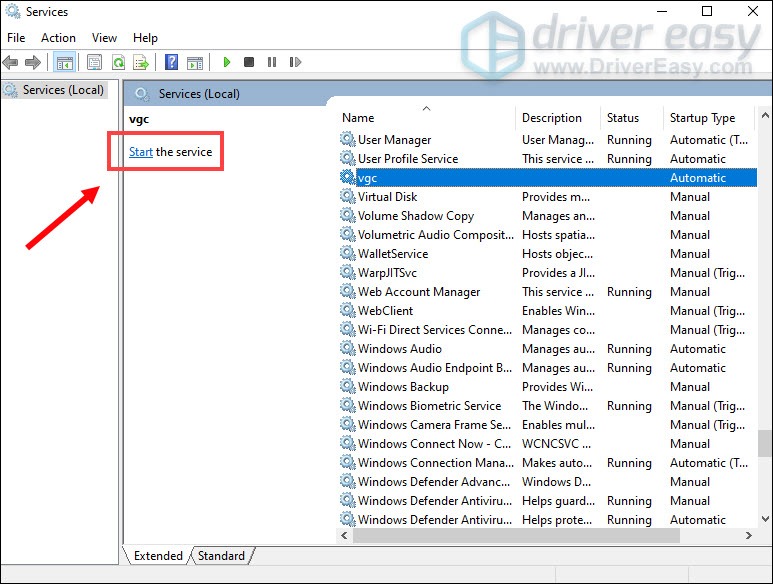
- Click Start to start the service.
Now launch VALORANT to see if the vgk.sys blue screen of death error persists. If so, please try the next fix below.
4. Repairing Valorant game files
Another possible reason for the vgk.sys blue screen of death error is corrupted or damaged game files with Valorant. To see if this is your case, you can try to repair the game files in this way:
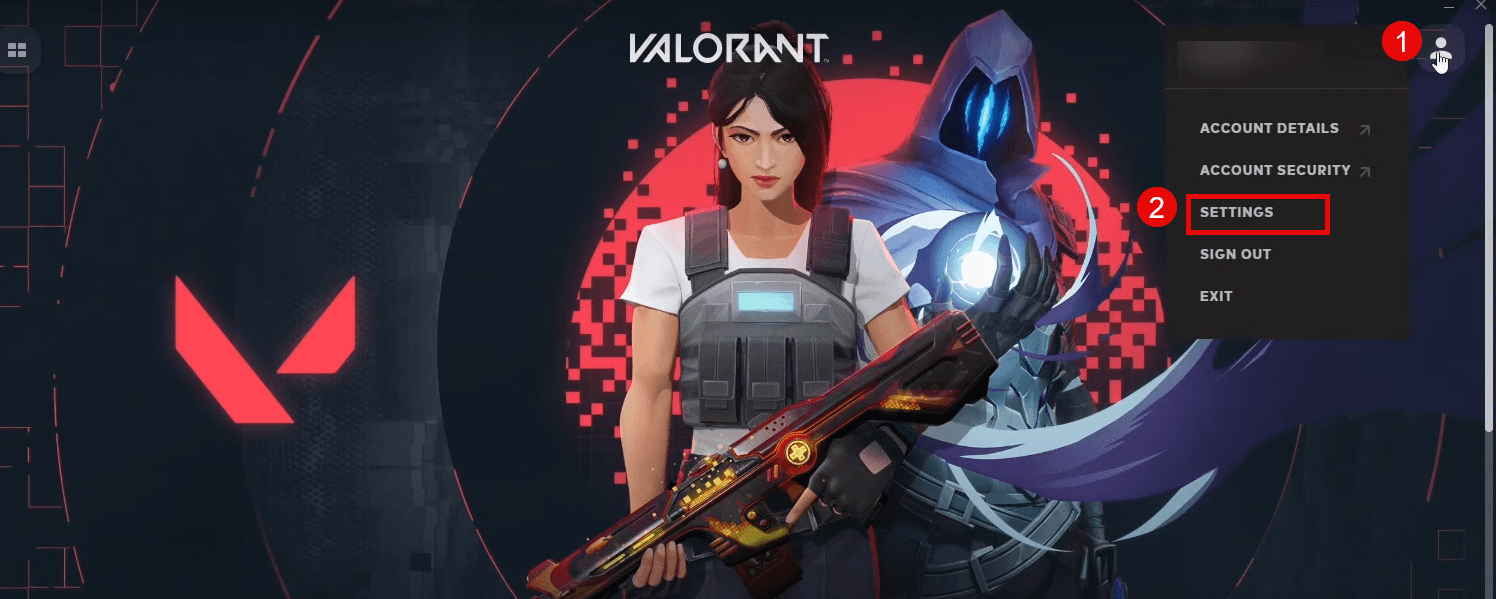
- Launch the Riot client and click the Profile icon, then choose Settings.
- Click Valorant and click the Repair button.
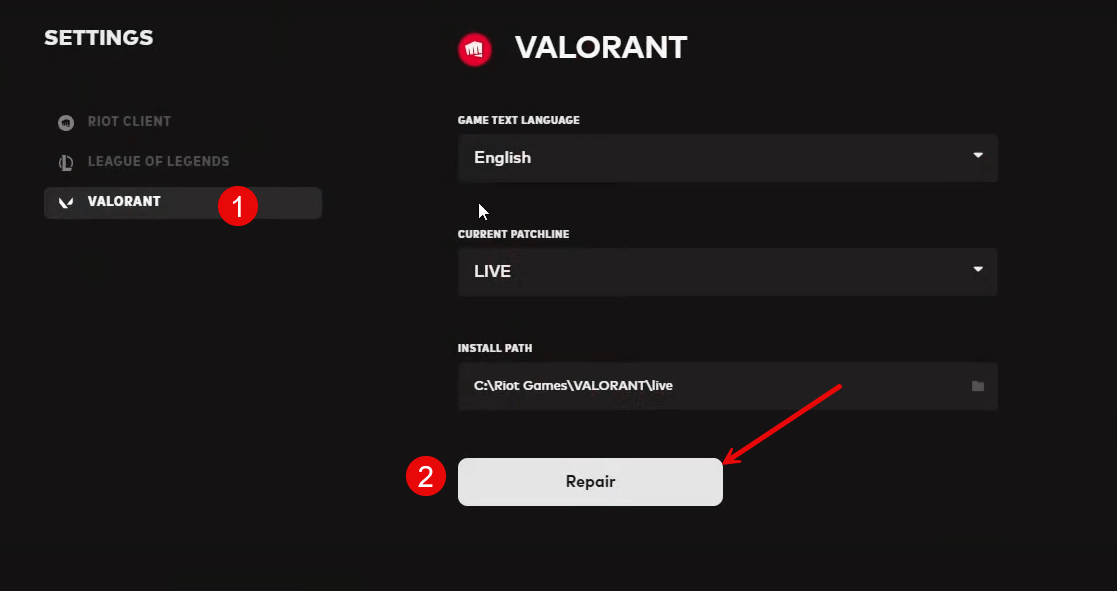
- Wait for the process to finish.
- Restart your computer and try Valorant again.
See if the vgk.sys blue screen of death error is fixed after the game file repair. If not, please move on.
5. Try a system restore or a reset
At this point, when none of the previous methods are proven effective for the vgk.sys blue screen of death error on your computer, you may need to consider a system restore, which reverts your computer to its last healthy stage. If you’re not sure how to do it, here’s a post for your reference: Repair Your Computer in Windows 10 Automatically
But if your system doesn’t have a restore point saved before the vgk.sys blue screen of death error, you may need to consider a computer refresh or a reset instead, which will usually wipe out your system files. To do so, here’s a post with detailed instructions: Windows 10 Refresh & Reset Easily. Please do this only when you’re sure what you’re doing, otherwise you’ll face with important data loss.
That’s it for the post on how to fix the vgk.sys blue screen of death error on your computer. If you have any other suggestions, please feel free to share them with us by leaving a comment below. We’re all ears.