


Want to add cool effects to your videos? If so, you’ve come to the right place! Actually it can be much easier than you may think if you use a professional video editing tool. In this post, we’re going to show you two cool video editors that allow you to add wonderful effects quickly and easily!
Try these two video editors
1. Add cool effects with FilmoraPro
FilmoraPro is a user-friendly video editing software that can empower your creativity. With FilmoraPro, you can add masks, transition effects, green screen effects, overlays and filters easily. Besides, you can also find more video effects from Filmora Effects Store.
To add cool effects with FilmoraPro:
1) Download FilmoraPro on your computer. For Windows users, click here to start downloading. If you’re a Mac user, click here.
2) Install and run FilmoraPro.
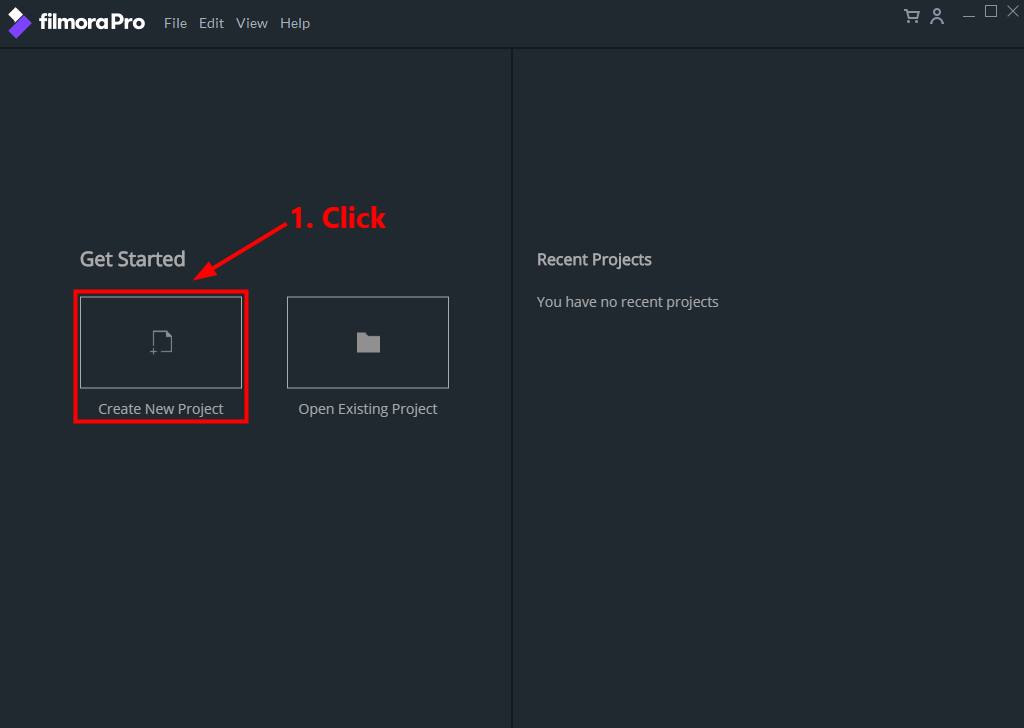
3) Click Create New Project.
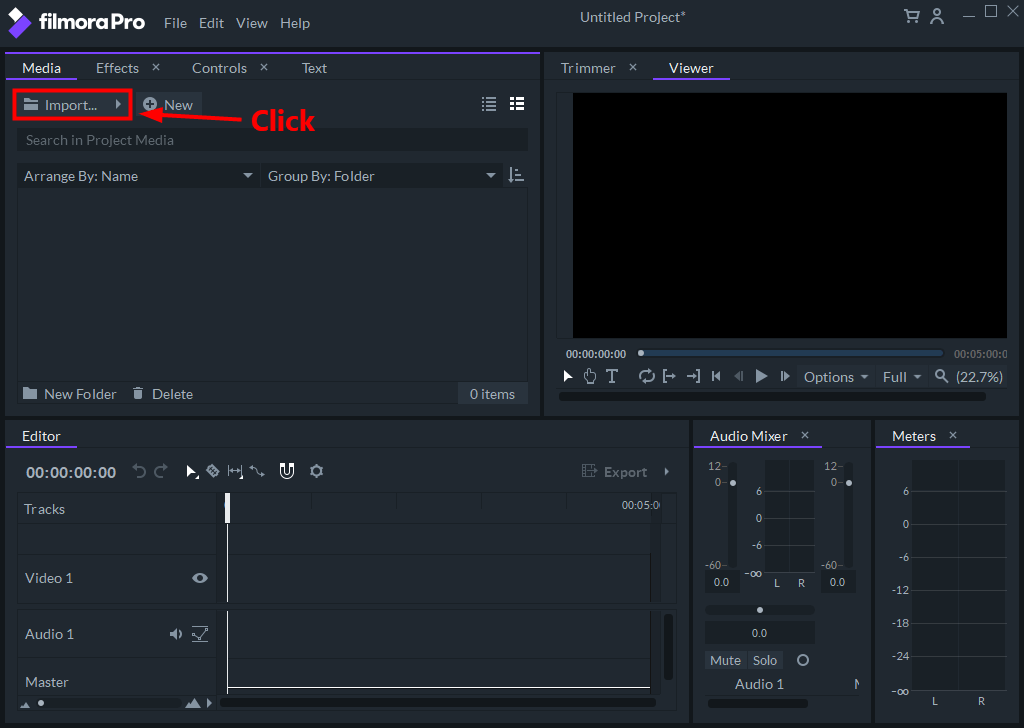
4) Click Import… to import your video to the media library.
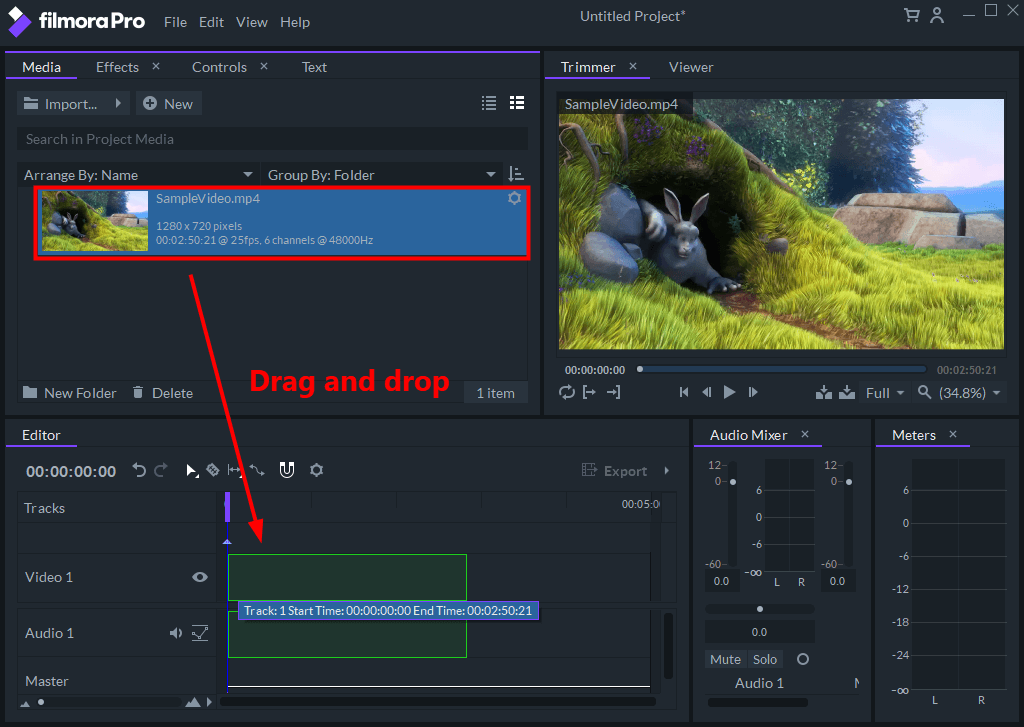
5) Drag your video from the media library and drop it to the video timeline.
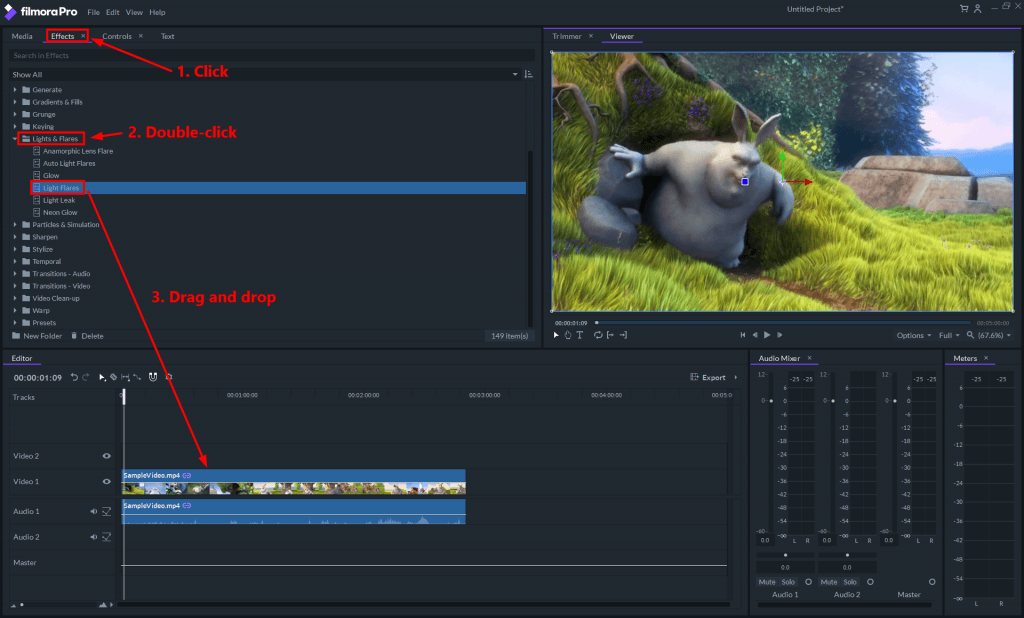
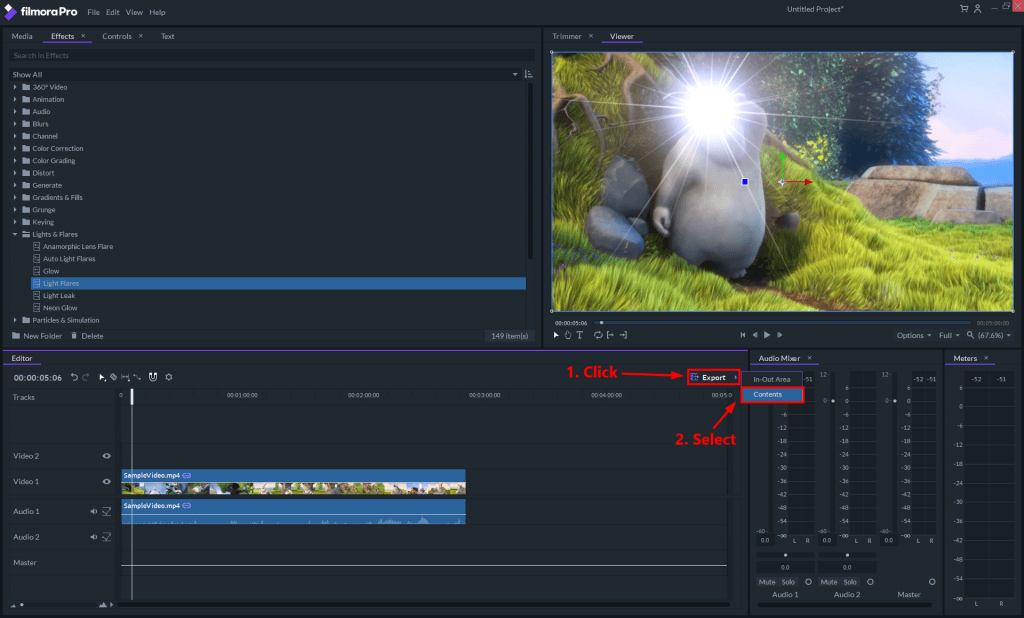
6) Navigate to the Effects tab. Double-click on the folder of a specific set of effects. Then drag the effect you want to add and drop it to your video.
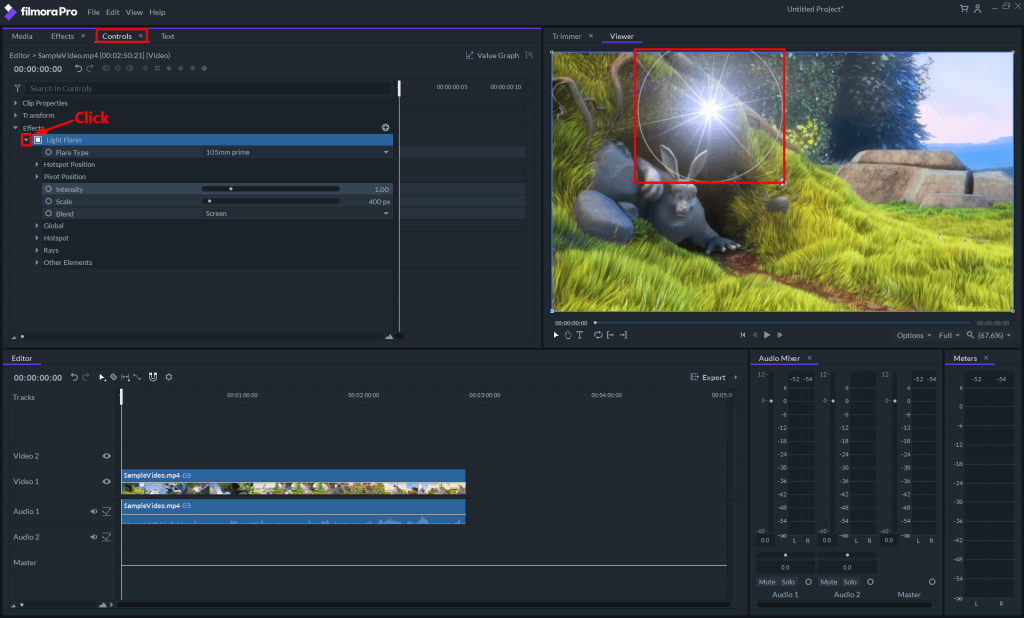
7) In the Controls tab, click the triangle next to the effect you’added to view more detailed settings of this effect. You can preview the effect you’ve added in the Viewer. You can follow the steps above to add more effects.
8) To export the video with effects, click Export and select Contents.
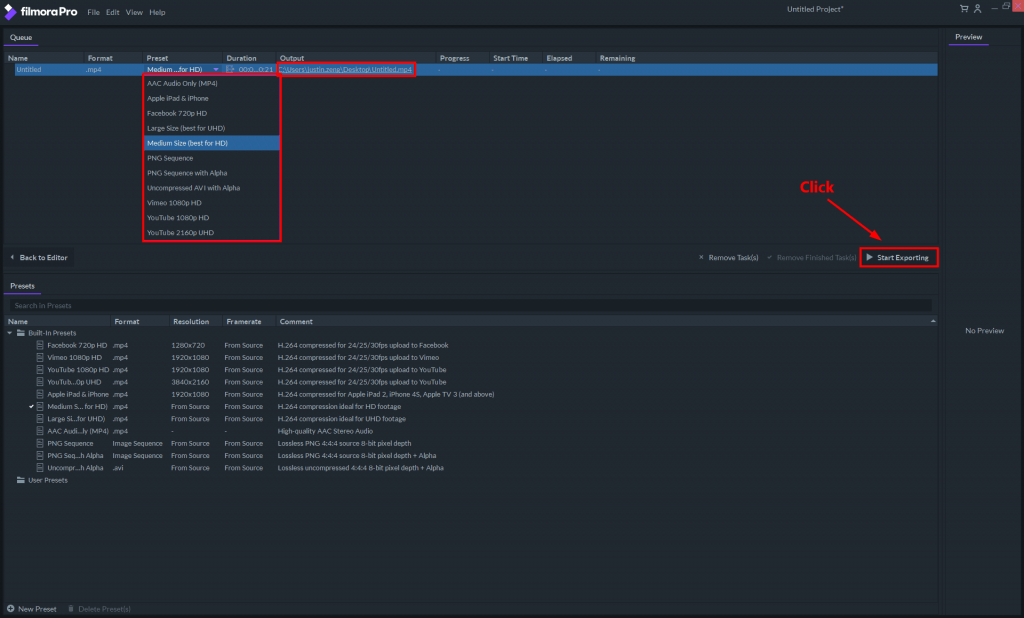
9) Click Start Exporting. Wait until the exporting process completes.
2. Add cool effects with Movavi Video Editor?
Movavi Video Editor is another powerful video editing software that you can use to add cool effects easily. In Movavi, you can find lots of fashionable filters, transitions, titles, stickers, etc. If the built-in effects still fail to meet your requirements, you can also find more cool effect in Movavi effects store.
To add cool effects with Movavi Video Editor:
1) Before visiting the official website of Movavi, get a discount coupon for Movavi Video Editor first! Then download Movavi Video Editor on your computer. If you’re a Windows user, click here to start downloading; for Mac users, click here.
2) Install and run Movavi Video Editor.
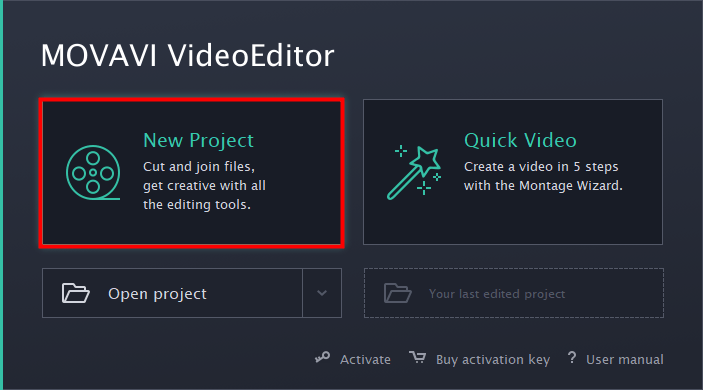
3) Select New Project.
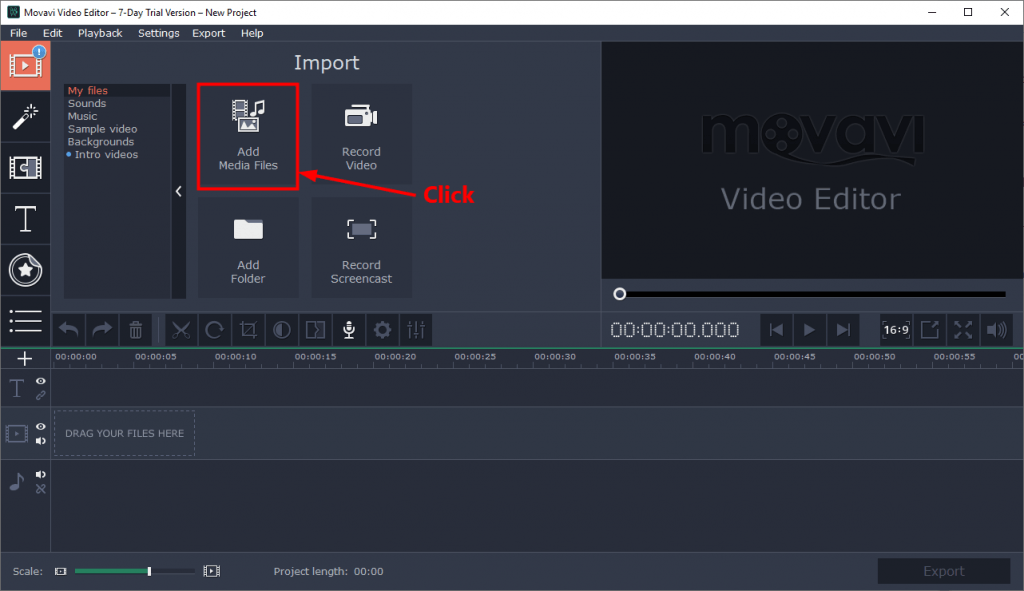
4) Click Add Media Files to import your video. Once you imported your video, it’ll appear in the video timeline.
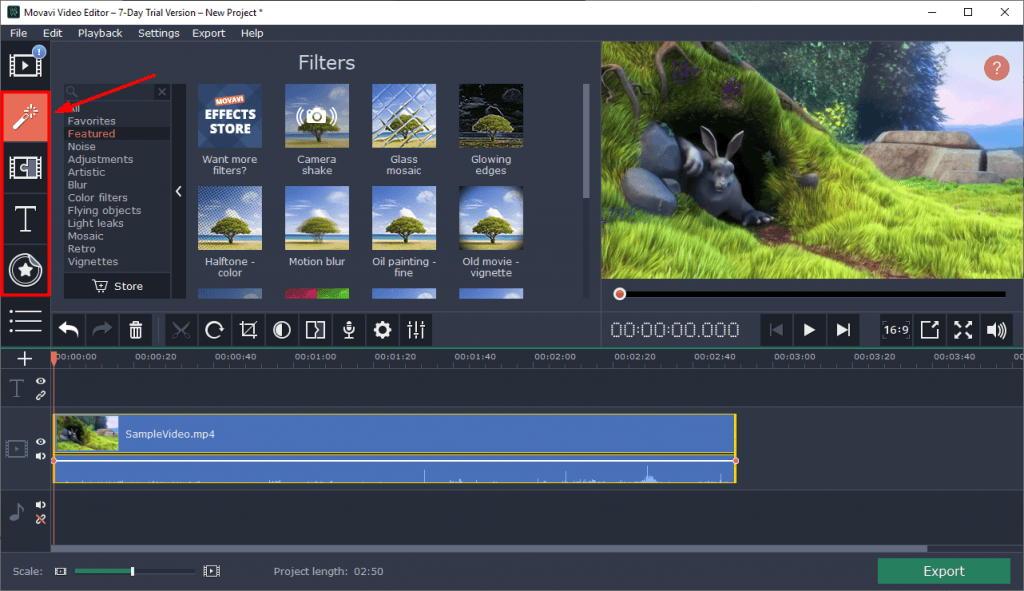
5) Click specific icon on the upper-left panel to add filters, transitions, titles or stickers to your video. In the following steps, we’re showing you how to add a filter to the video. For the other elements, the steps are similar.
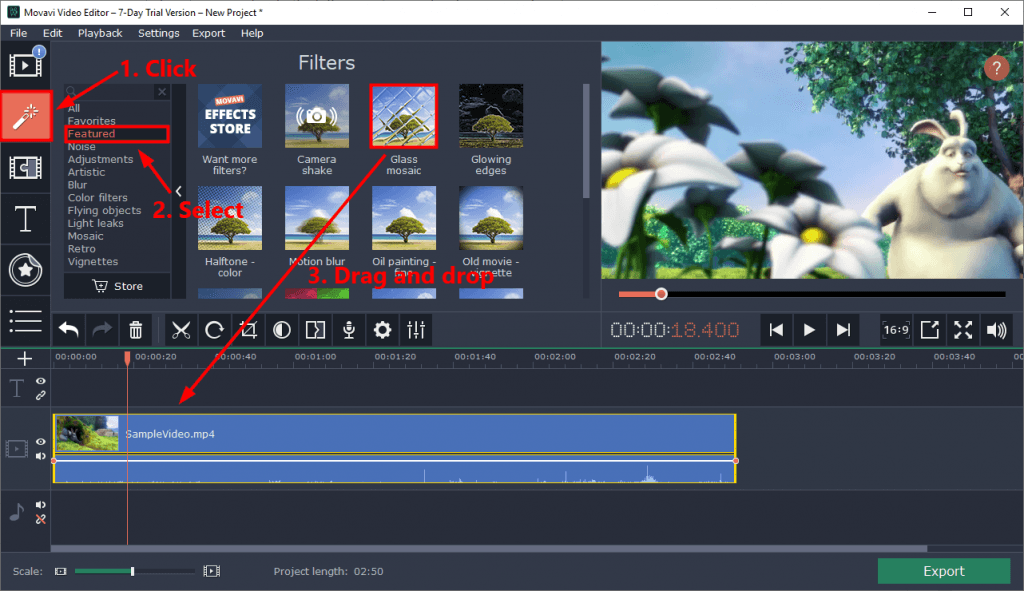
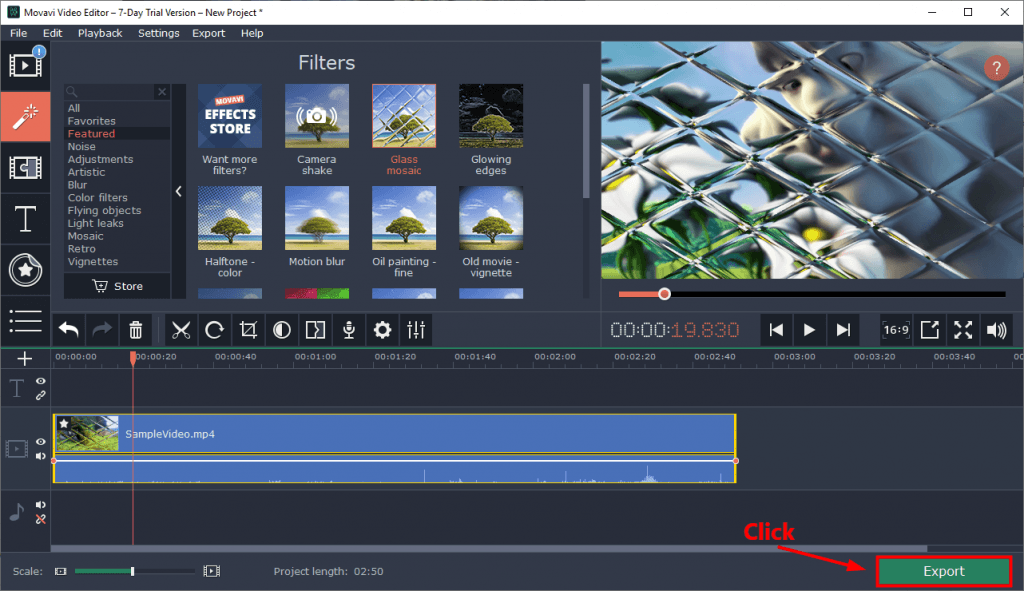
6) Click the Filter icon, then select a kind of effects you’re going to add. In the Filters preview window, you can see the thumbnail of the effects of that kind. Drag a effect and drop it to the video timeline to add this effect to your video. You can follow the steps above to add more effects.
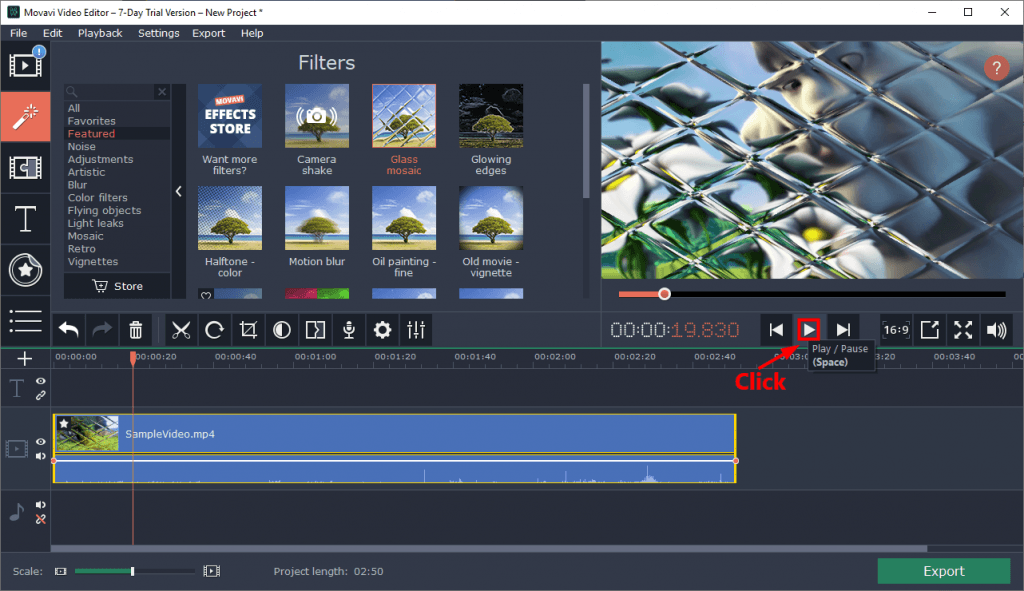
7) Click the play button to preview the video with the effects.
8) To export this video, click Export on the lower-right corner.
That’s it! It’s pretty easy, isn’t it? If you have any questions or suggestions, you’re more than welcome to leave us a comment below.