


When you launch your VRChat, it can be more than irritating to see a forever-loading screen. The infinite log-in loop can just drive you crazy.
Many VRChat players are reporting the same connection error:
Cannot Connect to VRChat (Make sure your device has a working internet connection and restart VRChat)
Yet the worst of all is that the VRChat connection error happens a lot. This bizarrely cool VR world shouldn’t be blocked by this annoying bug like this. Luckily, it’s quite easy to fix…
How to fix VRChat connection issues?
Whether you’re experiencing VRChat not loading issues, ‘Cannot Connect to VRChat’ errors, or VRChat not responding when playing, the main causes are usually massive game cache, internet connection problems, or the game itself.
Whatever the cause is, you can try resolving this issue with the workarounds below, which proved useful for many VRChat users:
- Clear your VRChat temp files
- Try some special launch options
- Update your video card driver
- Disable IPV6
- Delete VRChat in the registry
- Add antivirus exception for VRChat
- Use a VPN service
- Repair your system files
Fix 1: Clear your VRChat temp files
Although VRChat itself has very tiny installation files, the file size will get extremely huge when you keep meeting new friends with custom avatars.
To ensure your VRChat runs smoothly, you should clear these files occasionally:
- Delete the files in %Username%AppDataLocalTempVRChat.
- Try launching your VRChat to see if the issue reoccurs.
- If VRChat not loading persists, restart your computer and try testing it again.
Fix 2: Try some special launch options
Doing this should give you a chance to orientate yourself and get your bounds without the lag and reduce login issues, since I started doing this, I’ve had far fewer issues.
- Go to the LIBRARY of your Steam, then right-click VRChat and select Properties.
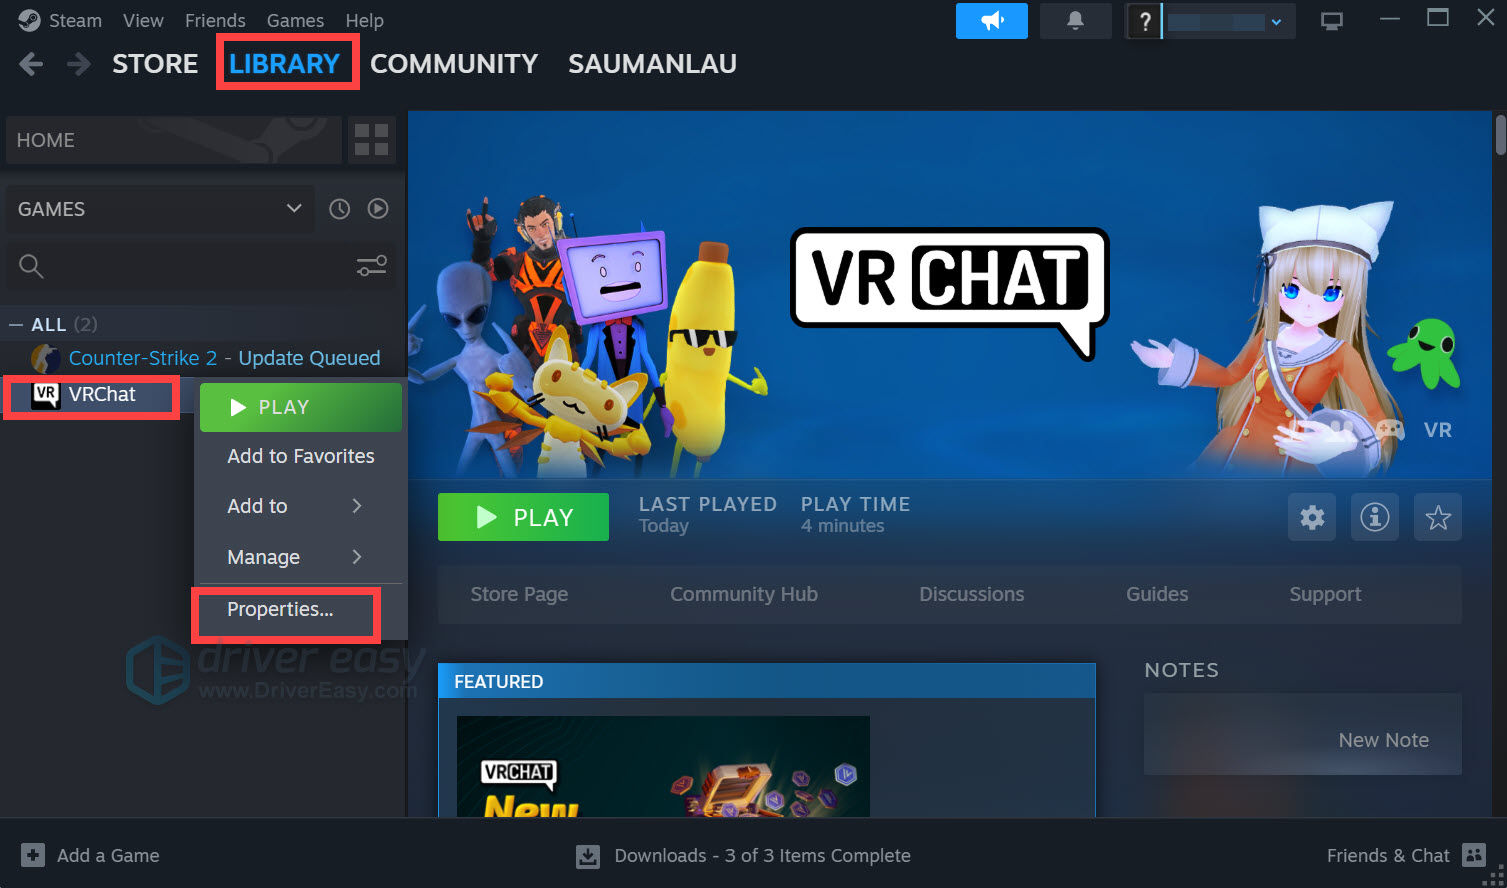
- From the General tab, find LAUNCH OPTIONS.
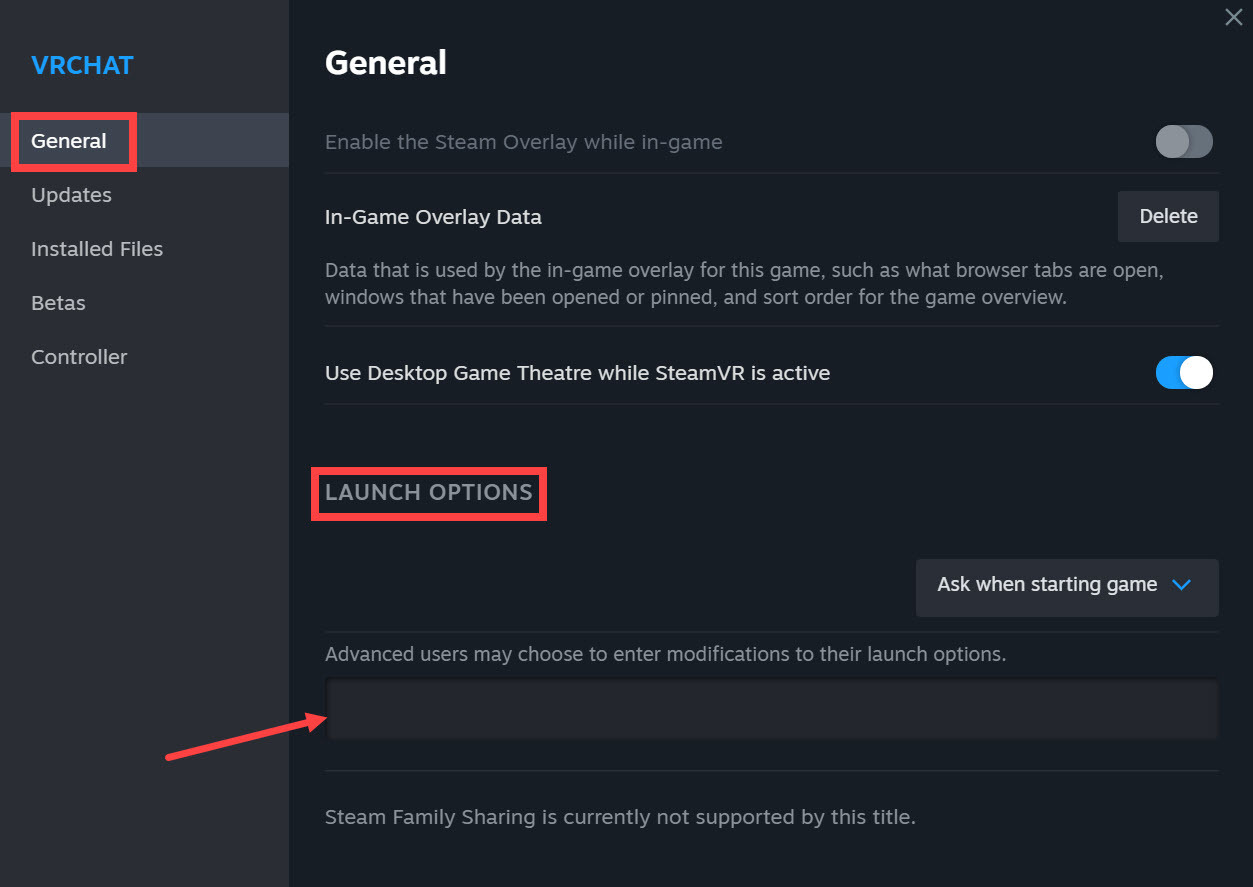
- Add one of the following lines:
- vrchat://launch?id=wrld_1a6f881b-fdd0-4551-af2c-6ef8e16577f6
(This will load you into Zarniwoop’s Avatar Dungeon) - vrchat://launch?id=wrld_d0b62423-fd59-48f7-9e4b-e6fece81b7ed
(Hyperdimension of OziCom) - vrchat://launch?id=wrld_69ab9cdf-5436-46bd-98b5-714837a53b4f
(X1 Seisoken City) - To enter a different world, just change the world ID accordingly.
- vrchat://launch?id=wrld_1a6f881b-fdd0-4551-af2c-6ef8e16577f6
Fix 3: Update your graphics driver
Graphics driver matters a lot to game players as it can make a great difference in your gaming experience. If the graphics card driver is outdated or corrupt, you will end up facing all kinds of game issues, such as VRChat not loading or crashing. To fix it, you can update your graphics card driver.
There are two ways for you to update your drivers:
Option 1 – Manually – You’ll need some computer skills and patience to update your drivers this way because you need to find exactly the right driver online, download it, and install it step by step.
OR
Option 2 – Automatically (Recommended) – This is the quickest and easiest option. It’s all done with just a couple of mouse clicks – easy even if you’re a computer newbie.
Option 1: Update your graphics driver manually
Graphics card manufacturers like NVIDIA and AMD keep releasing new drivers to fix bugs and improve performance, so you can always get the latest driver on their official website.
Download the correct graphics driver for your system, then follow the on-screen instructions to install the driver. After that, don’t forget to restart your computer for the changes to take effect.
Option 2: Update your graphics driver automatically
If you don’t have the time, patience, or computer skills to update the graphics driver manually, you can do it automatically with Driver Easy.
Driver Easy will automatically recognize your system and find the correct drivers for it. You don’t need to know exactly what system your computer is running, you don’t need to risk downloading and installing the wrong driver, and you don’t need to worry about making a mistake when installing.
You can update your drivers automatically with either the 7 days free trial or the Pro version of Driver Easy. It takes just 2 clicks:
- Download and install Driver Easy.
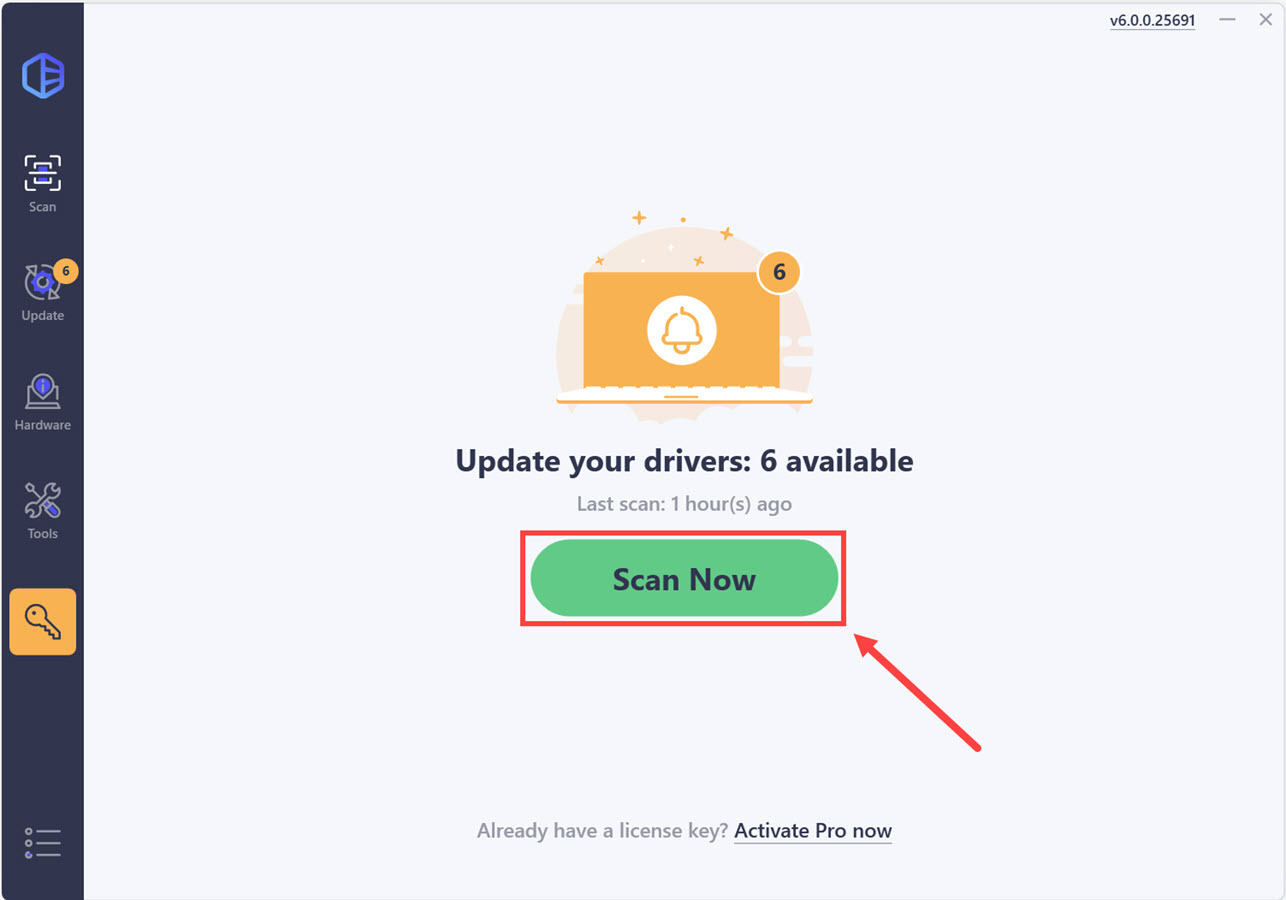
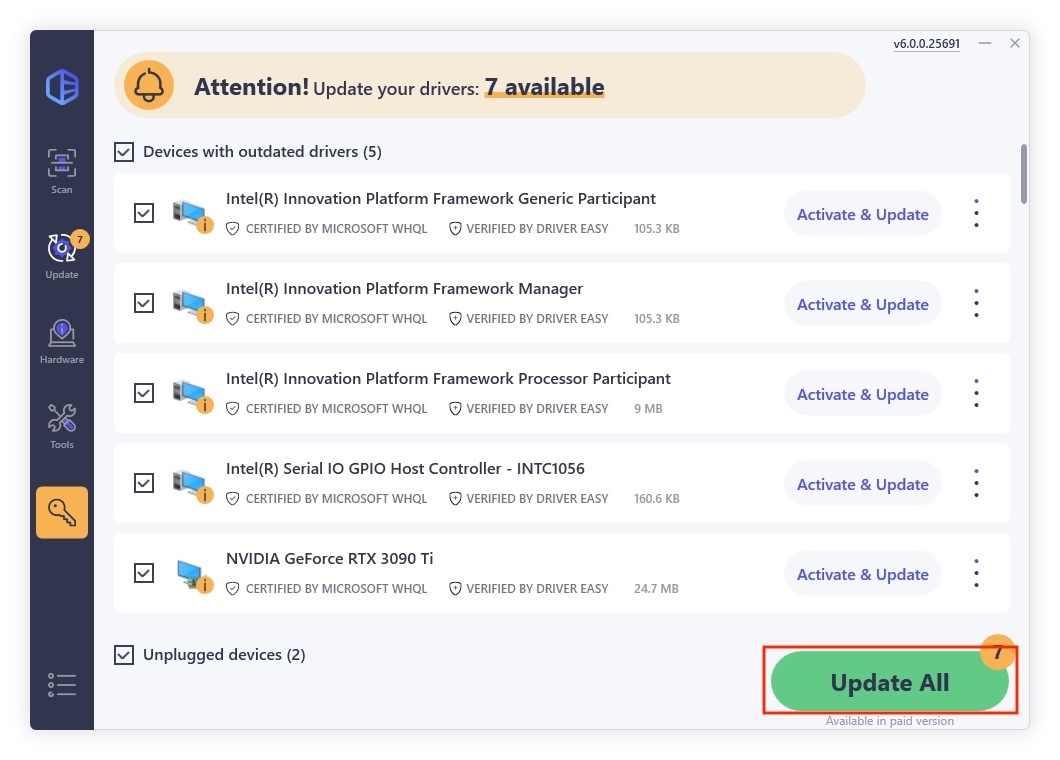
- Run Driver Easy and click the Scan Now button. Driver Easy will then scan your computer and detect any problem drivers.
- Click Update All to automatically download and install the correct version of all the drivers that are missing or out of date on your system (This requires the Pro version – you’ll be prompted to upgrade when you click Update All. If you’re not ready to buy the Pro version, Driver Easy offers a 7-day free trial which includes access to all the Pro features such as high-speed download and one-click install. You won’t be charged anything until your 7 day trial has ended.)
Note: You can do it for free if you like, but it’s partly manual. - Reboot your computer for the changes to take full effect.
Fix 4: Disable IPV6
It’s possible that your ISP (Internet Service Provider), router, or system has poor support for IPV 6. Many users find disabling IPV 6 finally solved their VRChat not-loading problems. Here is how to do it:
- Right-click the network icon on your desktop and select Open Network and Sharing Center.
- Click Change Adapter Settings.
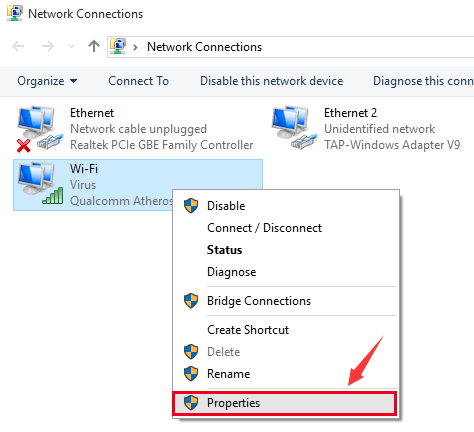
- Right-click the Internet connection you’re using and select Properties.
- Under the Networking tab, uncheck the box next to Internet Protocol version 6 (IPv6).
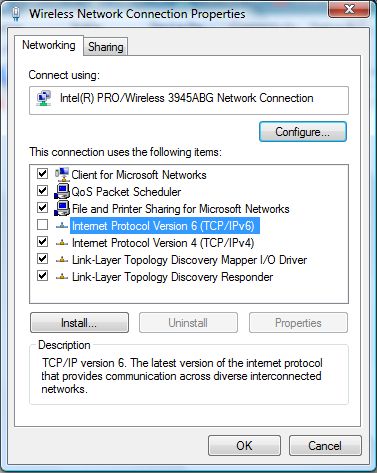
- Click OK to save the changes.
- Now you’re ready to go. Try launching your VRChat to test the issue.
Note: You can also uncheck IPV6 for the remaining network connections present on this screen. If this doesn’t work for you, then try restarting your router and logging in again.
Fix 5: Delete VRChat in the registry
If disabling IPV 6 and restarting your router didn’t do the trick, you can open Windows Registry Editor – Regedit – to delete your preferred VRChat settings in the registry.
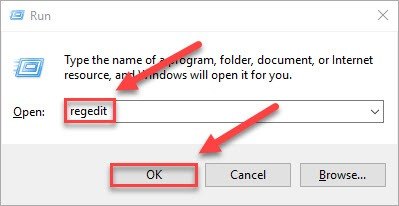
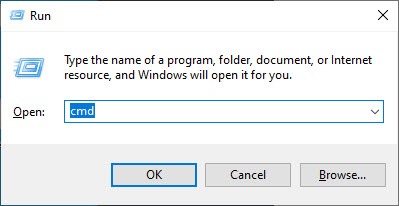
- Press the Windows key + R to open the Run box.
- Type regedit in the box and click OK.
- Navigate to HKEY_CURRENT_USERSoftwareVRChatvrchat and delete all the files in this folder.
Fix 6: Add antivirus exception for VRChat
If you’ve installed any antivirus applications, the culprit could be your antivirus blocking your internet, thus causing your VRChat not to load. Therefore, you can add VRChat as an exception in your antivirus program.
If you don’t know how to do it, check the links below:
Fix 7: Use a VPN service
If the solutions above all failed to get you to pass the loading screen, then you may need a VPN to play your VRChat. Many users reported that every problem went away after using a VPN service.
If you care about security and speed, you should avoid using these free VPN services for the lagging could drive you crazy. Therefore, we recommend using Nord VPN.
| ExpressVPN | NordVPN | |
|---|---|---|
| Subscription periods | 1 month, 6 months, 1 year | 1 month, 1 year, 2 years |
| Special offer | Three months free with a 1-year subscription | 72% discount & 3 months free on the 2-year plan |
| Highest price per month | $12.95 | $11.95 |
| Lowest price per month | $6.67 | $3.71 |
| One year price | $99.95 (actually for 15 months) | $59 |
| Money-back guarantee | 30 days | 30 days |
Fix 8: Repair system files
If all of these fixes above failed, you might need to check if there are corrupted system files on your PC. Your VRChat may require certain system files to work properly. To check if your system is in good condition, use the steps below to scan for corrcupted system files.
Step 1. Scan corrupt files with System File Checker
System File Checker (SFC) is a Windows built-in tool that can identify and repair corrupted system files.
1) On your keyboard, press the Windows logo key and R at the same time to open the Run box. Type cmd and press Ctrl+Shift+Enter to run Command Prompt as administrator.
Click Yes when prompted for permission to make changes to your device.
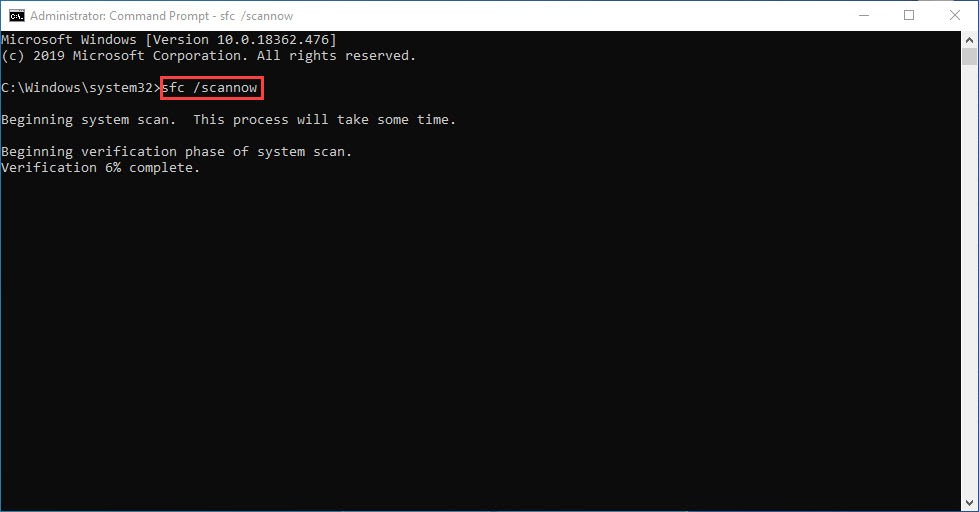
2) In the Command Prompt, type the following command and hit Enter.
sfc /scannow
3) System File Check will begin to scan all system files and repair any corrupted or missing ones it detected. This may take 3-5 minutes.
4) You may receive something like the following messages after the verification.
- no errors
- it fixed some errors
- could not fix all errors
- could not fix errors at all
- ……
No matter what message you receive, you can try running dism.exe (Deployment Image Servicing and Management) to check the device performance and health of your PC.
Step 2. Run dism.exe
1) Run Command Prompt as admin and enter the following commands.
- This command line will scan the health of your PC:
dism.exe /online /cleanup-image /scanhealth
- This command line will restore the health of your PC:
dism.exe /online /cleanup-image /restorehealth
2) After the restore health process finishes, you may get some error messages.
- If restoring heath gives you errors, you can always try this command line. This will take up to 2 hours.
dism /online /cleanup-image /startcomponentcleanup
- If you get Error: 0x800F081F with the restore health scan, reboot your PC and run this command line.
Dism.exe /Online /Cleanup-Image /AnalyzeComponentStore
If the System File Check finds any files corrupted, follow the on-screen instructions to repair them, and then restart your computer for the changes to take full effect.
There you have it – 8 fixes for your VRChat not-loading issue. Feel free to leave us a comment if you have any questions or other possible solutions to share with others!