


YouTube Video Editor is a tool provided by YouTube allowing you to combine, trim, add music and customize the video clips you add. No need for you to download or pay before you use, plus the easy-to-use features, YouTube Editor definitely should be your first choice when it comes to video editing.
In this post, we will be taking about some basic usage of YouTube Video Editor. Hope you find it useful!
Step 1: As mentioned earlier, YouTube doesn’t require download before you use. Just go to Video Editor at https://www.youtube.com/editor.
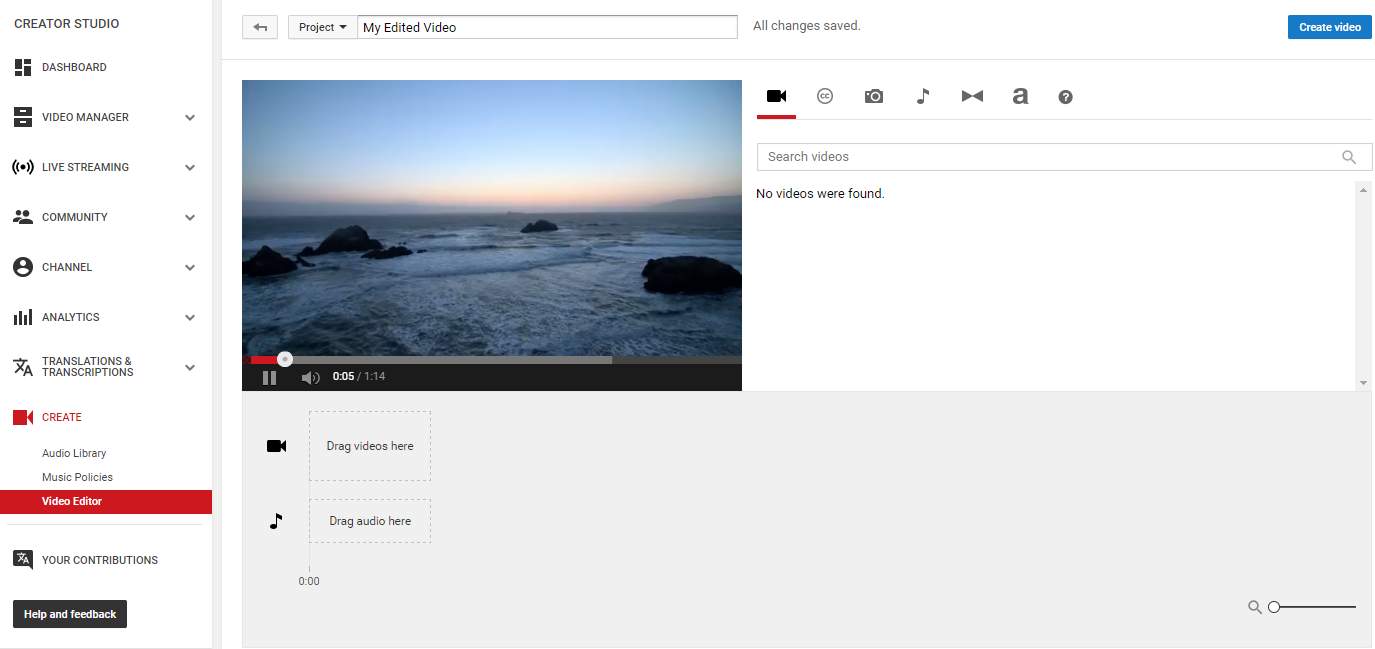
Step 2: In the Video Editor web page, you will be able to see the videos that you have uploaded.
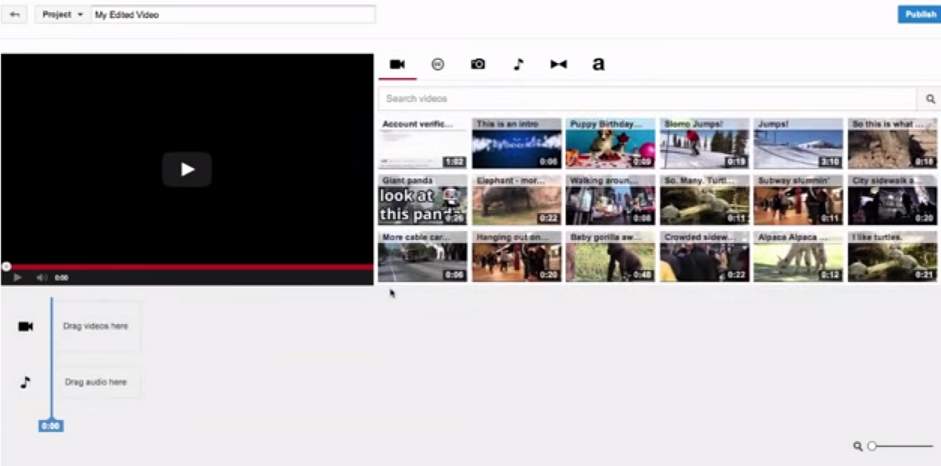
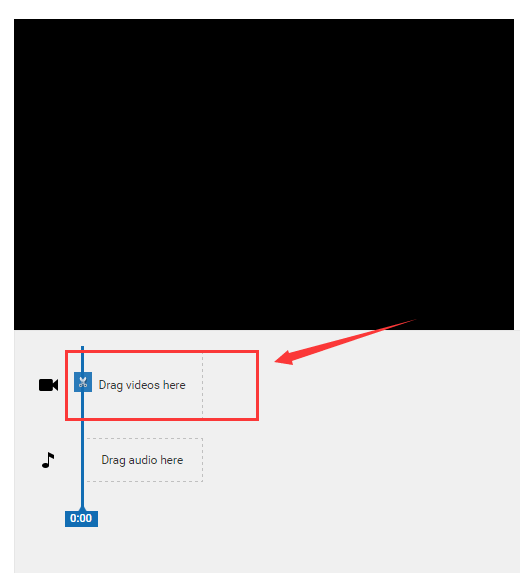
Step 3: If you want to add from the pool of videos into the editing project, just simply drag the videos to the Drag videos here section.
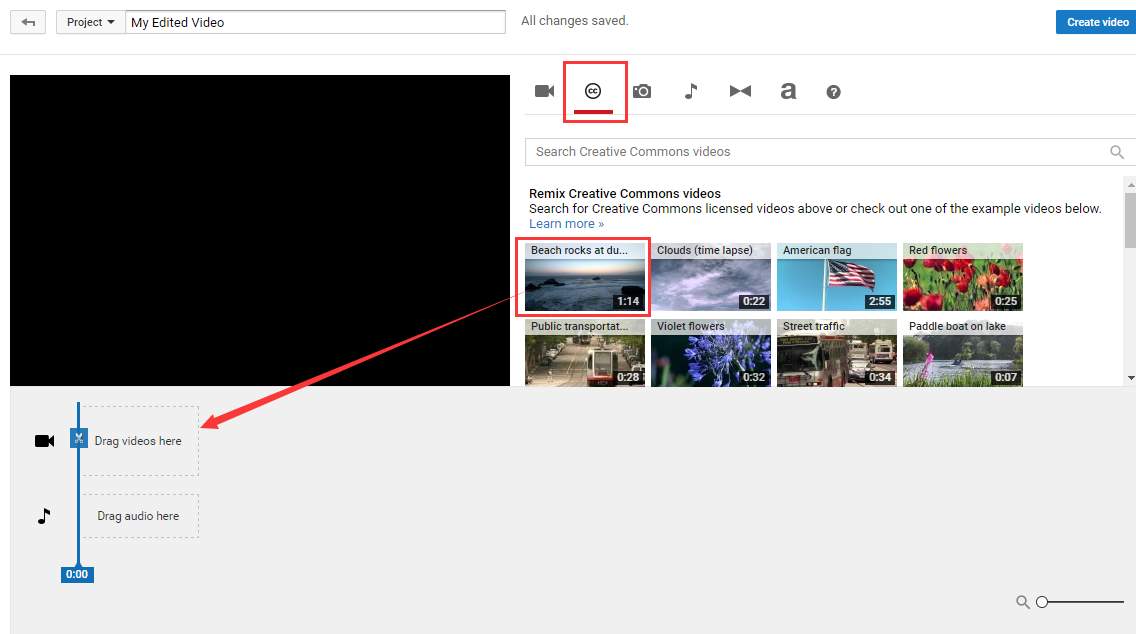
You can also add more videos with a Creative Commons license. Go to CC tab, then find the video you want and simply drag it to the video track.
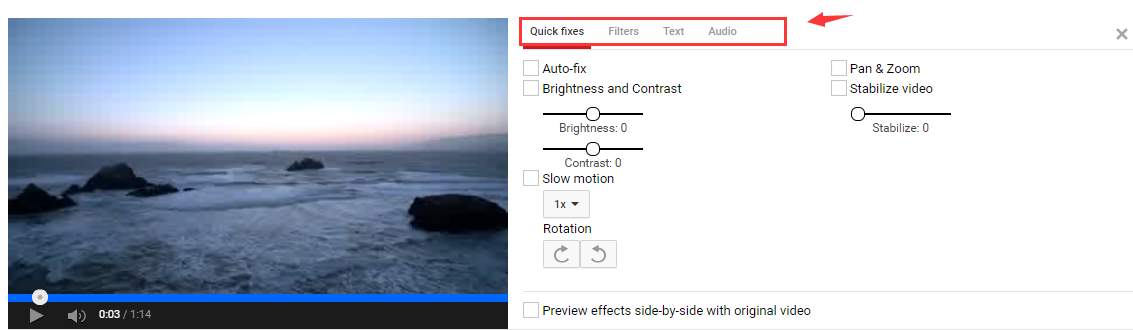
Step 4: When you drag the video clips you need to the video track, you should be able to see the video settings on the right side of the pane. You can choose to edit your video clip here as the way you like.
You can choose to add filters, text or modify the audio settings here. You can also add features such as slow motion and video rotation.
Step 5: To trim your video clips, just put the mouse cursor to the edge of your video in the timeline until you see Nudge duration. Drag the handle to the middle to shorten your video length.
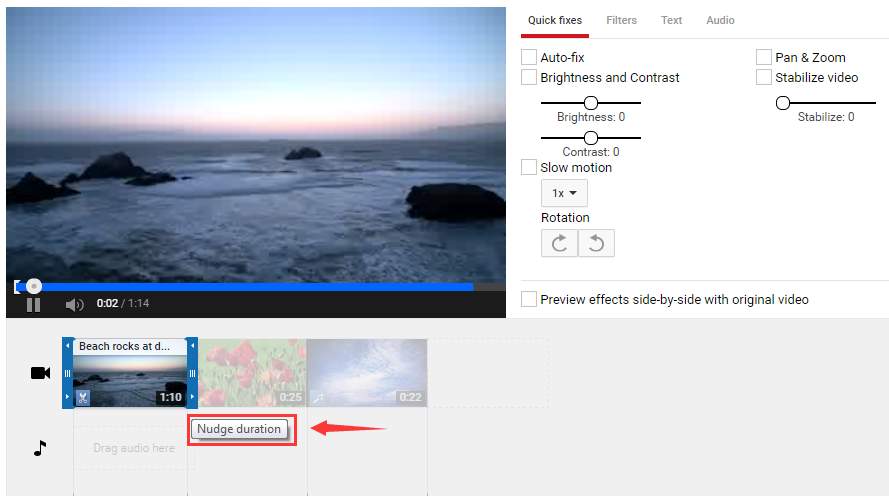
Similarly, to lengthen your video clip, just drag the handles outward.
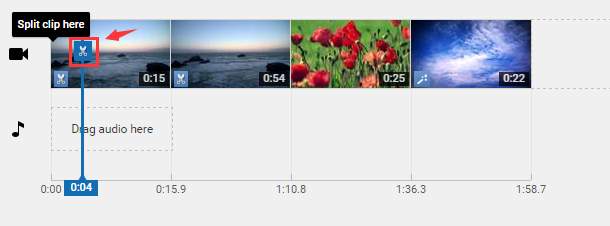
If you want to clip the video, just drag the timeline with the scissors on to the position where you want. You should be able to see the Split clip here notification when you drag it.
Step 6: To add music to your video clips, click the music icon, then choose from the list the music pieces that you want, and drag them to the music track.
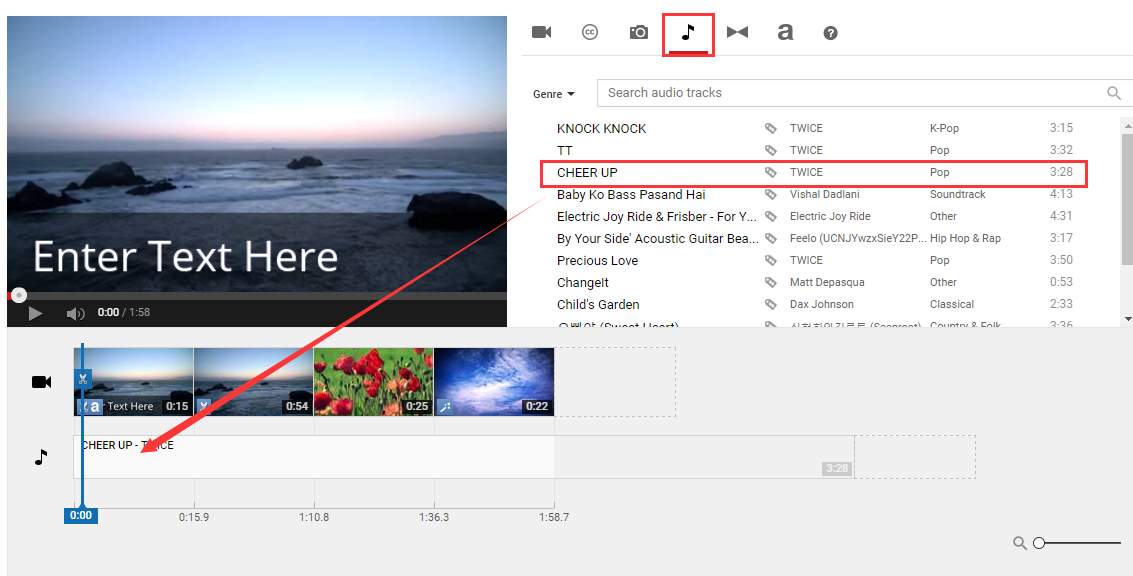
NOTE: The songs here are subject to licensing agreements, so YouTube will add ads to the video clip. What’s more, you cannot edit the audio track. So you will have to let it play from the beginning if your video is longer than the audio.
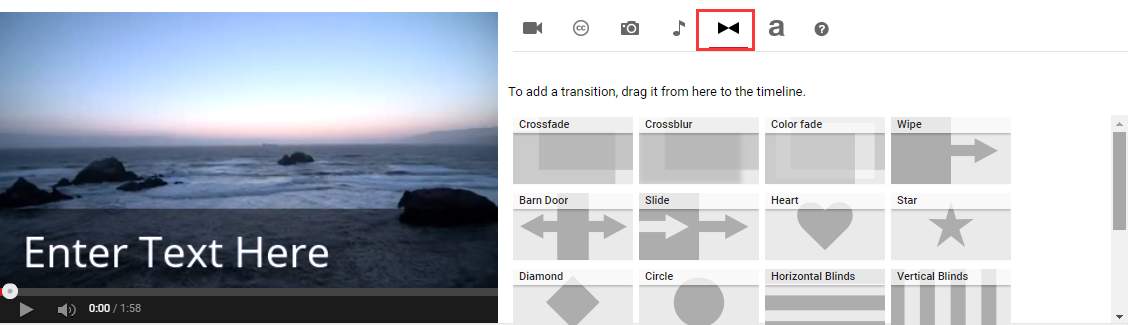
Step 7: If your video clip is combined by several shorter clips, then you may need to add the transition feature to make it smoother in between.
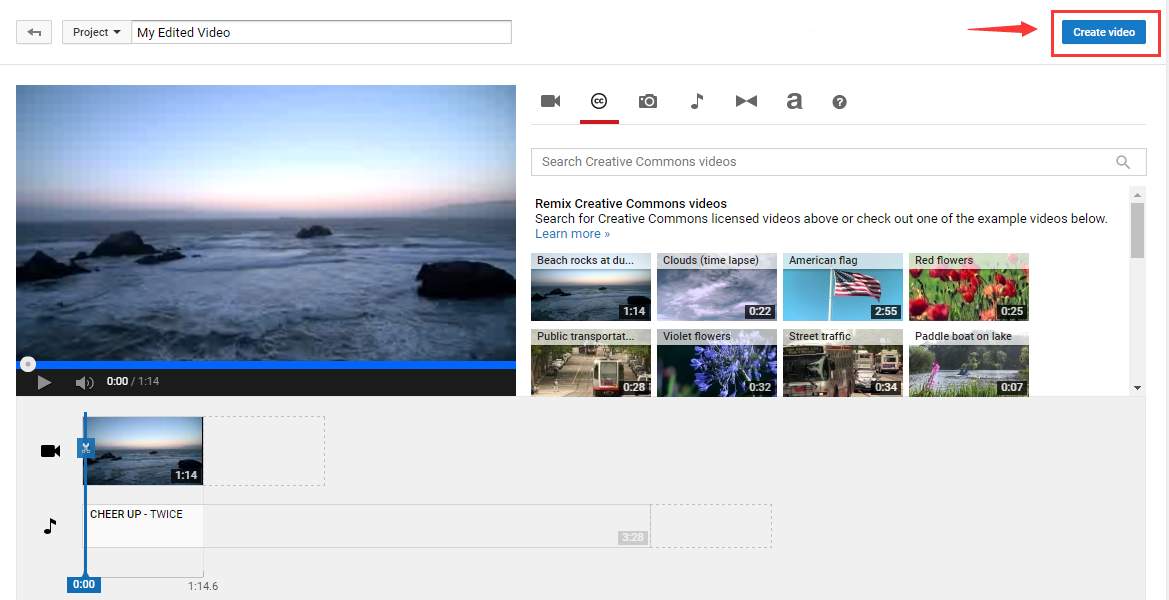
Step 8: When you finish editing the video, click the Create video button on the top right corner to save your changes and upload your video to YouTube.
All in all, YouTube Video Editor is good enough for tech newbies who want to edit their own videos. There are indeed some other professional video editors, such as Camtasia (The best video editor and recorder), but YouTube Video Editor, with it plain and very easy to use features, is also a good choice especially when you don’t have too much time to master the video editing techniques from the very beginning.
Have a try now! It won’t cost you anything, instead, it will reward you with tons of joy and fun!