


While being one of the most popular shooters in 2020, Black Ops Cold War is not immune to issues. Many veterans are reporting that they have no sound in the game. If you happen to be one of them, don’t worry. Here’re some working fixes that can restore the in-game audio right away.
Try these fixes
You might not need to try them all. Simply work your way down until you find the one that does the trick.
- Verify the integrity of game files
- Configure your audio device properly
- Update your audio driver
- Install all Windows updates
- Check your in-game audio settings
Fix 1: Verify the integrity of game files
The no audio issue could mean that there’re files missing or corrupted in the game folder. You can do an integrity check to eliminate the possible obstacles.
To verify the integrity of game files, simply do the following:
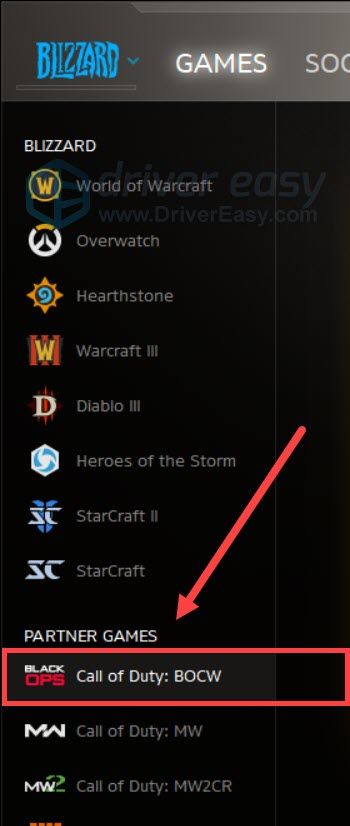
- Open your Blizzard Battle.net client. From the left menu, select Call of Duty: BOCW.
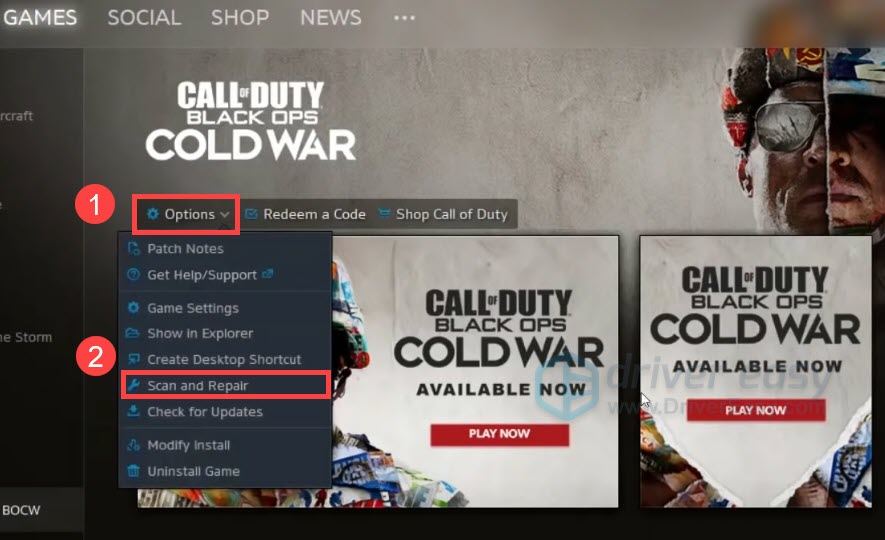
- Click Options and select Scan and Repair from the drop-down menu. Wait until the checking finishes.
You can now launch Black Ops Cold War and check if the audio is back.
If the no sound issue persists, you can take a look at the next fix.
Fix 2: Configure your device properly
Next you need to make sure your output device is set to the desired one, and all the related settings should be configured correctly. If you don’t know how, you can follow these steps:
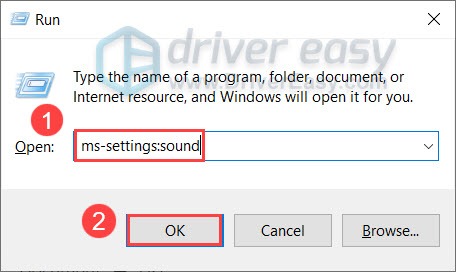
- On your keyboard, press Win+R (the Windows logo button and the r button) at the same time to invoke the Run box. Type or paste ms-settings:sound and click OK.
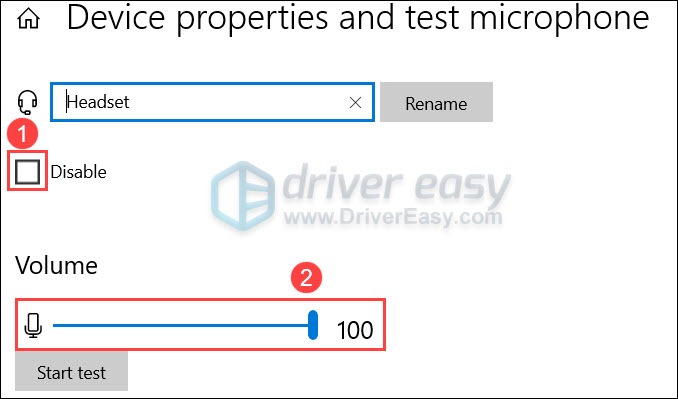
- Under the Input section, make sure your input device is set to the one you’re using. Then click Device properties and test microphone.

- Make sure the box next to Disable is unchecked, and the slider under Volume is set to 100.
- Now you can check the in-game audio.
If there’s nothing wrong with your settings, or you can hear the computer sound everywhere except in Black Ops Cold War, check out the next fix below.
Fix 3: Update your audio driver
One of the most common causes of sound issues is that you’re using a faulty or outdated audio driver. New drivers tend to have better compatibility that the legacy ones provided by Windows. So if you haven’t updated your audio driver, definitely do it now.
There’re mainly 2 ways you can update your audio driver: manually or automatically.
Option 1: Update your audio driver manually
This requires a certain level of computer knowledge. If you know the specifications of your PC, you can try to update your audio driver manually.
You can do this by visiting the website of your motherboard manufacturer, then search for your exact model. When you find your motherboard, go to its support page and download the driver installer that’s compatible with your operating system.
Option 2: Update your audio driver automatically (Recommended)
If you don’t have the time, patience or computer skills to update your audio driver manually, you can, instead, do it automatically with Driver Easy. Driver Easy will automatically recognize your system and find the correct drivers for your exact device, and your Windows version, and it will download and install them correctly:
- Download and install Driver Easy.
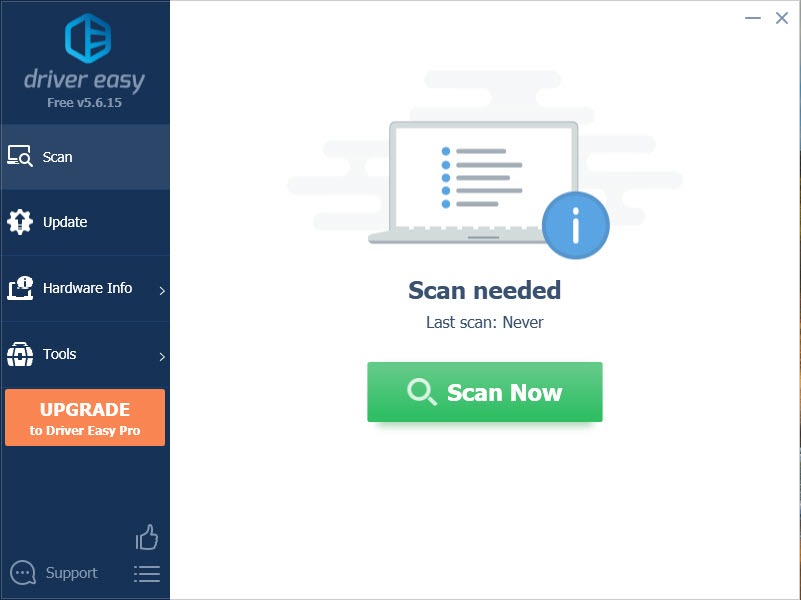
- Run Driver Easy and click the Scan Now button. Driver Easy will then scan your computer and detect any problem drivers.
- Click Update All to automatically download and install the correct version of all the drivers that are missing or out of date on your system.
(This requires the Pro version – you’ll be prompted to upgrade when you click Update All. If you don’t want to pay for the Pro version, you can still download and install all the drivers you need with the free version; you just have to download them one at a time, and manually install them, the normal Windows way.)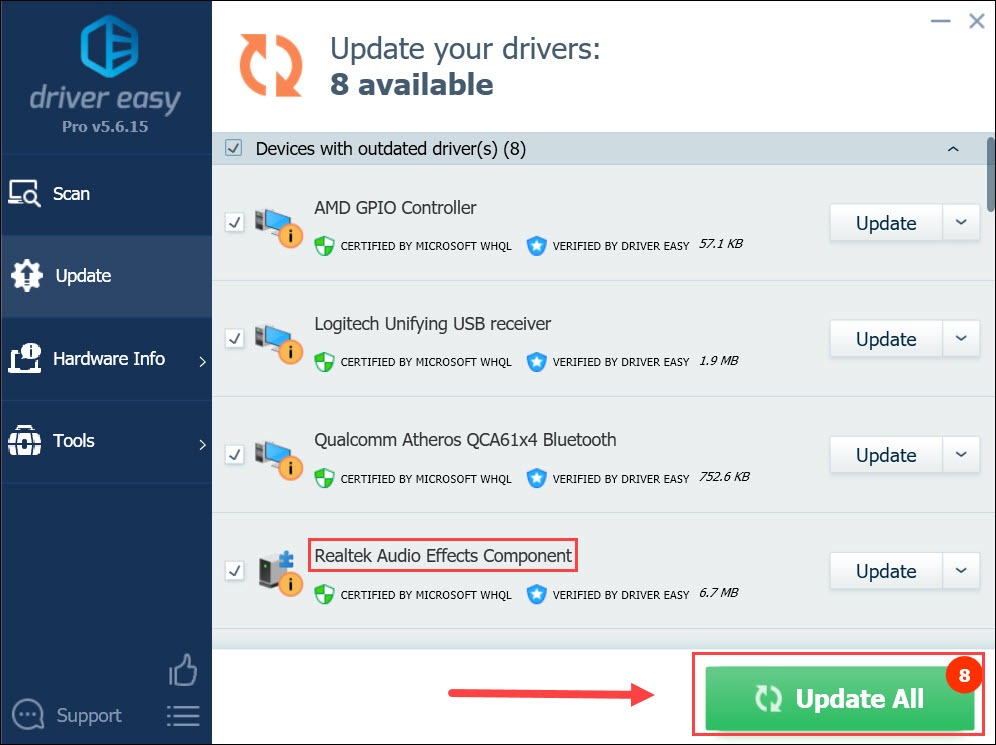
Once you’ve updated your audio driver, join a game in Black Ops Cold War and see if you can hear anything.
If the latest driver doesn’t give you luck, simply try the next fix below.
Fix 4: Install all Windows updates
Besides drivers, you should also make sure that your system is up to date. Windows updates provide bugs fixes and performance boosts that might cure some strange issues.
Here’s how you can check for updates manually:
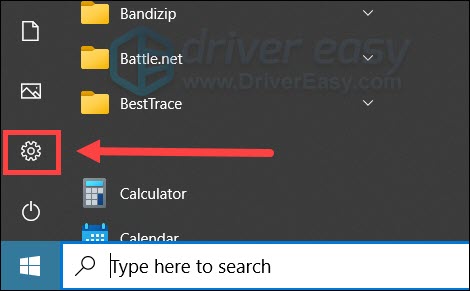
- On your keyboard, press Win (the Windows logo key). At the bottom left corner of your screen, click the gear icon to open Settings.
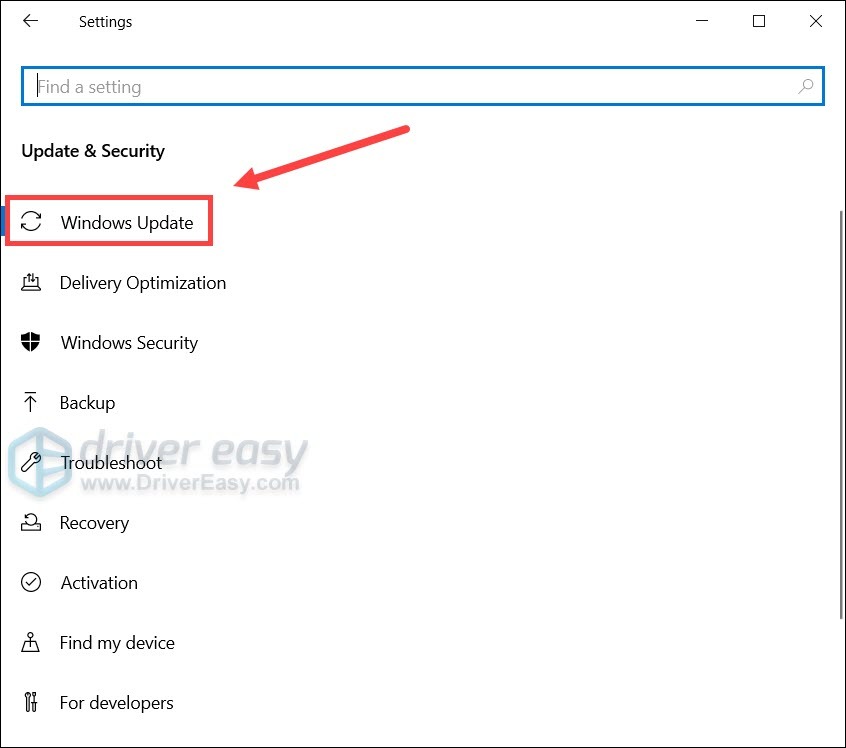
- Scroll down and select Update & Security.

- Click Windows Update.
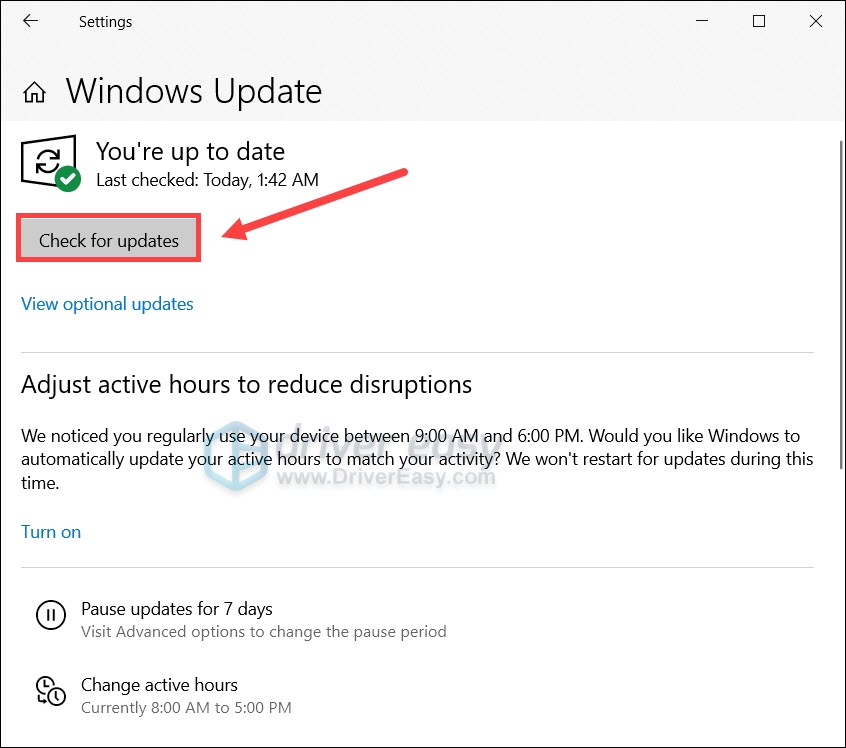
- Click Check for updates. Then wait for the process to complete. After that, restart your PC.
After rebooting your PC, return to Black Ops Cold War and test the audio.
If this trick doesn’t help you, try the next one below.
Fix 5: Check your in-game audio settings
If you’ve tried all the fixes above but to no avail, you need to take a look at your in-game settings. Faulty audio settings could also lead to no sound issues in Black Ops Cold War.
Here’s what you should check:
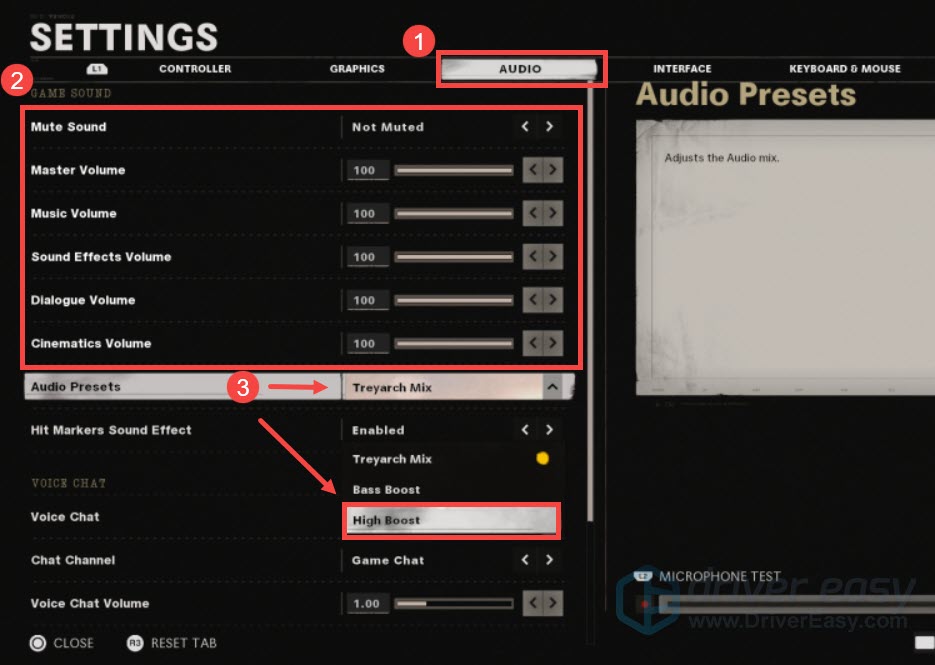
- Open Black Ops Cold War and go to Settings.
- Navigate to the AUDIO tab. Under the GAME SOUND section, make sure you didn’t mute the game and all the Volume settings are toggled to the highest 100. Then you can try changing Audio Presets and see which option gives you luck. (You can start with High Boost.)
Hopefully this tutorial helps you solve the no sound issue in Black Ops Cold War. If you have any doubts or questions, feel free to jot them down in the comment section down below.