


If you want to keep your Canon PIXMA MX920 printer in good condition or fix its issues, you should keep your printer driver up to date. Try the following tips! They’ll help you update your printer driver easily.
There are 3 options to update your Canon PIXMA MX920 printer driver:
Option 1: Update your driver with Device Manager
You can use Device Manager to update your driver. Here’s how to do it:
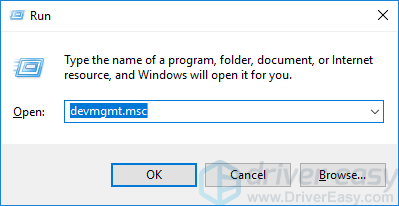
- Press the Windows logo key and R on your keyboard to invoke the Run box. Type “devmgmt.msc“, then press Enter on your keyboard.
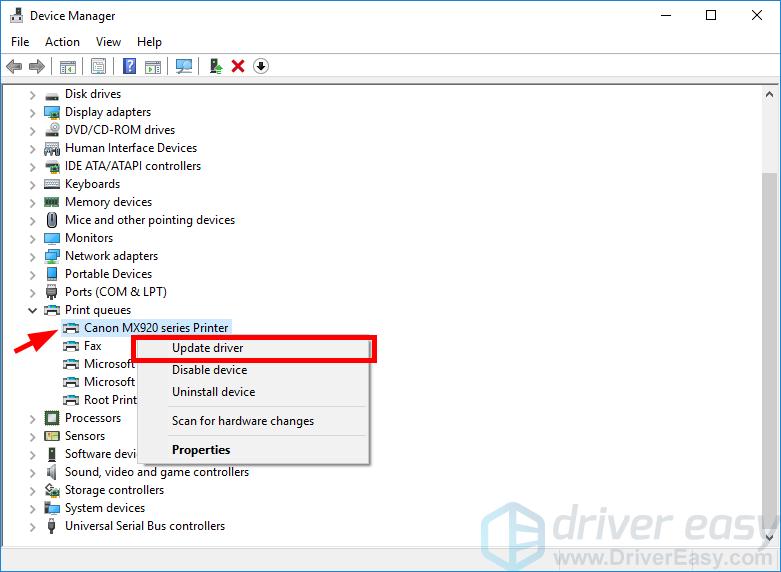
- Double-click Print queues. Right-click Canon MX920 series Printer, then click Update driver.
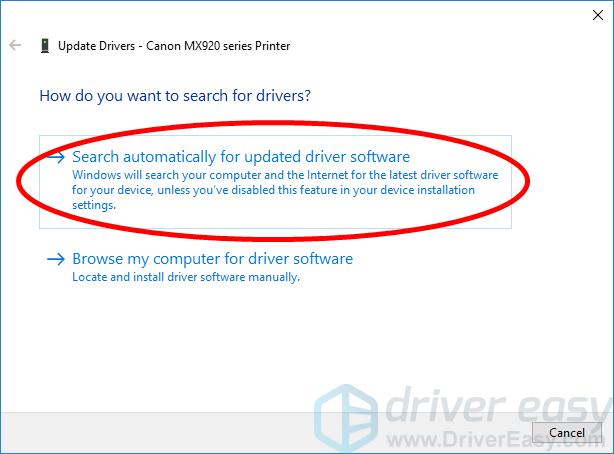
- Click Search automatically for updated driver software.
- Wait for your system to update the driver for you.
Option 2: Update your driver manually
To update your Canon PIXMA MX920 printer driver manually:
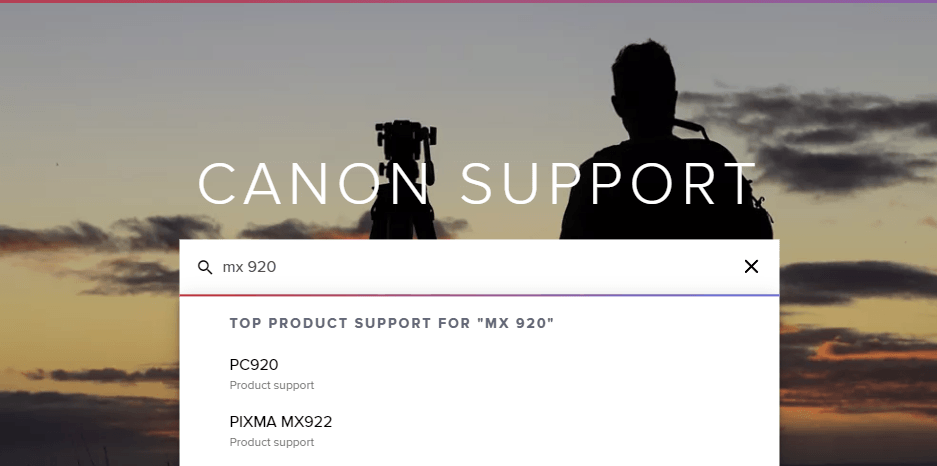
- Go to the Canon official website and search “mx920“.
- Go to your printer driver download page, then download the correct and latest driver to your computer. Be sure to download the driver that’s suitable for your variant of Windows system. You should know what system is running on your computer — whether it’s Windows 7, 8 or 10, 32-bit or 64-bit version, etc.
- Open the downloaded file and follow the on-screen instructions to install it on your computer.
Option 3: Update your driver automatically
If you don’t have the time, patience or skills to update your driver manually, you can do it automatically with Driver Easy.
Driver Easy will automatically recognize your system and find the correct drivers for it. You don’t need to know exactly what system your computer is running, you don’t need to be troubled by the wrong driver you would be downloading, and you don’t need to worry about making a mistake when installing. Driver Easy handles it all.
You can update your drivers automatically with either the 7 days free trial or the Pro version of Driver Easy. It takes just 2 clicks, and you get full support and a 30-day money-back guarantee with the Pro version:
- Download and install Driver Easy.
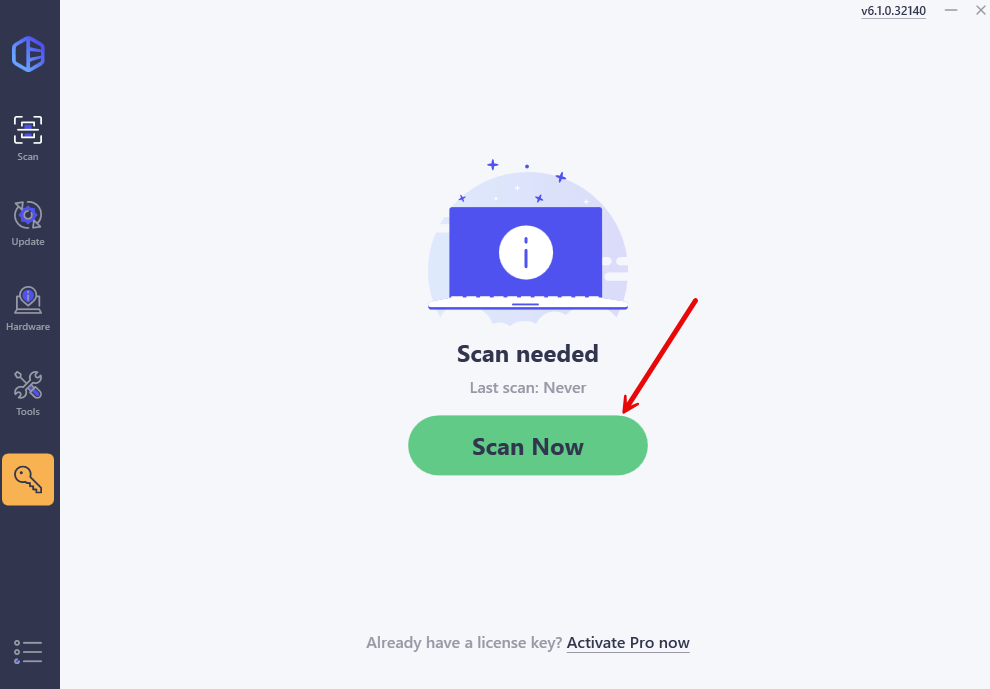
- Run Driver Easy and click the Scan Now button. Driver Easy will then scan your computer and detect any problem drivers.
- Click the Activate & Update button next to the flagged device to automatically download and install the correct version of this driver.
Or click Update All to automatically download and install the correct version of all the drivers that are missing or out of date on your system (You’ll need the Pro version for this – when you select Update All, you’ll get a prompt to upgrade. If you’re not prepared to purchase the Pro version yet, Driver Easy provides a 7-day trial at no cost, granting access to all Pro features like fast downloads and easy installation. No charges will occur until after your 7-day trial period ends.)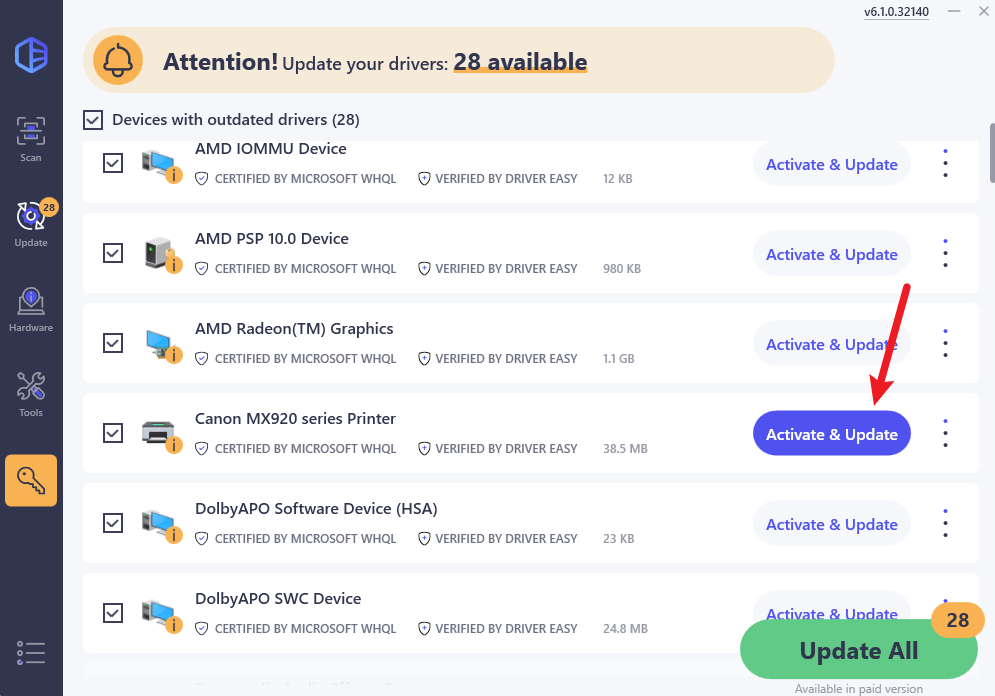
- Restart your computer for the change to take effect.