


As the newest installment in the long-running FPS series, Call of Duty: Vanguard has finally launched. However, many players are reporting that the in-game voice chat feature in Vanguard is not working properly, which greatly spoils players’ gaming experience. If you’re experiencing the same problem, don’t worry. We’ve put together some working fixes for you.
Try these fixes
You don’t have to try them all. Simply work your way down the list until you find the one that does the trick.
- Perform basic troubleshooting
- Allow the game to access your microphone
- Update your audio driver
- Check sound settings
- Check in-game audio settings
- Install all Windows updates
Fix 1: Perform basic troubleshooting
When your voice chat isn’t working, you can first do a basic troubleshooting step to see if it will fix the issue. You can follow the steps:
- Check the connection of your device. Make sure your microphone or headset is plugged in properly.
- If your microphone or headset has a mute switch, make sure it’s unmuted.
- Try unplugging and re-plugging your microphone or headset.
If everything is fine with your audio device, the problem may lie somewhere else. Read on to find out more.
Fix 2: Allow the game to access your microphone
If you’re having trouble with your microphone, make sure your privacy settings are configured properly to allow the game to access your microphone. Here’s how:
- If COD: Vanguard is open, close the game entirely.
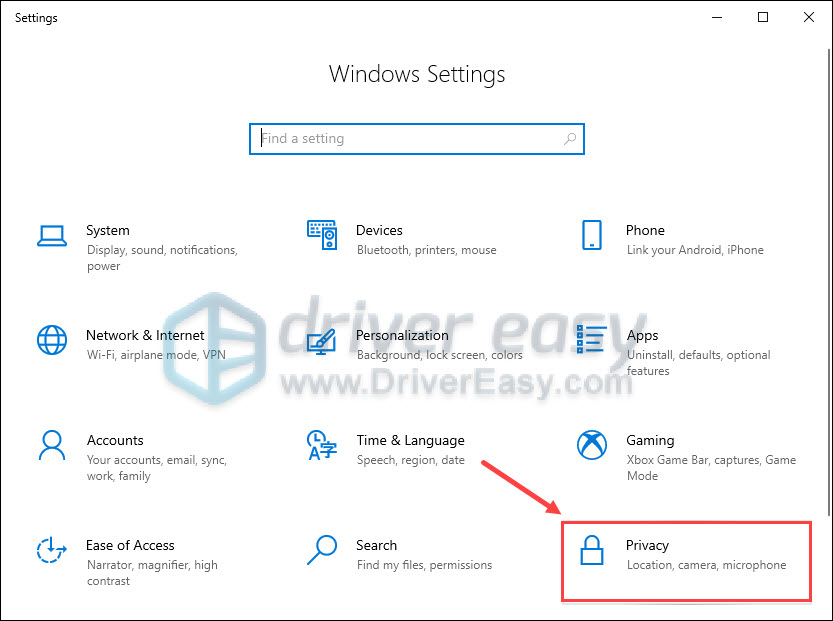
- On your keyboard, press the Windows logo key and I at the same time to open Windows Settings. Then click Privacy.
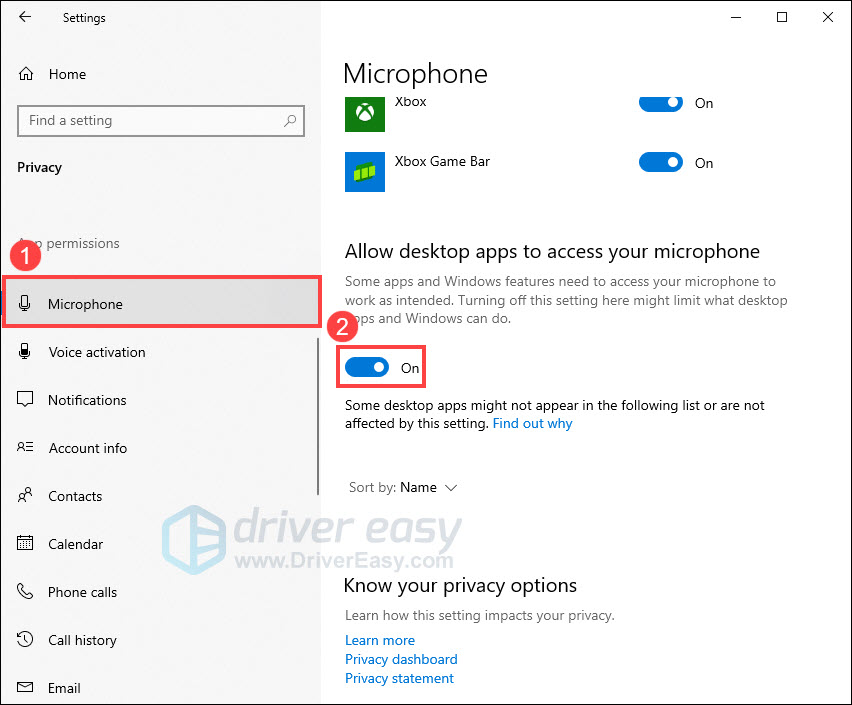
- In the left panel, select Microphone. Under Allow desktop apps to access your microphone, make sure the toggle is set to ON.
After you’ve done these, relaunch Vanguard to see if your voice chat works properly.
If this fix doesn’t do the trick, check out the next one.
Fix 3: Update your audio driver
The COD: Vanguard voice chat not working issue can also be triggered by a faulty or outdated audio driver. If you can’t remember the last time you updated your drivers, definitely do it now as this might solve your problem right away.
There are mainly two ways to update your audio driver: manually or automatically.
Option 1: Update your audio driver manually
If you’re familiar with computer hardware, you can go straight to the manufacturer’s website for your headset and search for the most recent correct driver. Once you’ve downloaded the correct driver for your system, double-click on the downloaded file and follow the on-screen instructions to install the driver.
Option 2: Update your audio driver automatically (Recommended)
If you don’t have the time, patience or computer skills to update your audio driver manually, you can, instead, do it automatically with Driver Easy. Driver Easy will automatically recognize your system and find the correct drivers for your exact device, and your Windows version, and it will download and install them correctly:
- Download and install Driver Easy.
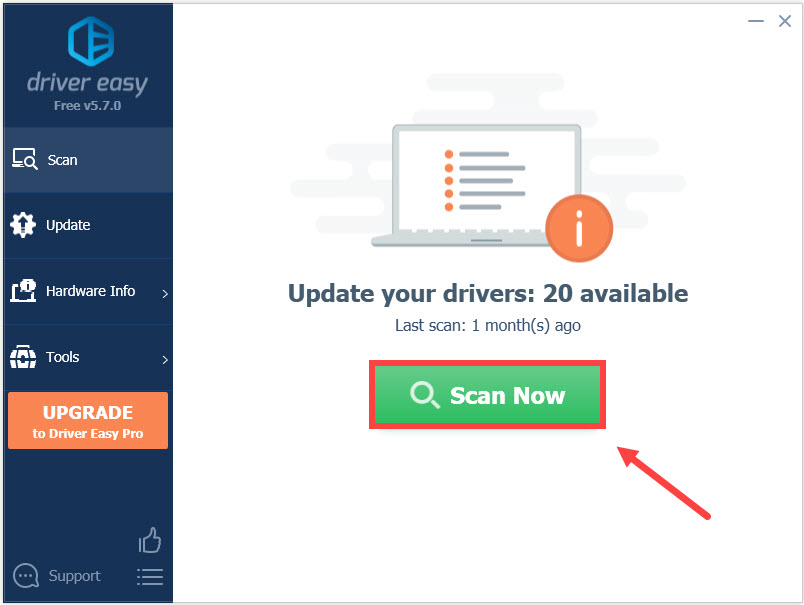
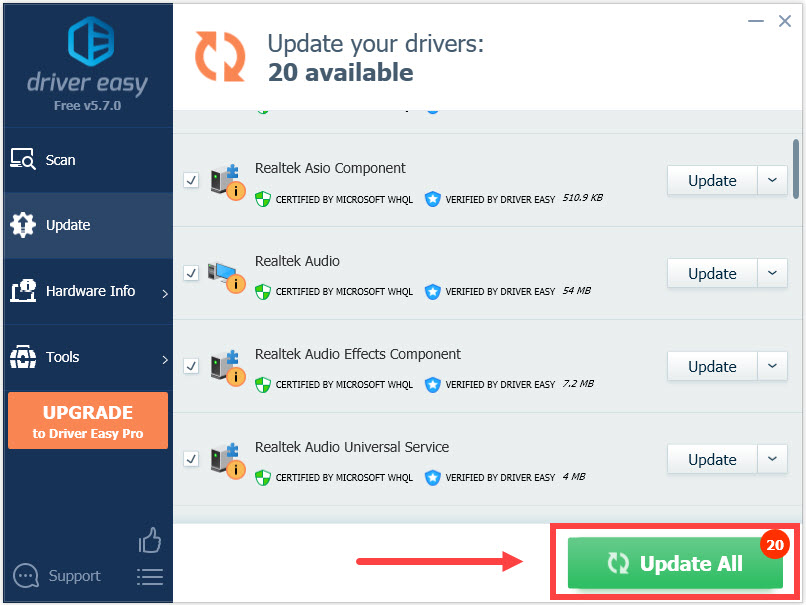
- Run Driver Easy and click the Scan Now button. Driver Easy will then scan your computer and detect any problem drivers.
- Click Update All to automatically download and install the correct version of all the drivers that are missing or out of date on your system. (This requires the Pro version – you’ll be prompted to upgrade when you click Update All. If you don’t want to pay for the Pro version, you can still download and install all the drivers you need with the free version; you just have to download them one at a time, and manually install them, the normal Windows way.)
Once you’ve updated your audio driver, restart your PC and check if your voice chat functions properly.
If updating the audio driver doesn’t work for you, take a look at the next fix.
Fix 4: Check sound settings
For your microphone or headset to work in Vanguard, you need to make sure your default device is set up correctly in Windows and the Battle.net client. Here’s how:
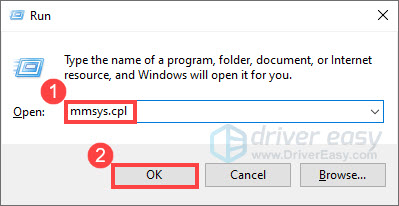
- On your keyboard, press the Windows logo key and R together to open the Run dialog box. Then type mmsys.cpl and click OK.
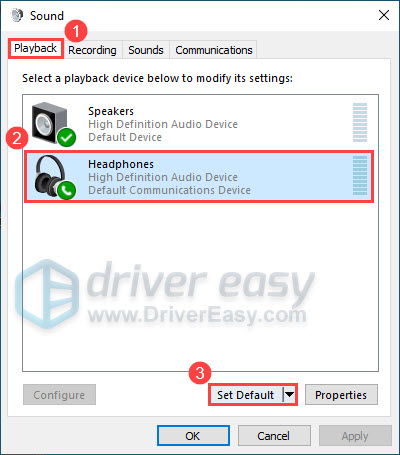
- Under the Playback tab, select the speakers or headphones you want to use and click Set Default.
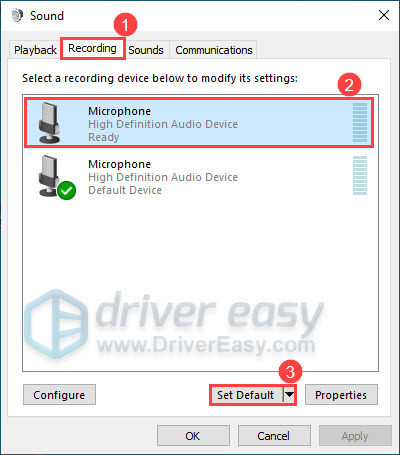
- Navigate to the Recording tab, select the microphone or headset you want to use and click Set Default.
- Open your Battle.net client.
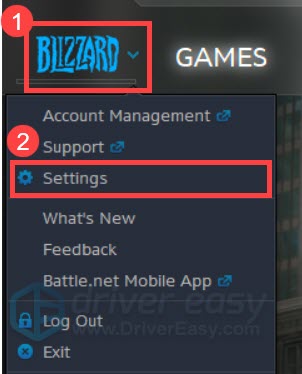
- At the top left corner, click the BLIZZARD icon and select Settings from the drop-down menu.
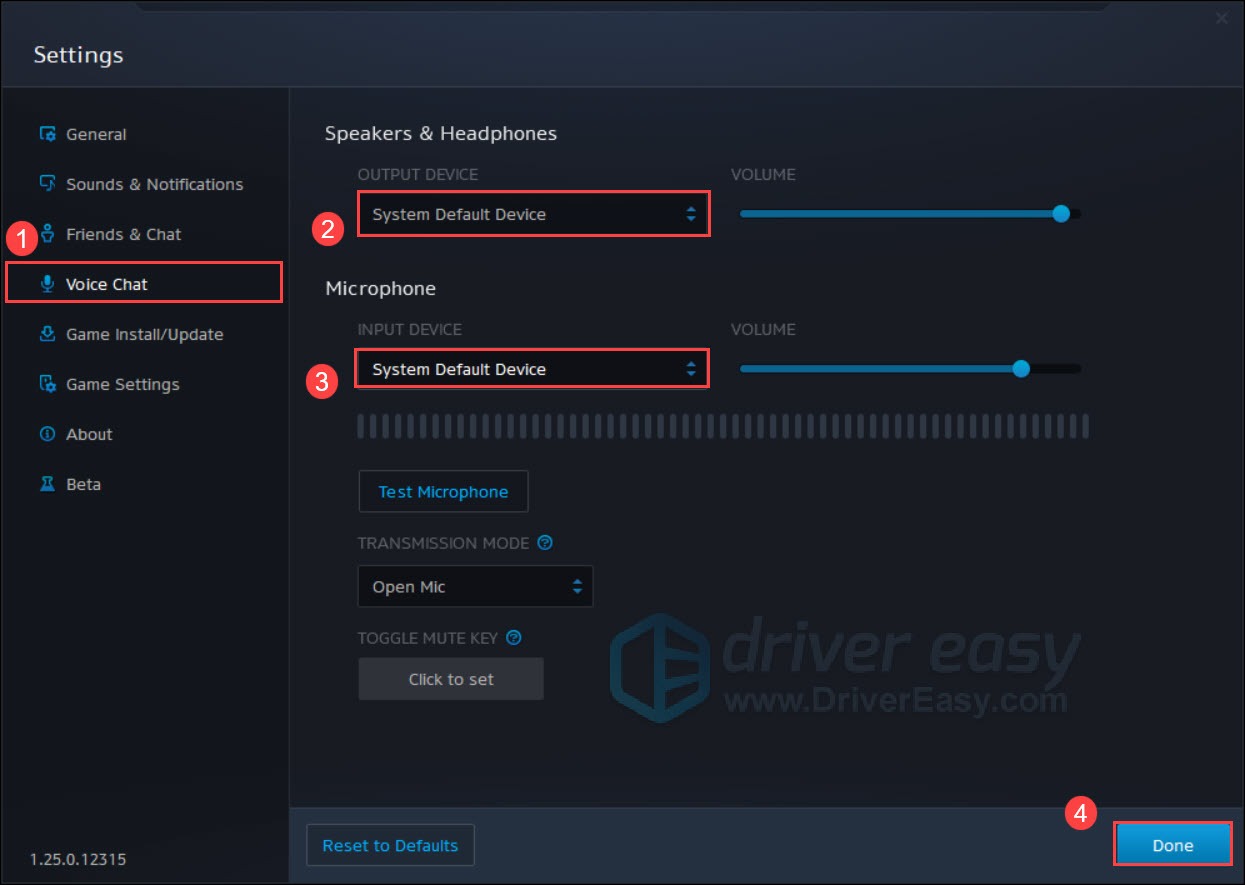
- Select Voice Chat, then set OUTPUT DEVICE and INPUT DEVICE to System Default Device. Click Done.
Now launch Vanguard and see if you can talk to your teammates.
If the voice chat still doesn’t work, move on to the next fix.
Fix 5: Check in-game audio settings
To enable the voice chat feature in Vanguard, you should also make sure the in-game audio settings are set up properly. Here’s how:
- Launch Call of Duty: Vanguard. Go to Settings.
- Select ACCOUNT & NETWORK. Under the ONLINE section, set CROSSPLAY and CROSSPLAY COMMUNICATION to ON.

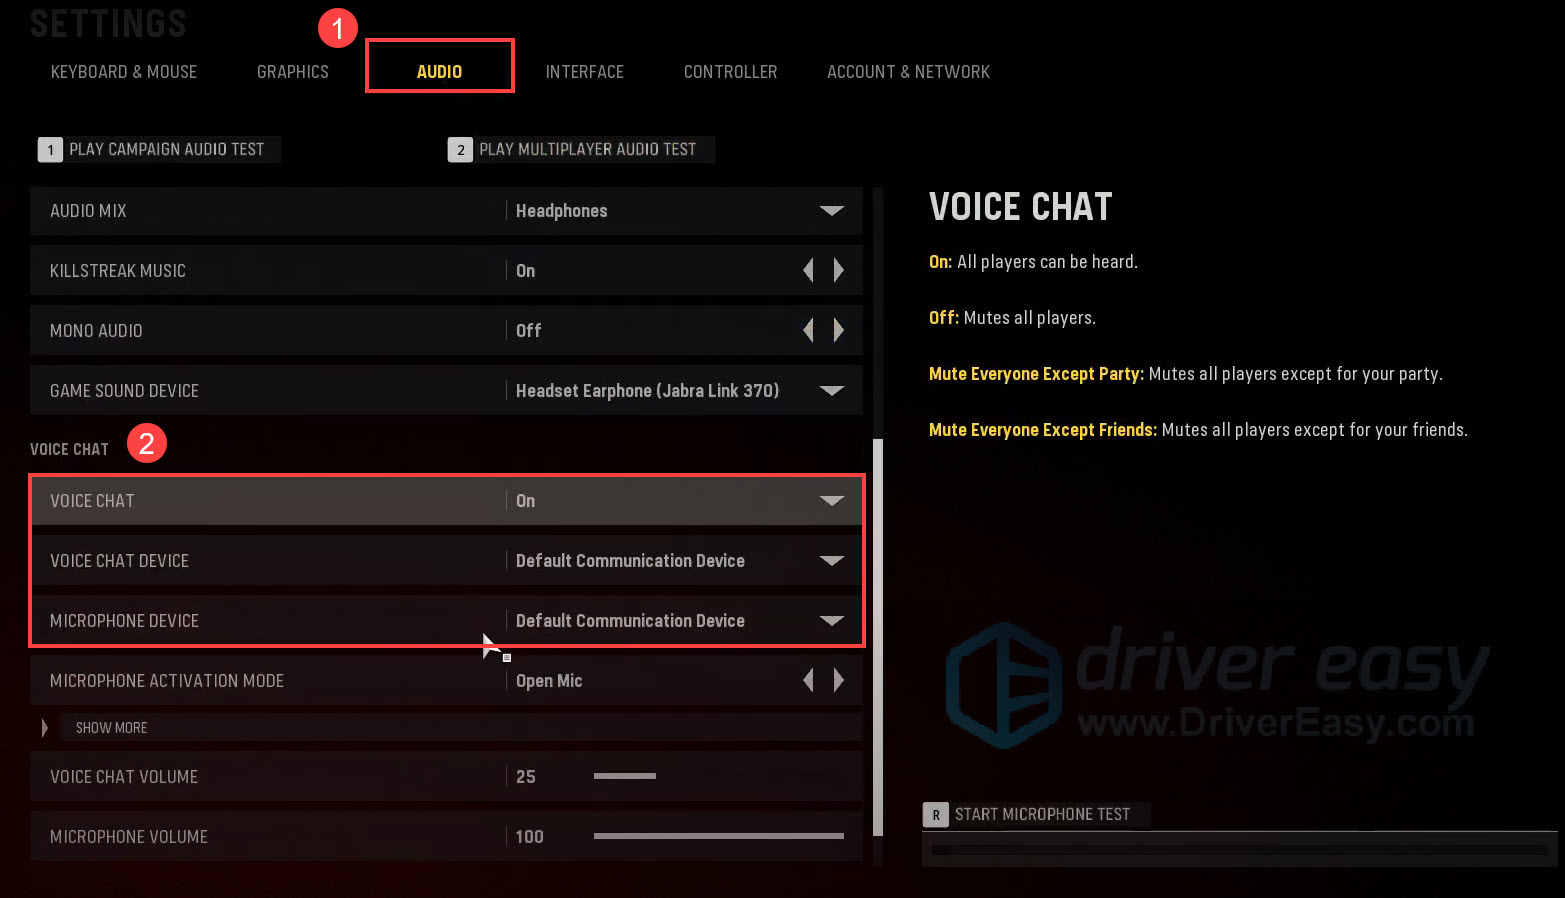
- Navigate to the AUDIO tab. Under the Voice Chat section, make sure VOICE CHAT is set to On. Set VOICE CHAT DEVICE and MICROPHONE DEVICE to Default Communication Device.
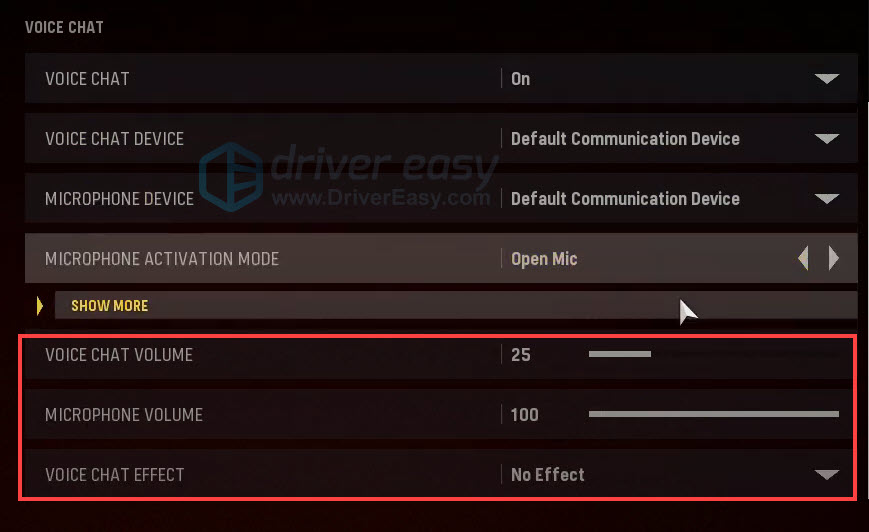
- According to your personal preference, set MICROPHONE ACTIVATION MODE to Open Mic or Push to Talk. If you set it to Open Mic, make sure OPEN MIC ACTIVATION THRESHOLD is set to 3. But if you set it to Push to Talk, please be sure you’re aware of exactly what button you’d need to press to activate your microphone.

- Set VOICE CHAT VOLUME and MICROPHONE VOLUME to a moderate value. Then set VOICE CHAT EFFECT to No Effect.
Now you can restart Vanguard and check if the voice chat is working.
If your problem remains, try the last fix.
Fix 6: Install all Windows updates
Microsoft regularly releases Windows updates with various bug fixes and security improvements. Keeping your operating system up to date can help you address compatibility issues and fix the potential problem. So you can give this a try. Here’s how:
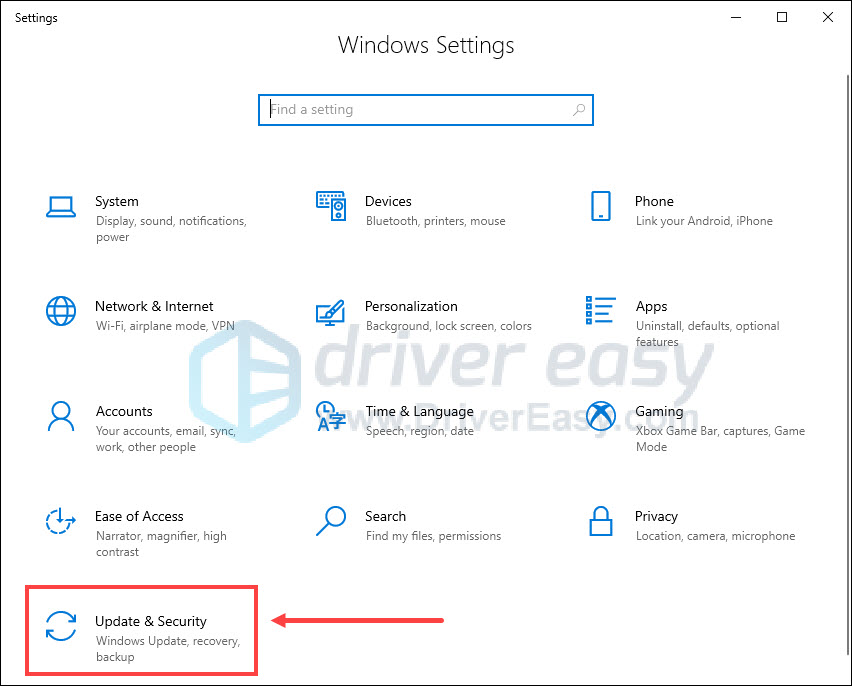
- On your keyboard, press the Windows logo key and I at the same time to open the Windows Settings. Then select Update & Security.
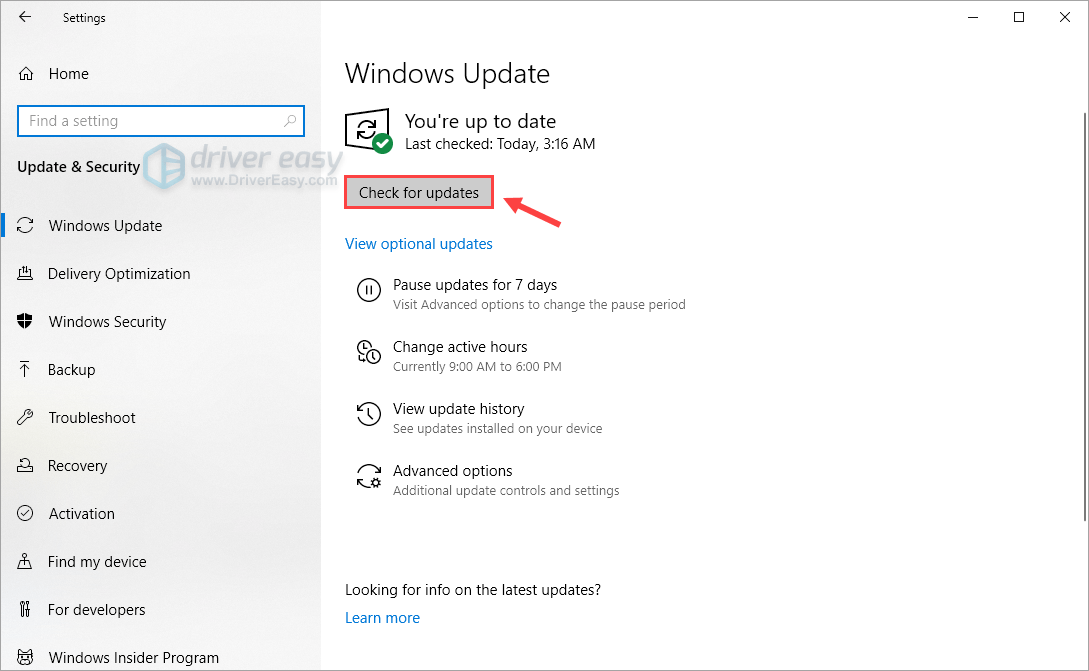
- Under Windows Update, click Check for updates. Then Windows will automatically download and install the available updates.
Once you’ve installed all the updates, restart your PC and check if the voice chat feature works properly in Vanguard.
So these are the fixes for your voice chat not working issue in Call of Duty: Vanguard. Hopefully, this post helped. If you have any questions or suggestions, feel free to leave us a comment below.