


So, you’re all set for a cozy movie night, but as the plot thickens, the audio starts lagging behind the video. Frustrating, right? Don’t worry—this common issue doesn’t have to ruin your experience. The good news is, fixing it is easier than you think! We’ve gathered 5 proven solutions to help you fix the audio delay issue on Windows 7, 8, 10, and 11. Let’s dive in!
Try these fixes:
You may not try them all, just work your way down the list until you find the one that works.
- Run the Playing Audio Troubleshooter
- Change audio format
- Disable audio enhancements
- Uninstall and reinstall the audio driver
- Update your audio driver
Fix 1 – Run the Playing Audio Troubleshooter
There is a set of Windows built-in troubleshooters that can help you resolve critical device problems. Let’s start with this quick fix.
If you’re on Windows 7 and Windows 8
Windows 11
- On your keyboard,press the Windows logo key and I at the same time to bring up the Settings window.
- Click System > Troubleshoot.
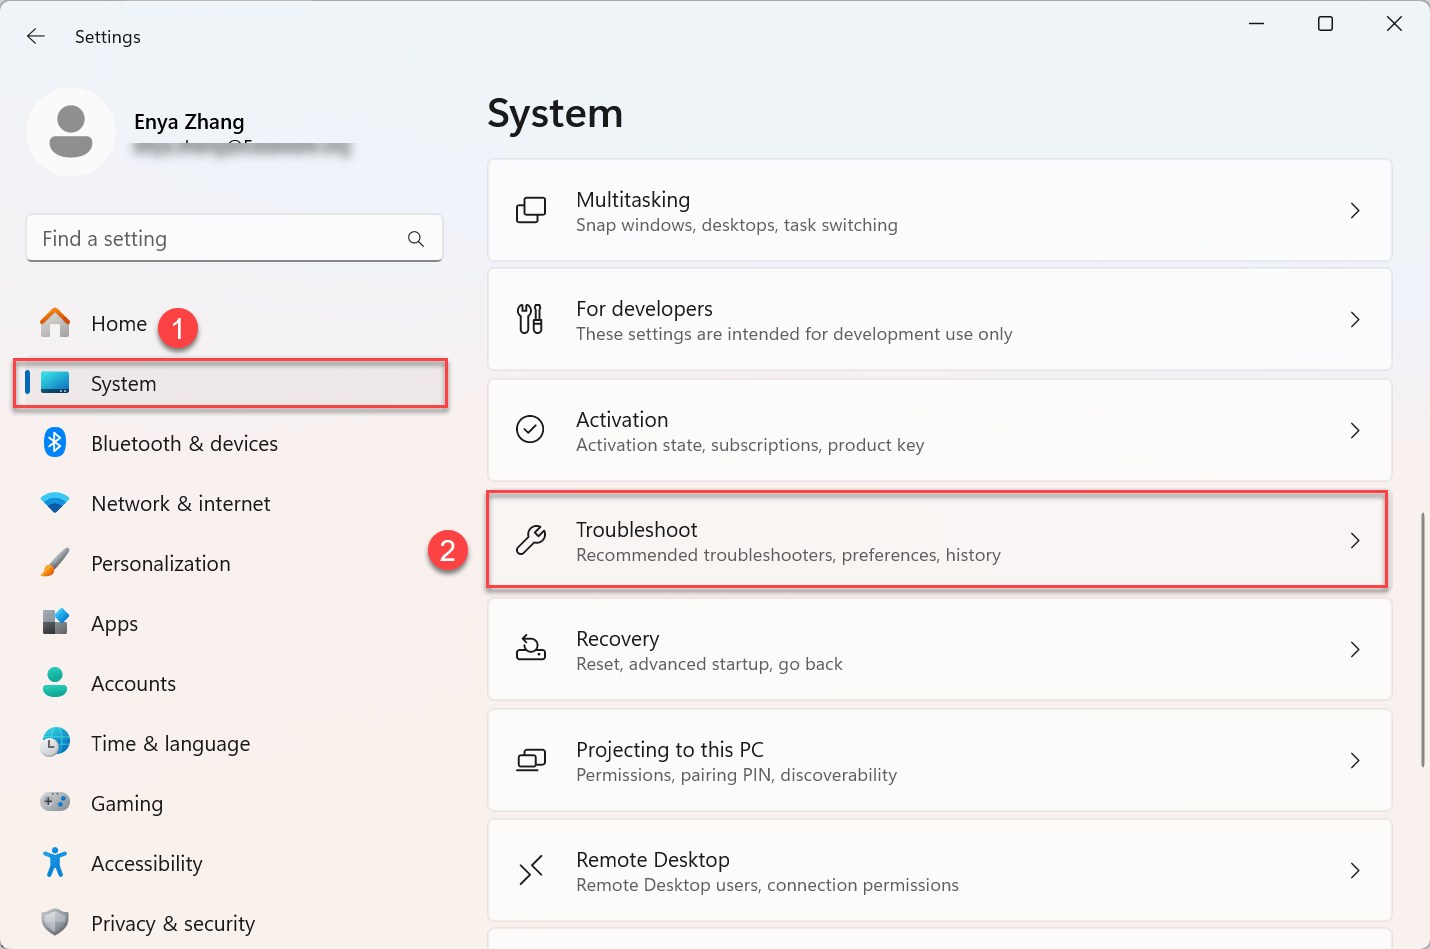
- Select Other troubleshooters.
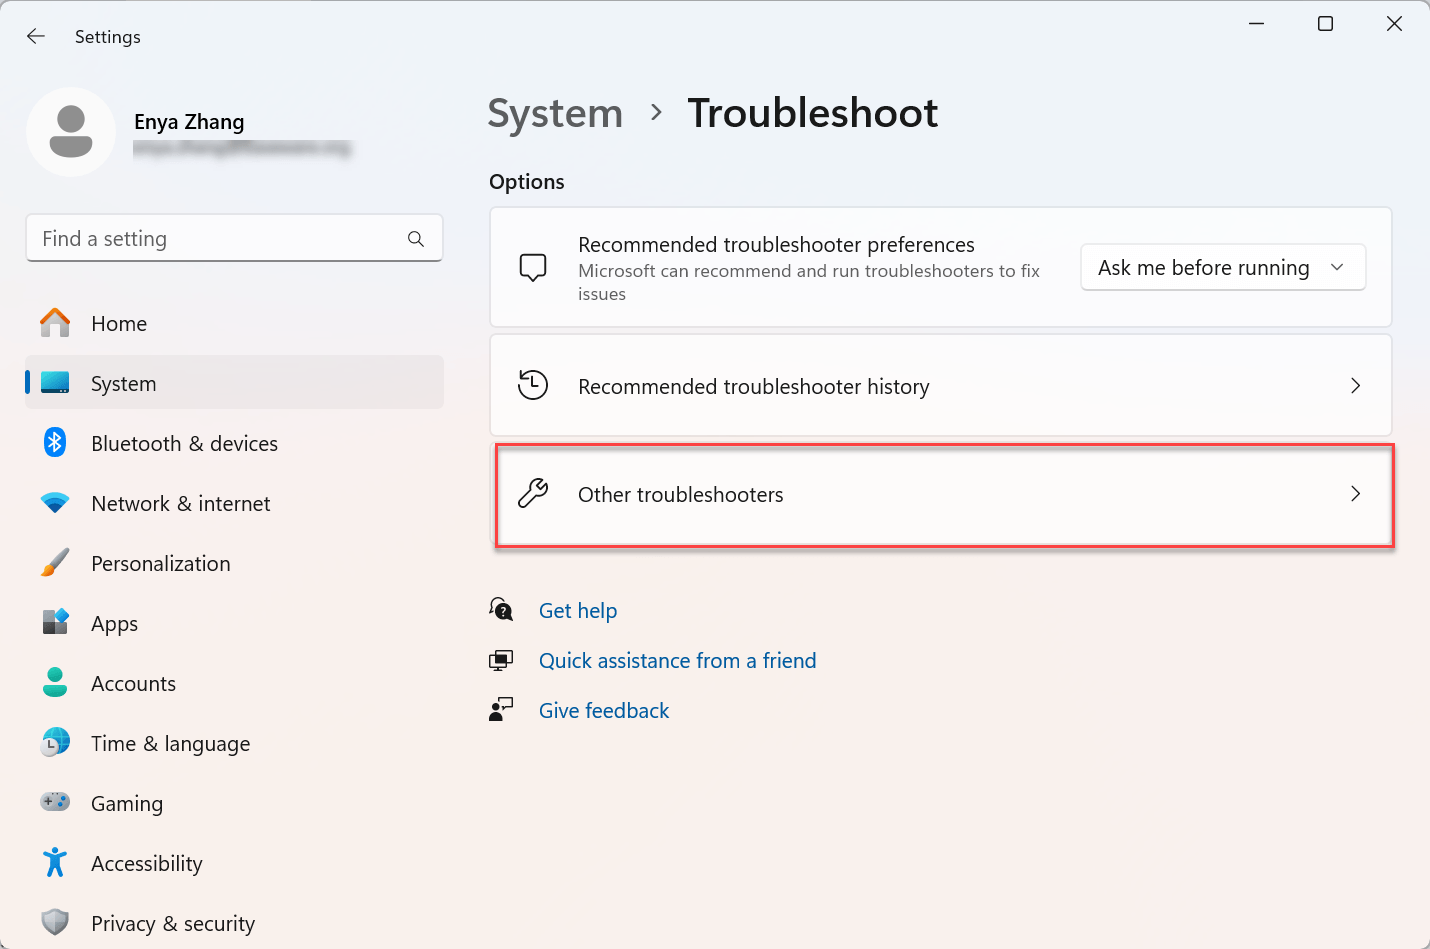
- In the Audio troubleshooter, click Run.
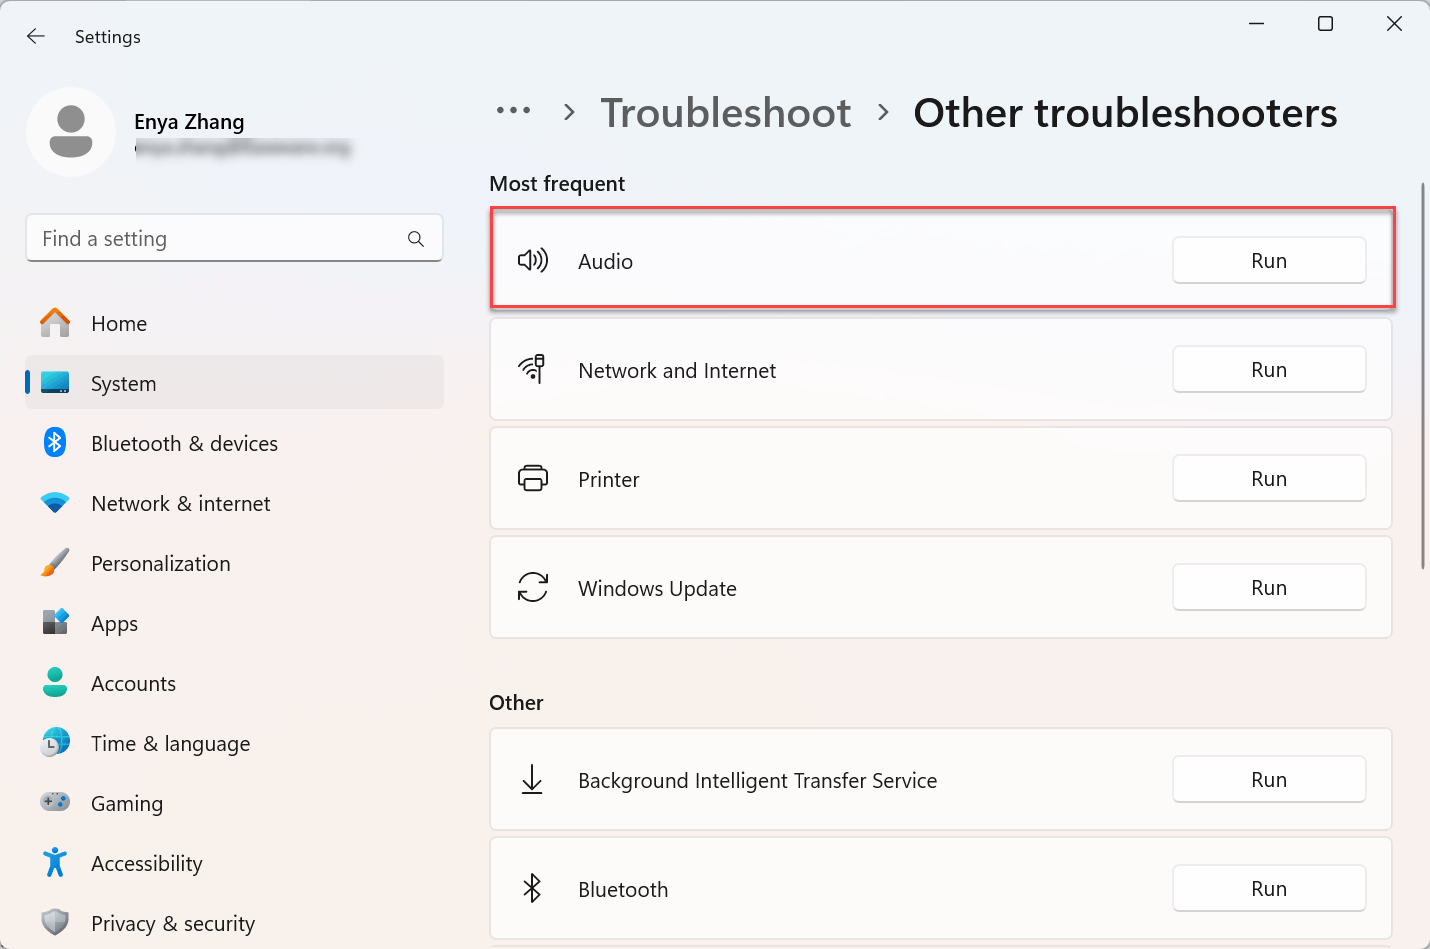
- Follow the guided instructions to complete the troubleshooting process. Then, test play an audio on your computer to see if the delay issue is resolved. If yes, then congrats! If the problem persists, please jump to Fix 2.
Windows 10
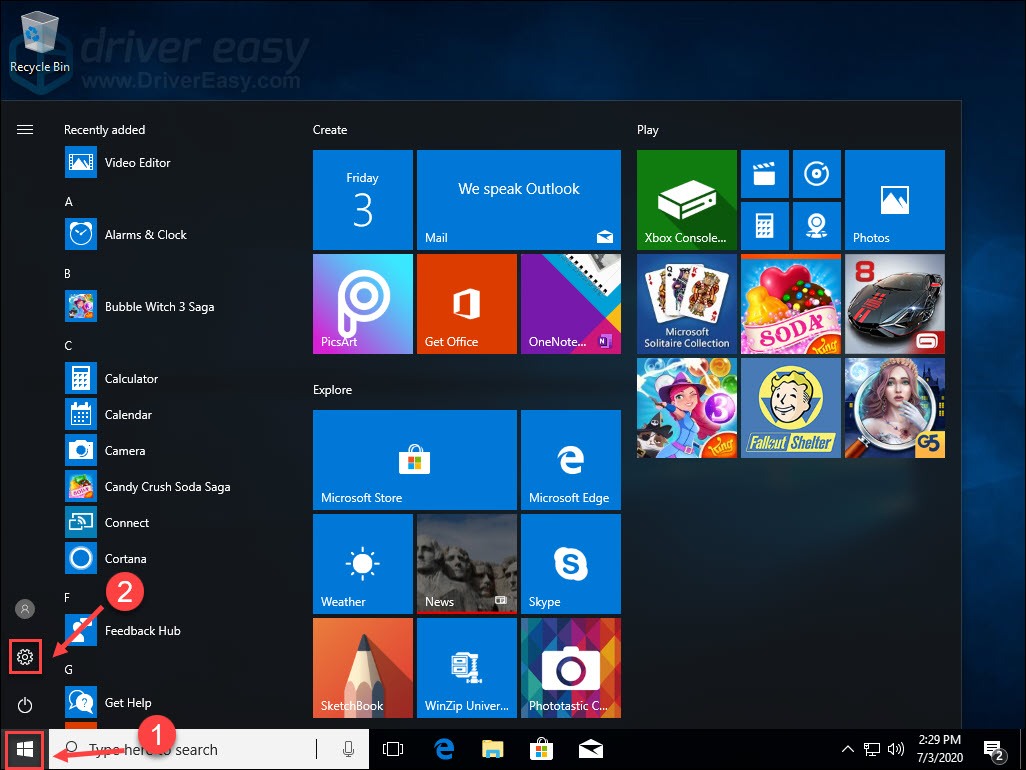
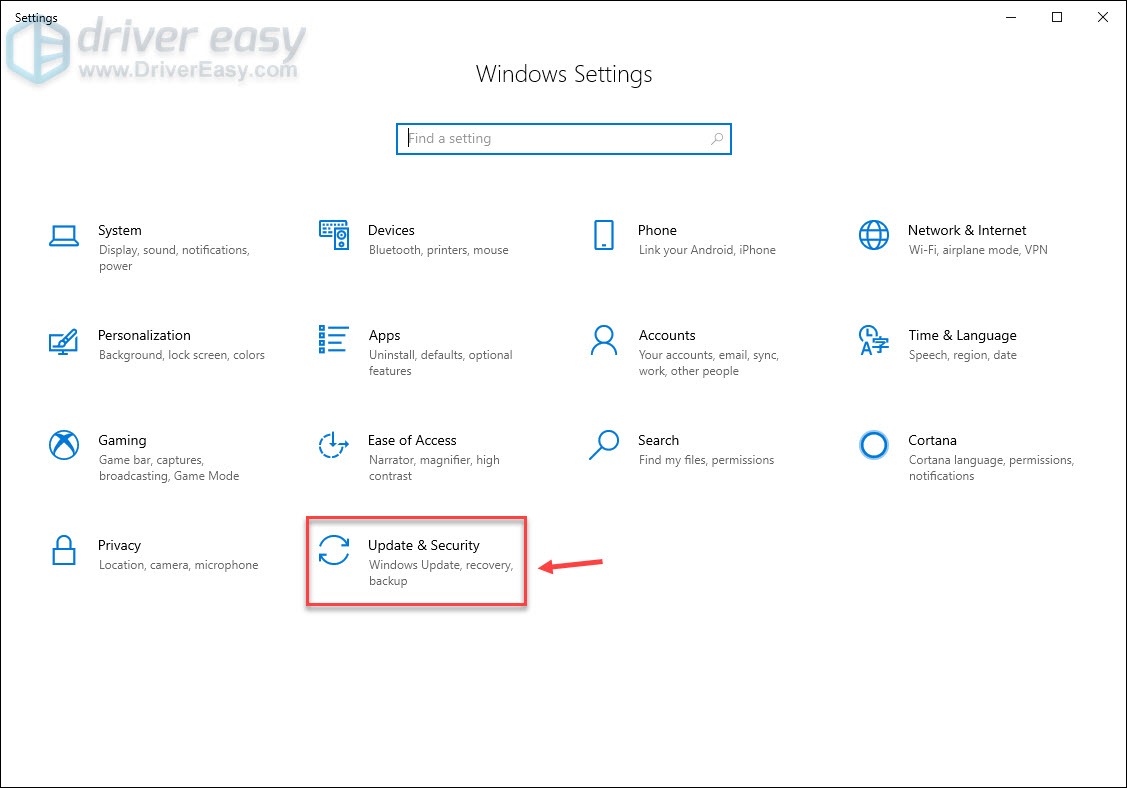
1) Click the Start button, and select Settings.
2) Click Update & Security.
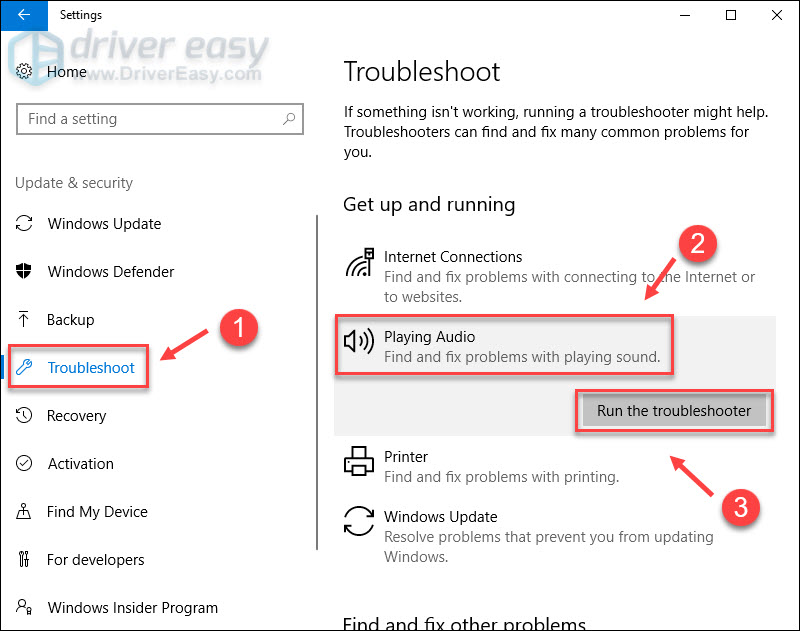
3) Click Troubleshoot on the left pane. Then, select Playing Audio, and click Run the troubleshooter.
After the troubleshooting process completes, there will be suggestions about how to fix your audio issue. For example, you might be advised to turn off sound effects and enhancements. You just need to follow the on-screen instruction to apply the fix. If it doesn’t solve the problem, continue to Fix 2.
Window 7 and Windows 8
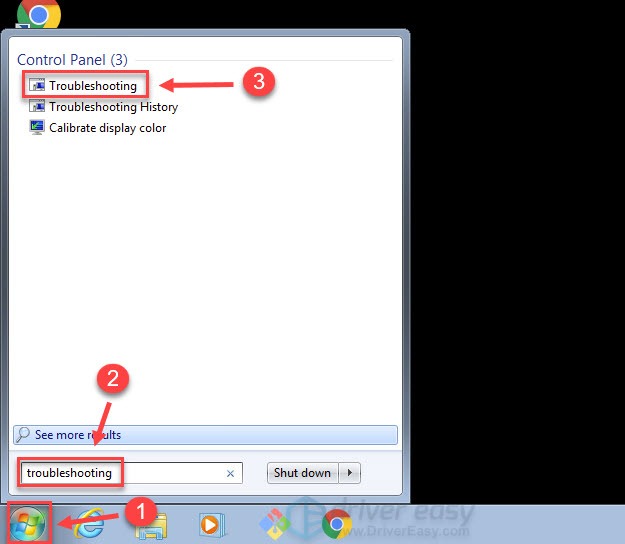
1) Click the Start button. Then, type troubleshooting in the search bar, and click Troubleshooting.
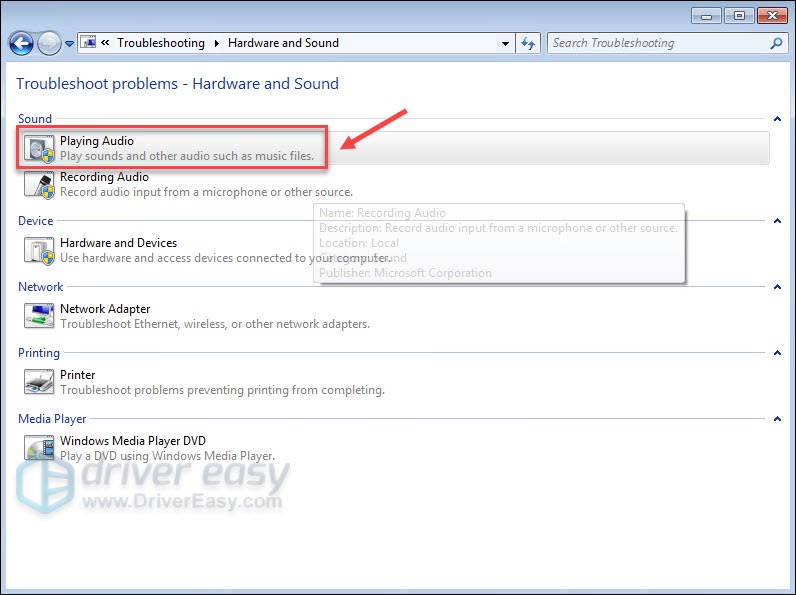
2) Click Hardware and Sound.
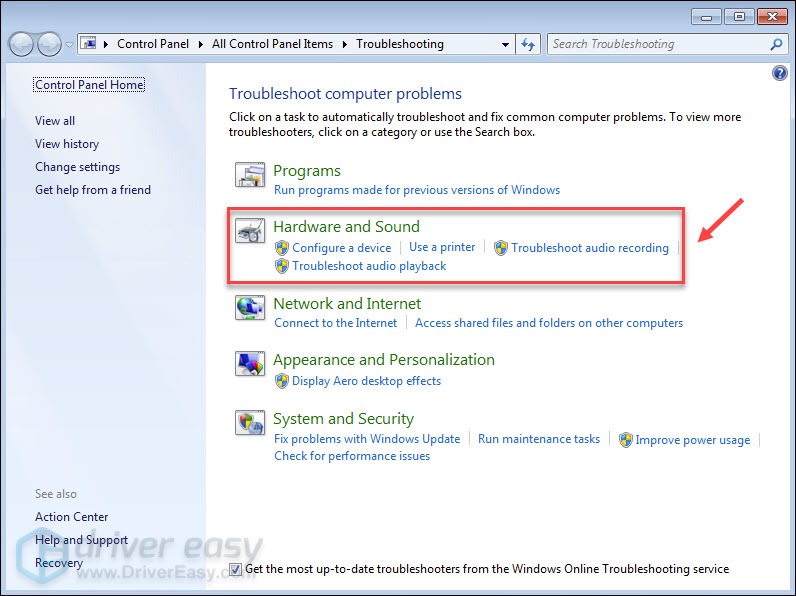
3) Select Playing Audio.
4) Click Next.
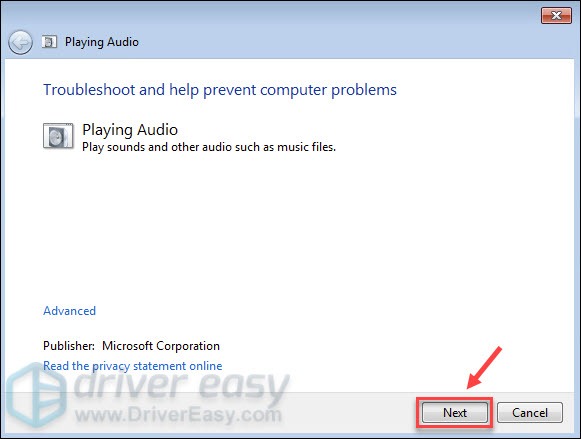
After the troubleshooting process completes, there will be suggestions about how to fix your audio issue. You can follow the on-screen instruction to apply the fix. If it doesn’t solve your problem, continue to the next method.
Fix 2 – Change audio format
If the audio format isn’t compatible with your audio device, the sound won’t play normally. To adjust the setting, follow the steps below.
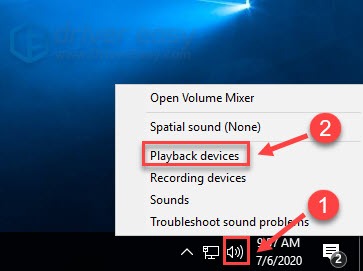
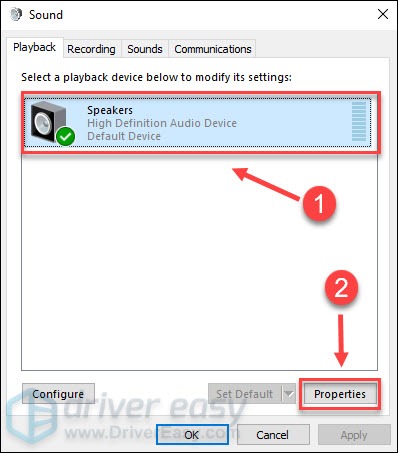
1) Right-click the sound icon in the right corner of the taskbar, and select Playback devices.
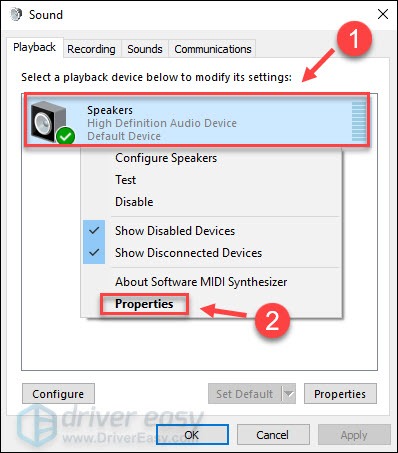
2) Right-click your default device and click Properties.
3) Click the Advanced tab, and select 16 bit, 48000 Hz (DVD Quality) from the drop-down menu. Then, click OK.
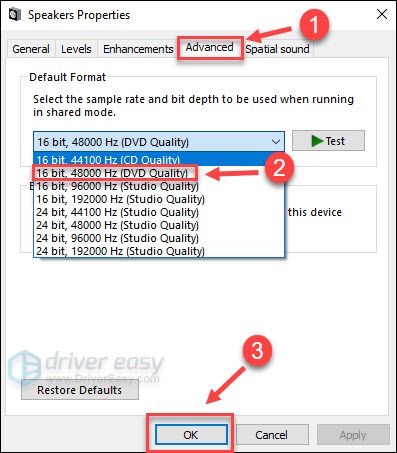
Check if the audio delay issue is fixed. If not, go back to step 3 and try the option in the list one by one. If none of them works, move on to the next fix.
Fix 3 – Disable audio enhancements
Windows integrates a range of audio enhancement features to boost sound quality. However, it may also lead to audio stuttering or latency. You can simply turn it off to see how things go.
1) Right-click the sound icon in the right corner of the taskbar, and click Playback devices.

2) Select the default device and click Properties.
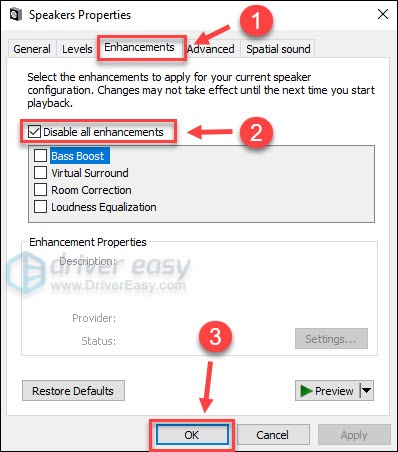
3) Select the Enhancements tab, check Disable all enhancements, and click OK.
Does the audio play as the way it should be now? If no, don’t be frustrated. We’ve got another fix that deals with your audio driver.
Fix 4 – Uninstall and reinstall the audio driver
The audio delay is possibly caused by a driver issue. You can uninstall the audio driver and let Windows detect and reinstall the driver for you. Here’s how:
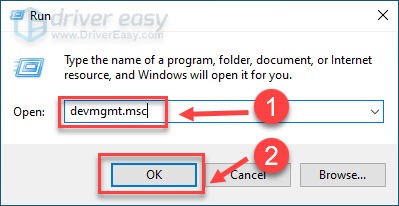
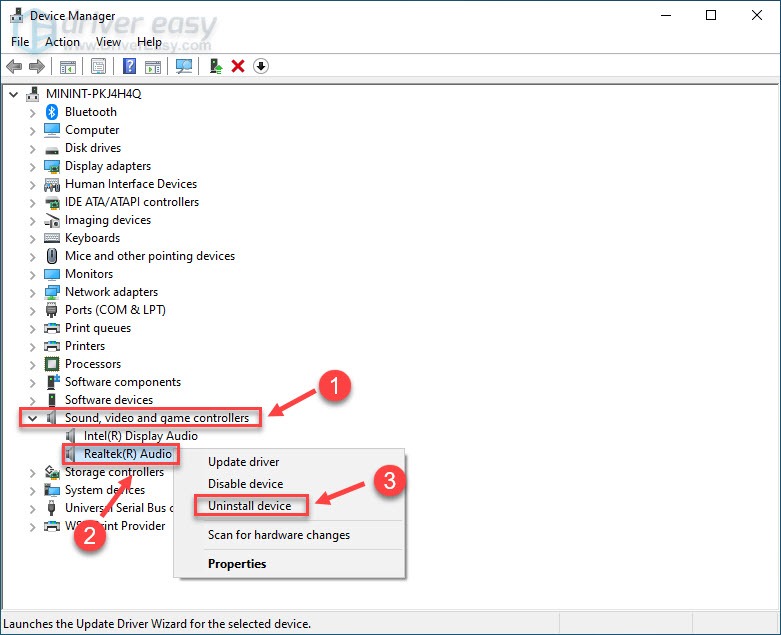
1) On your keyboard, press the Windows logo key and R at the time to invoke the Run box. Then, type devmgmt.msc, and click OK.
2) On the Device Manager window, double-click Sound, video and game controllers to see your audio device. Then, right-click the audio device and select Uninstall device.
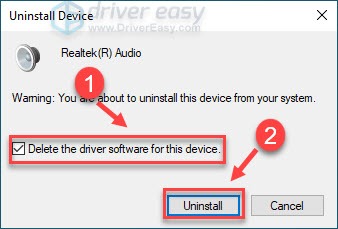
3) Check Delete the driver software for this device. Then, click Uninstall.
4) Restart your computer, and Windows will automatically install the appropriate audio driver.
If reinstalling the audio driver still doesn’t work, check out the last fix.
Fix 5 – Update your audio driver
The audio driver act as the communication link between your operating system and your sound hardware, and when they’re not functioning correctly, you’re likely to experience problems like delays, crackling, or even complete loss of audio. Keeping your audio driver up to date is not just a recommended practice—it’s essential for ensuring smooth, delay-free audio performance.
You can download the latest audio driver from the manufacturer’s website for your sound card. But if you don’t have the time, patience or skills to update it manually, you can do it automatically with Driver Easy.
Driver Easy will automatically recognize your system and find the correct drivers for it. You don’t need to know exactly what system your computer is running, you don’t need to be troubled by the wrong driver you would be downloading, and you don’t need to worry about making a mistake when installing.
You can update your drivers automatically with either the 7-day free trial or the Pro version of Driver Easy. But with the Pro version it takes just 2 steps (and you get full support and a 30-day money back guarantee):
1) Download and install Driver Easy.
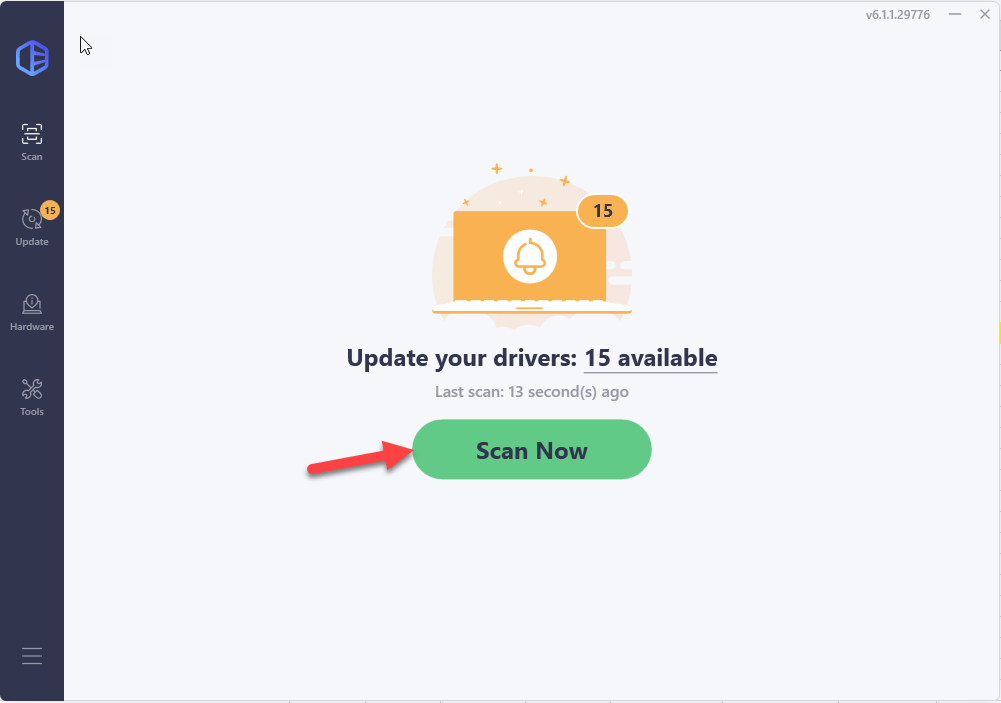
2) Run Driver Easy and click the Scan Now button. Driver Easy will then scan your computer and detect any problem drivers.
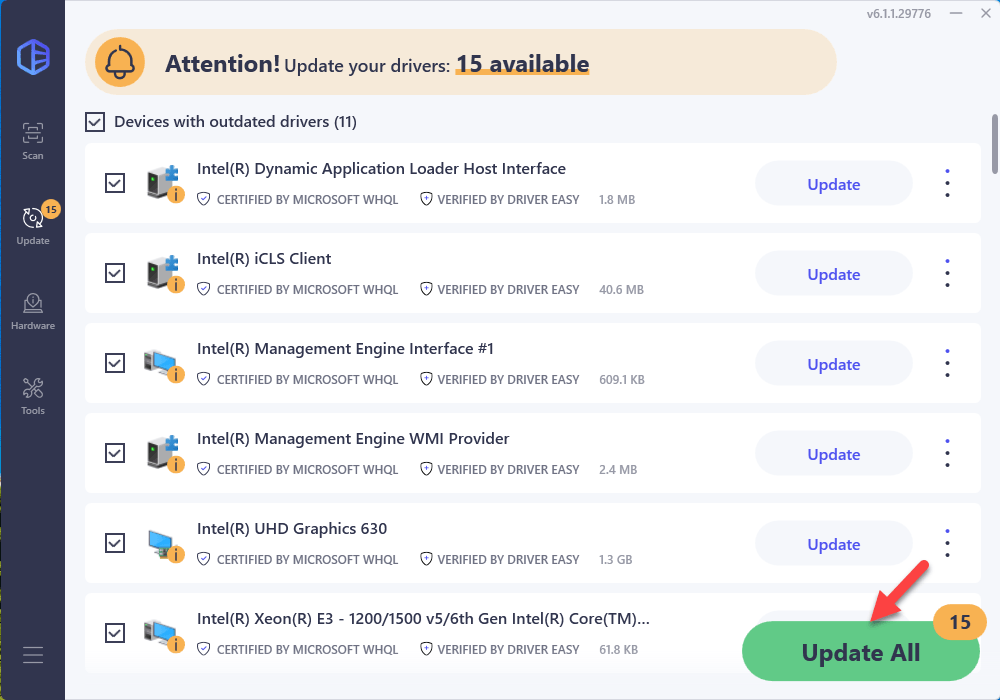
3) Click the Update button next to the flagged audio driver to automatically download and install the correct version of this driver (you can do this with the FREE version).
Click Update All to automatically download and install the correct version of all the drivers that are missing or out of date on your system (this requires the Pro version – you’ll be prompted to upgrade when you click Update All).
If you need assistance, please contact Driver Easy’s support team at support@drivereasy.com.
Restart your computer for the changes to take effect. Now you can check if the audio goes back to normal.
So this is how to fix audio delay on Windows PC. If you have alternative methods or any other questions, feel free to share with us in the comment area below.