


When your Internet connection seems glitchy, you may need to update your network adapter driver. In this article, we’ll show you how to install and update your Intel network adapter driver easily and quickly.
Two ways to update your Intel network adapter driver
Option 1: Automatic update (Recommended!)
If you don’t like the idea of keeping an eye on the latest updates and manually installing the new network driver every time, you can try Driver Easy. Driver Easy will automatically recognize your system and find the correct Intel network driver for you and your Windows version, then it’ll download and install the driver correctly:
1) Download and install Driver Easy.
2) Run Driver Easy and click the Scan Now button. Driver Easy will then scan your computer and detect any problem drivers.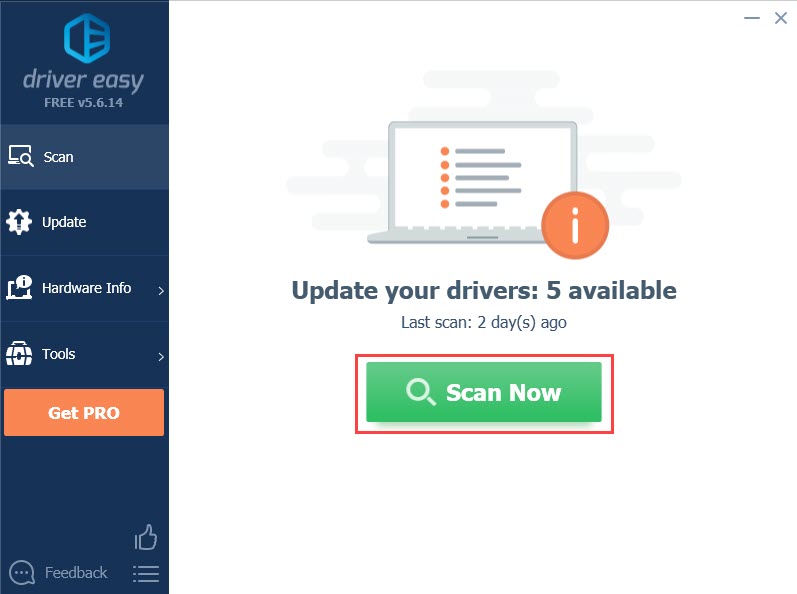
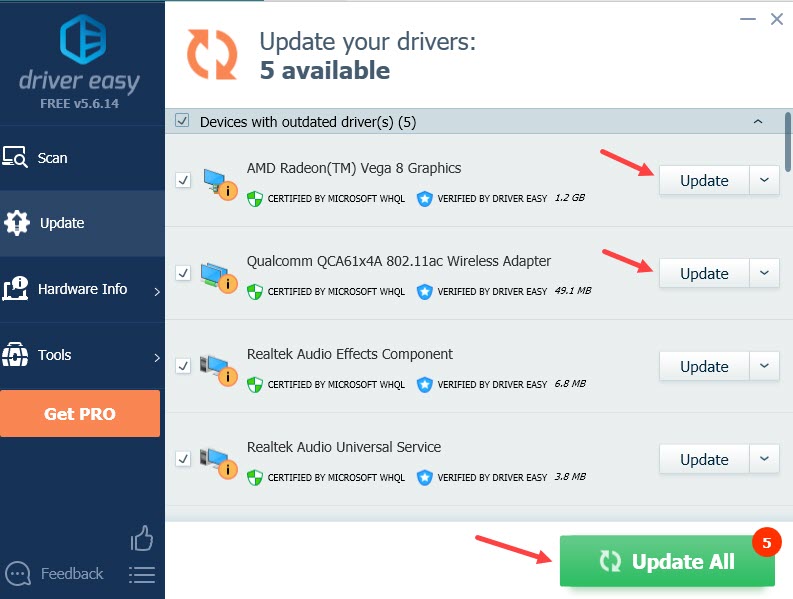
3) Click the Update button next to the flagged network driver to automatically download the correct version of the drivers, then you can manually install them (you can do this with the FREE version).
Or click Update All to automatically download and install the correct version of all the drivers that are missing or out of date on your system. For example, you can update both your graphics driver and network adapter driver with just one click. (This requires the Pro version which comes with full support and a 30-day money-back guarantee. You’ll be prompted to upgrade when you click Update All.)
Option 2: Manually install
To manually install and update your Intel network adapter driver, you need to download the latest version on the official site and install it via Device Manager. Here’s how:
- Go to the official site and search for the driver for your network adapter.
Ethernet
Wireless - Download the latest driver that is compatible with your Windows version.
- Decompress the driver packs you downloaded.
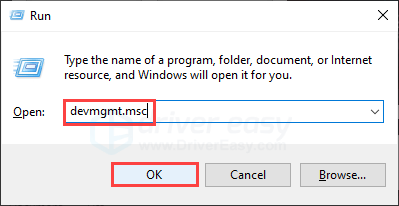
- Press the Windows key and R on your keyboard to invoke the Run box.
- Type in devmgmt.msc, then click OK.
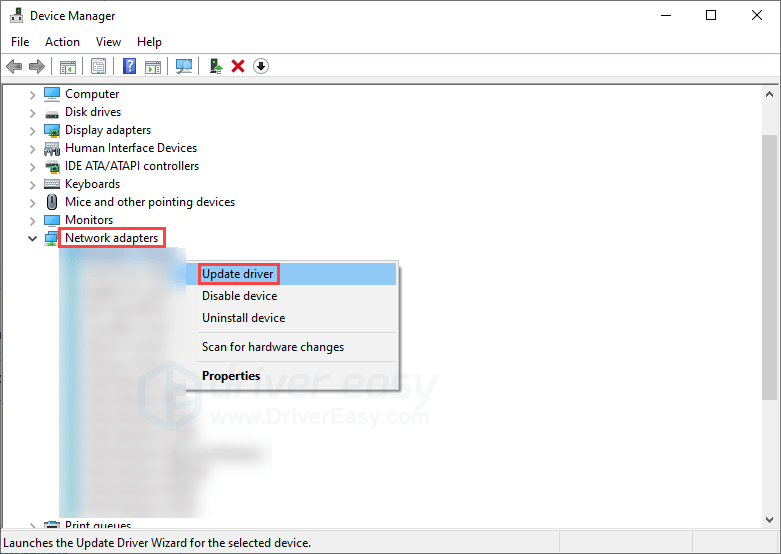
- Under Network adapters, right-click the connection you want to update, then click Update driver.
- Click Browse my computer for drivers.

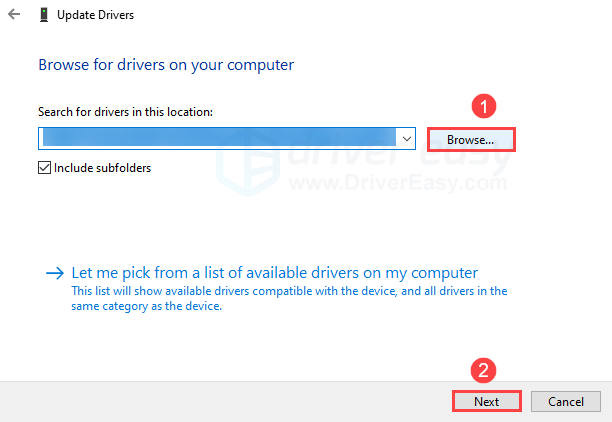
- Click Browse, and go to the folder where you extracted your driver packs. Make sure to select all the subfolders. Then click Next.
- The driver will be installed on your PC.
That’s all for this article. I hope it helps! If you have any questions or suggestions, please feel free to leave us a comment.