


Having an issue with drivers for Neat scanners? Don’t worry. This post will walk you through and resolve your Neat scanner driver issues in no time!
If you want to keep your Neat scanners in good condition, and have the best possible experience, you should consider updating drivers for Neat scanners. In addition, if your scanner is not working properly, updating the scanner driver can be an effective solution to fix the problem.
How to download or update Neat scanner driver
Method 1: Download Neat scanner drivers manually
You can download the driver for your Neat scanner manually from the Neat support center. Before starting, you should know clearly your scanner model number and your computer system type.
You can see your scanner model number by checking the bottom of the scanner (or the package manual came with your product).
Then you can check your system type by pressing the Windows logo key  and Pause (Break) at the same time.
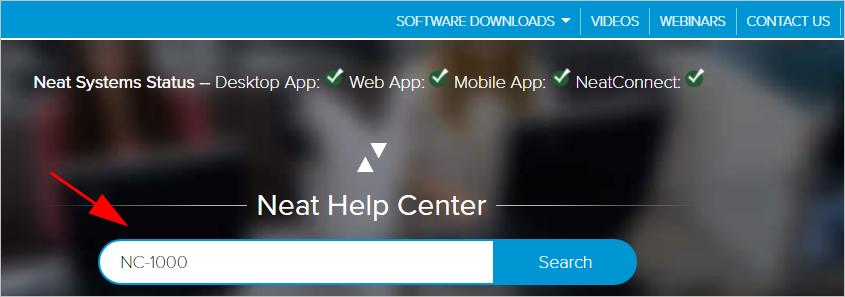
- Go to Neat support page.
- Search for your scanner model number.
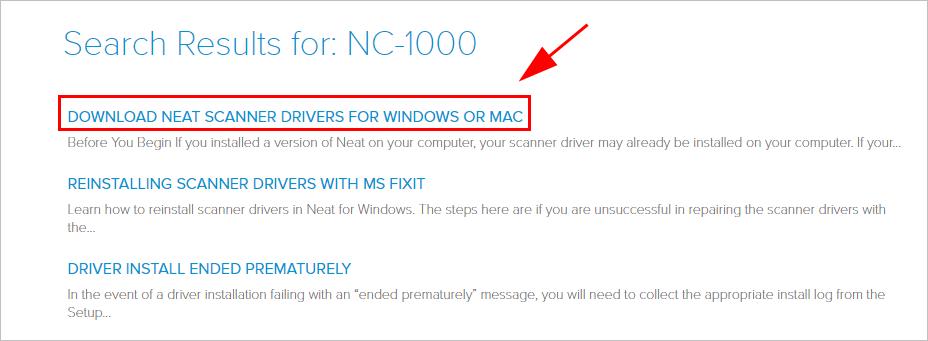
- Click Download Neat scanner drivers for Windows or Mac.
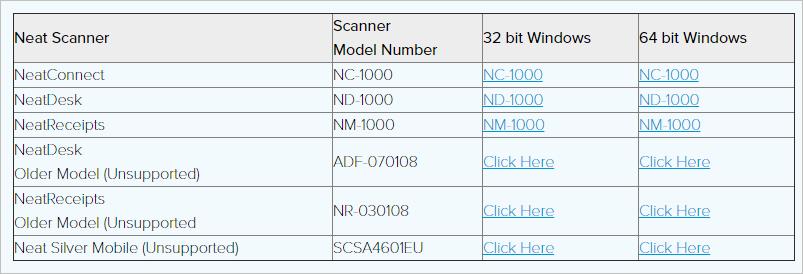
- Click the driver to download depending on your system type (in my case I click 64 bit Windows).
- Once downloaded, extract the downloaded file, and run the driver installer to install the driver in your computer.
This method requires time and computer skills.
If this solution doesn’t work for you, don’t worry. You have something else to try.
Method 2: Update Neat scanner drivers automatically (Recommended)
If you don’t have time or patience, you can do it automatically with Driver Easy.
Driver Easy will automatically recognize your system and find the correct drivers for it. You don’t need to know exactly what system your computer is running, you don’t need to risk downloading and installing the wrong driver, and you don’t need to worry about making mistakes when installing.
You can update your drivers automatically with either the FREE or the Pro version of Driver Easy. But with the Pro version, it takes just 2 clicks (and you will get full support and a 30-day money back guarantee).
- Download and install Driver Easy.
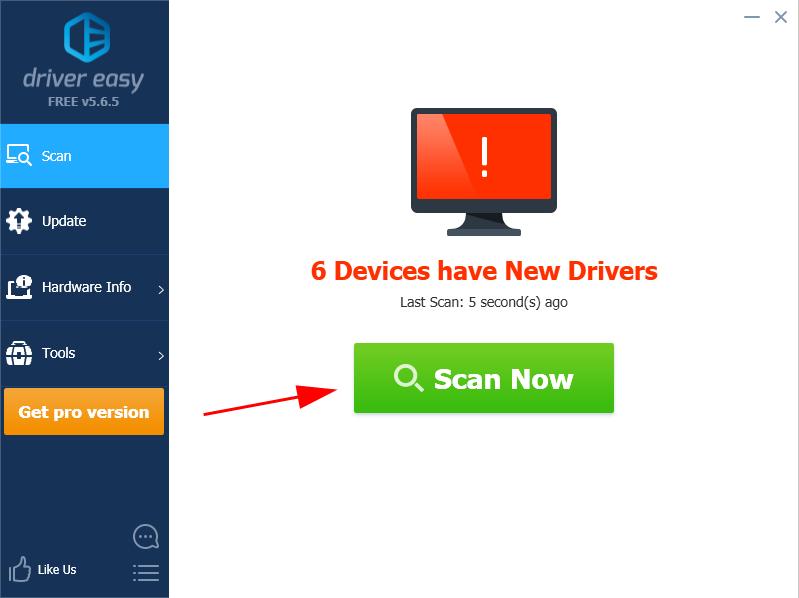
- Run Driver Easy and click the Scan Now button. Driver Easy will then scan your computer and detect any problem drivers.
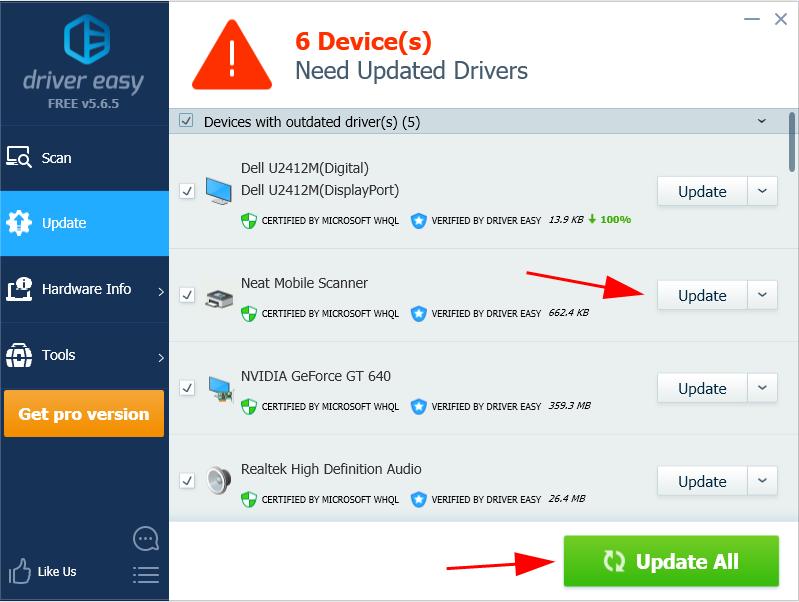
- Click the Update button next to the flagged device to automatically download the correct version of the driver (you can do this with the FREE version). Then install the driver in your computer.
Or click Update All to automatically download and install the correct version of all the drivers that are missing or out of date on your system (this requires the Pro version – you’ll be prompted to upgrade when you click Update All).
- Restart your computer to take effect.