


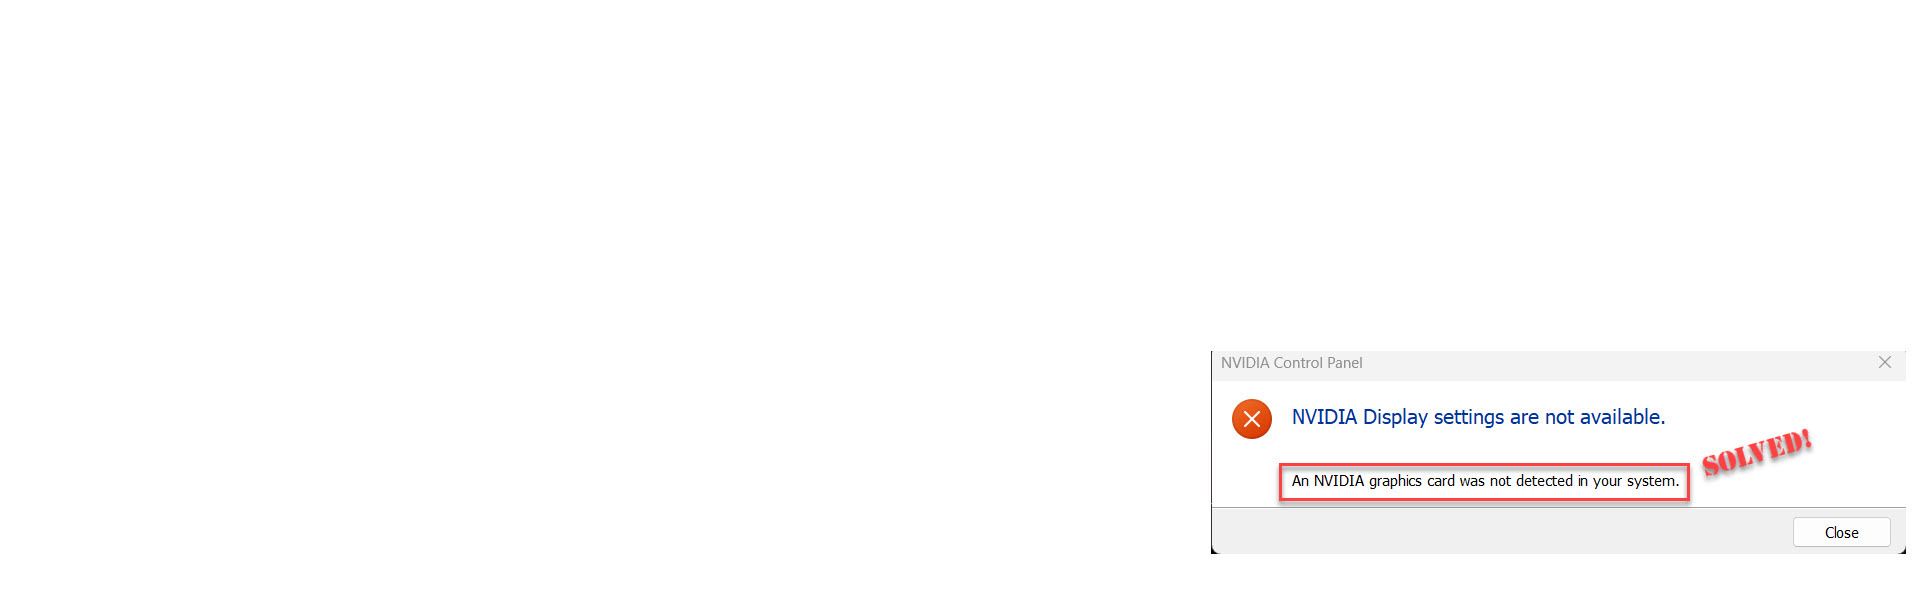
Can’t find your NVIDIA graphics card in Device Manager? One minute it’s working fine, the next Windows acts like it’s not even there. Frustrating, but fixable. Here are 3 fixes that have helped other users resolve the Nvidia Graphics Cards Not Detected issue. Just read on…
Fixes for Nvidia Graphics Cards Not Detected
All the fixes below work in Windows 11, 10, 8.1, and 7. You may not have to try them all; just work your way down the list until you find the one that works for you.
Fix 1: Show hidden devices
Sometimes Windows automatically hides devices it thinks aren’t connected anymore – even when they actually are. This often happens right after installing a new graphics card or following a Windows Update. By showing hidden devices, Windows may be able to find your ‘missing’ graphics card and properly reinstall it.
Here is how to do it:
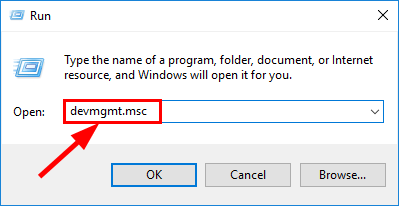
- On your keyboard, press the Windows logo key and R at the same time, then type devmgmt.msc into the box and press Enter.
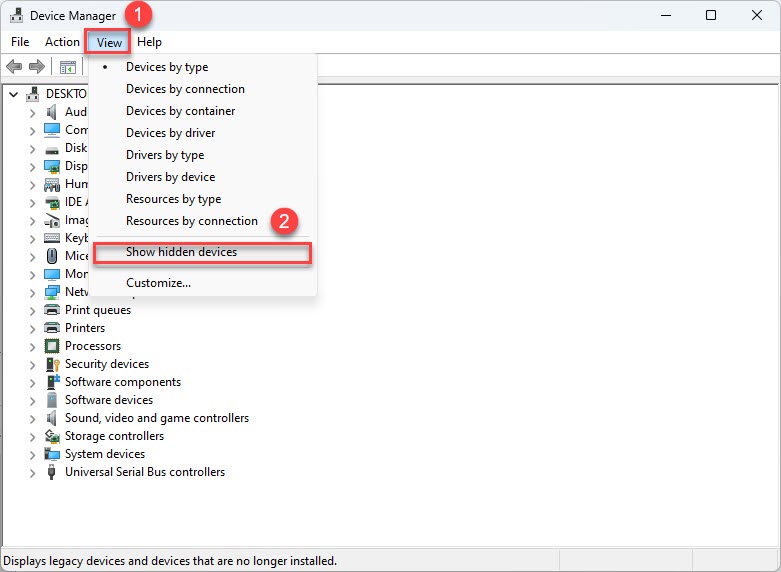
- Click View and then click Show hidden devices.
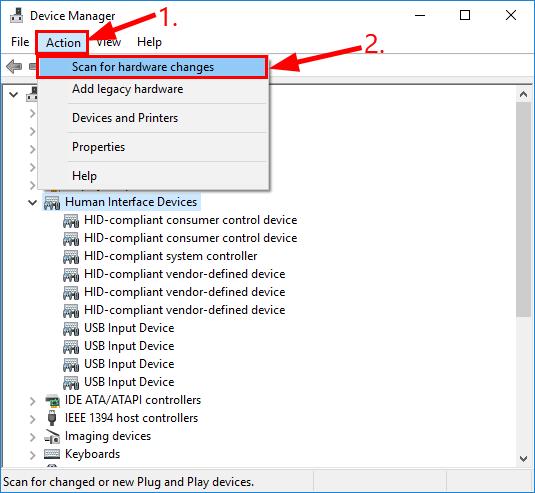
- Click Action > Scan for hardware changes.
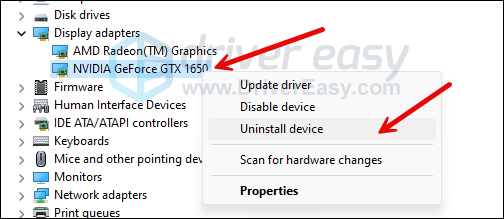
- Check if your Nvidia graphics driver shows up under the Display adapters category as a gray-out device, i.e. it looks pale compared to other functioning devices. If so, right-click your Nvidia display card and select Uninstall device.
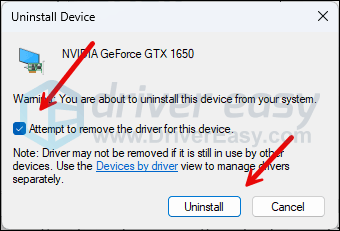
- Tick the box for Attempt to remove the driver for this device and click Uninstall.
- Then restart your computer.
- If the Nvidia display card remains disappeared when your computer restarts, don’t worry, move on to the next fix.
Fix 2: Update your graphics driver
Your graphics card relies on driver software to communicate with Windows. When these drivers are outdated or incorrect, Windows can lose its ability to ‘see’ and use your card properly, hence the graphics card not detected error. You should update your graphics driver to see if it fixes the problem. If you don’t have the time, patience, or skills to update the driver manually, you can do it automatically with Driver Easy.
Driver Easy will automatically recognize your system and find the correct drivers for it. You don’t need to know exactly what system your computer is running, you don’t need to be troubled by the wrong driver you would be downloading, and you don’t need to worry about making a mistake when installing. Driver Easy handles it all.
- Download and install Driver Easy.
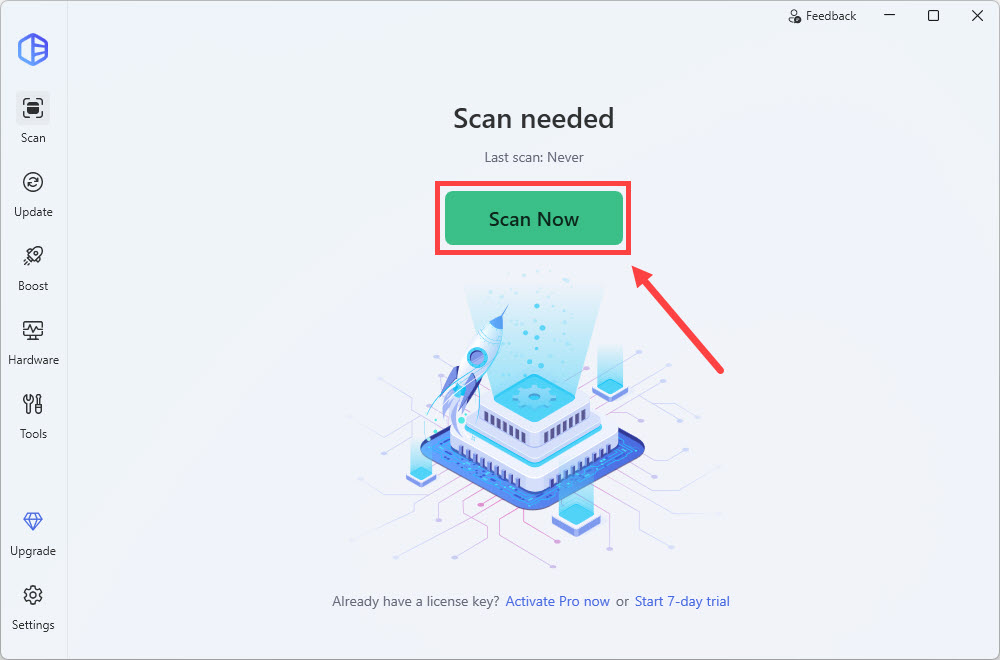
- Run Driver Easy and click the Scan Now button. Driver Easy will then scan your computer and detect any problem drivers.
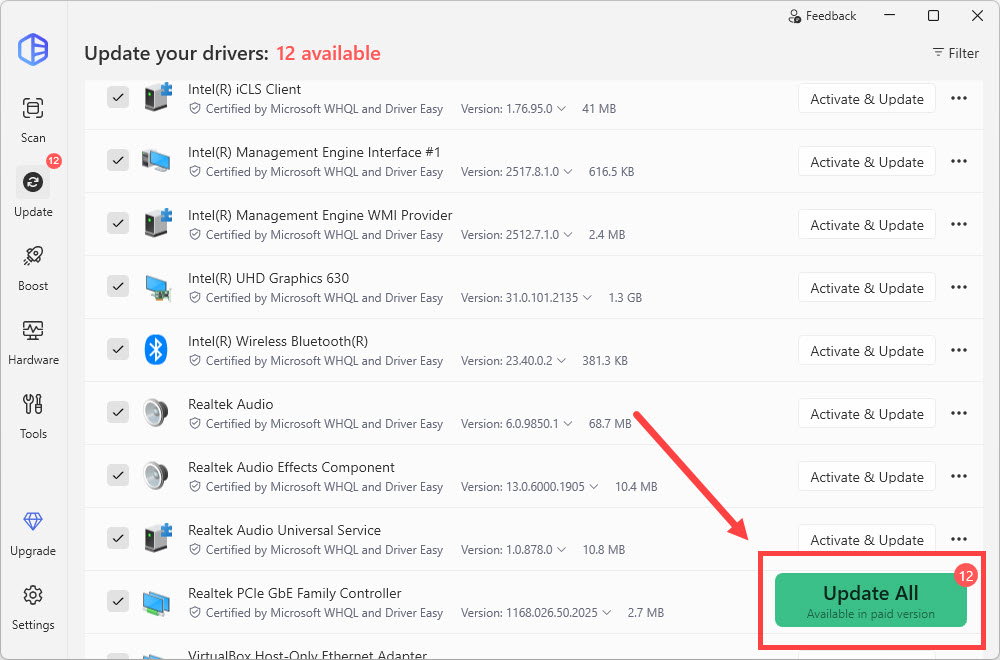
- Check if your graphics driver is flagged in the scan results. If it is, click Activate & Update to start a 7-day free trial or upgrade to Driver Easy Pro. Either option will automatically download and install the latest graphics driver for you.
- Restart your computer, then check if the graphics card not detected problem is resolved. If yes, then congrats! But if the issue remains, please move on to Fix 3, below.
Fix 3: Update your BIOS
Your motherboard’s BIOS controls how Windows interacts with your hardware at the most basic level. An outdated BIOS might not properly recognize newer graphics cards or could have compatibility issues that prevent Windows from detecting your GPU. Updating your BIOS can fix these fundamental communication problems.
If you need help updating your BIOS, here are some posts that you can refer to:
How have the methods above helped you with the troubleshooting? Do you have any ideas or tips to share with us? Please drop a comment below and let us know your thoughts.