If you’re looking for the correct Realtek ethernet controller driver for your Windows computer, you’ve got in the right place. Here you’ll learn two trustworthy ways to update your Realtek ethernet controller driver:
1. Download Realtek Ethernet controller driver from Realtek website manually
2. Update Realtek Ethernet controller driver via Driver Easy Automatically
WAY 1. Download Realtek Ethernet controller driver from Realtek website manually
To get Realtek Ethernet controller driver, the direct way is downloading from Realtek website.
Note: If your computer can’t get to Internet, you can download the driver file on another computer with Internet, then install on the computer without Internet.
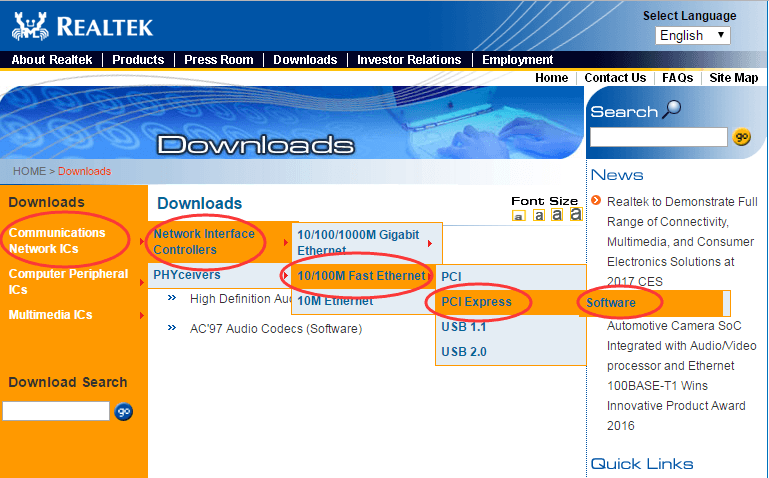
1) Go to Realtek Downloads Center.Find and click Communications Network ICs > Network Interface Controllers > speed of Ethernet port > computer expansion bus standard
Note: The speed of Ethernet port and computer expansion bus standard are likely different on your computer. If you are not sure, check it now.
Click Software.
2) Find your Windows operating system under Windows.
Then click Global to download.

Note: To check the speed of Ethernet port and computer expansion bus standard, please follow the method below.
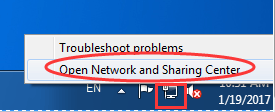
1) Right-clicking the Network icon in the task bar to start Network and Sharing Center.
Choose Open Network and Sharing Center.
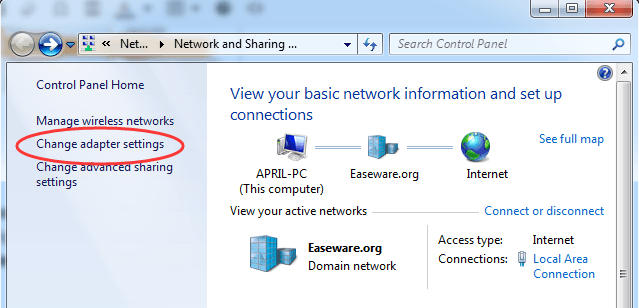
2) Click Change adapter settings on the left pane.
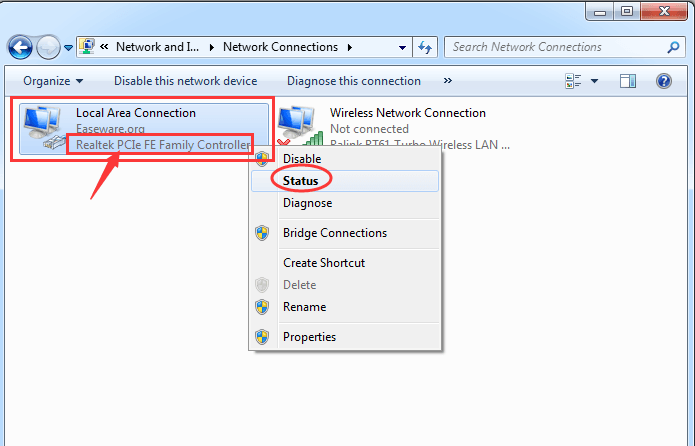
3) Now you can find computer expansion bus standard under the name Local Area Connection (PCIe means PCI Express).
Go on to right-click on Local Area Connection, then click Status.
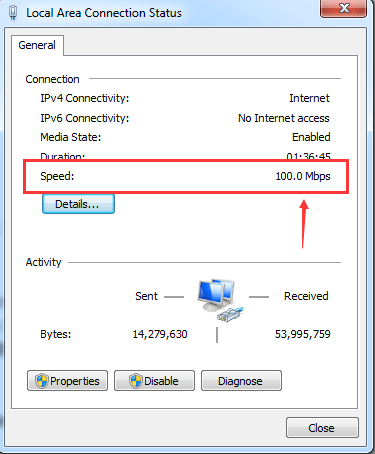
4) Now you can see the speed of your Ethernet port.
As you can see, download the driver manually needs much of clicking and confirmations. If you are not confident playing around with drivers manually, try Way 2 please.
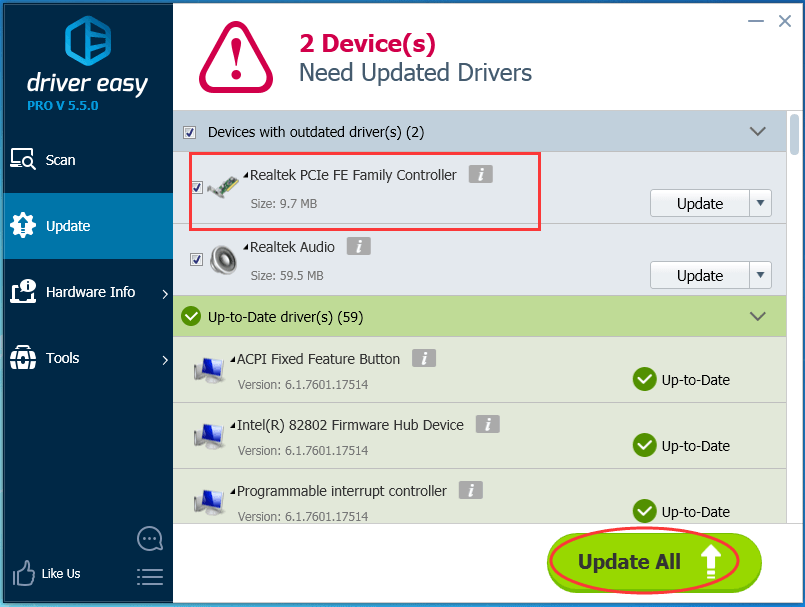
WAY2. Download Realtek Ethernet controller driver via Driver Easy
Driver Easy is a nice driver tool to solve all the drivers problems on your computer.It will automatically recognize your system and find the correct drivers for it. You don’t need to know exactly what system your computer is running, you don’t need to risk downloading and installing the wrong driver, and you don’t need to worry about making a mistake when installing.
You can update your drivers automatically with either the FREE or the Pro version of Driver Easy. But with the Pro version it takes just 2 clicks (and you get full support and a 30-day money back guarantee):
Besides it has a super good function–Offline Scan that can check all drivers problems without internet.
1) Download Driver Easy on a computer with Internet. Then run it on the computer without Internet.
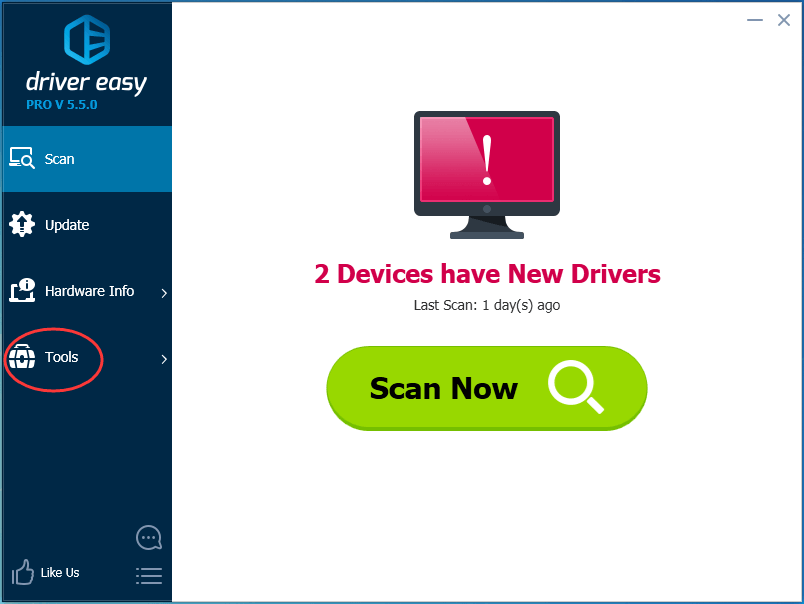
2) Launch Driver Easy. Click Tools on the left pane.
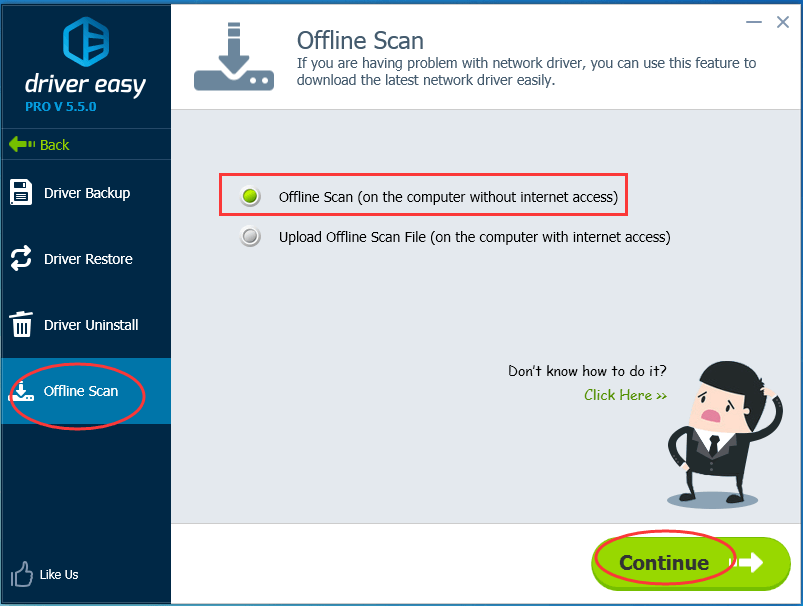
3) Click Offline Scan on the left pane. Then tick on Offline Scan on the right pane and click Continue.
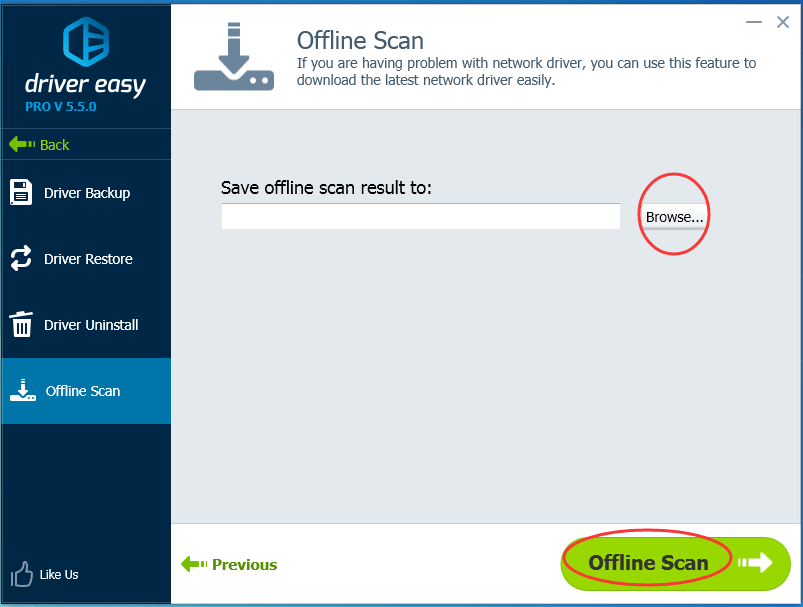
4) Click Browse to choose a removable disk such as USB Drive to save offline scan result. And then Click Offline Scan.
5) When it’s done, move your removable disk in another computer with Internet. And then do Step 2 on it.
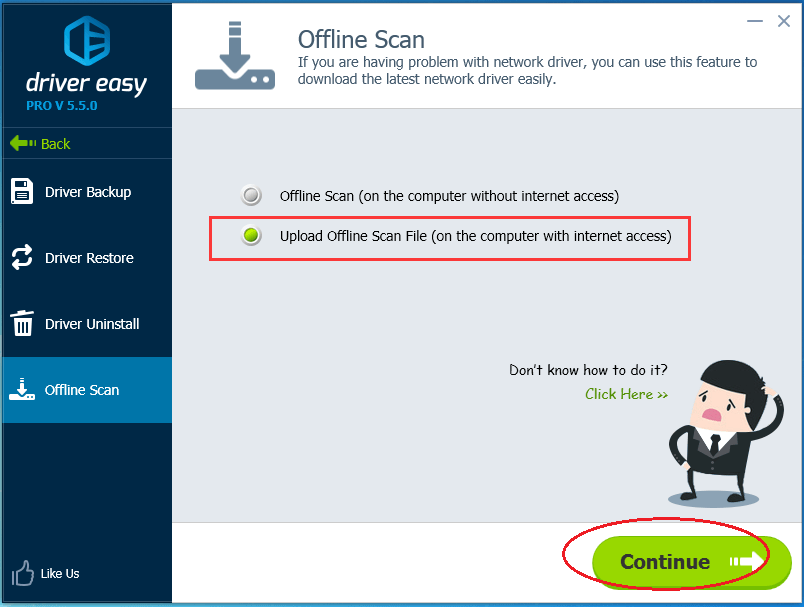
6) Tick on Upload Offline Scan File. Then click Continue.
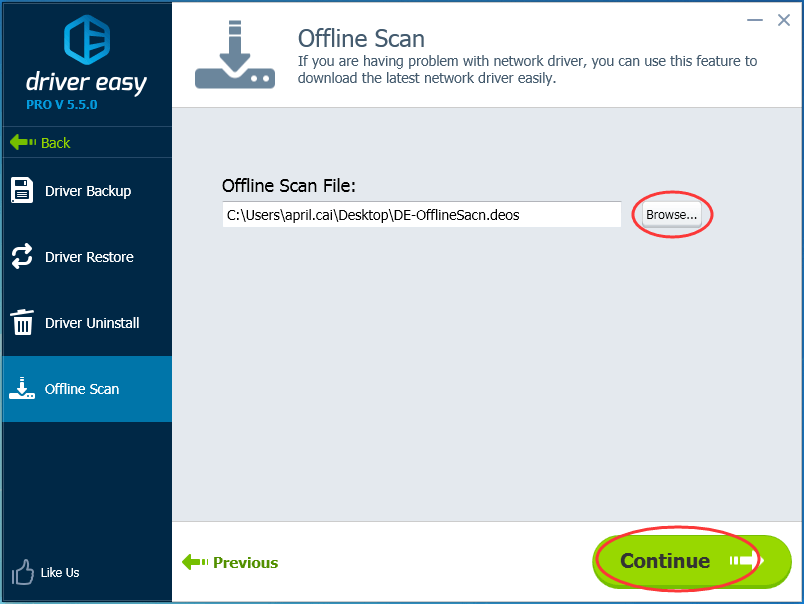
7) Click Browse to choose Scan File from your removable disk. Then click Continue.
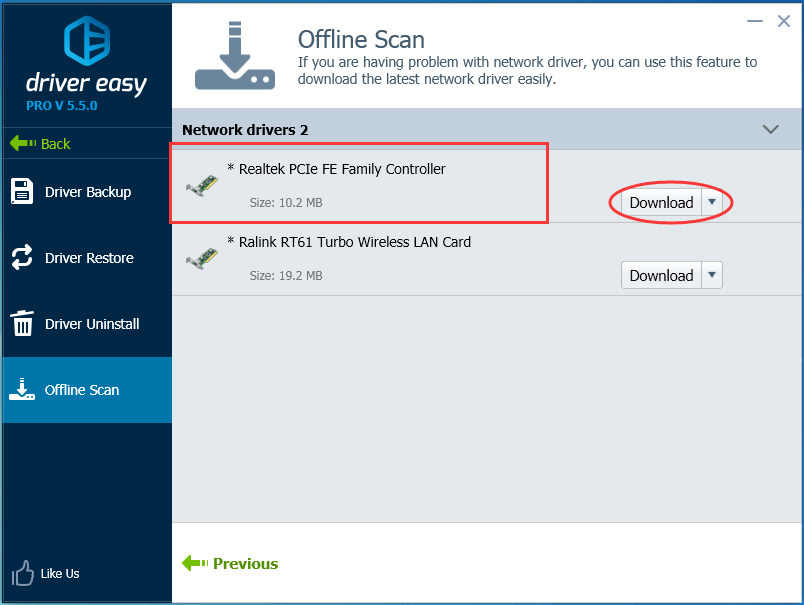
8) Click Download. Then you can browse to choose removable disk to save the driver file, then install on the computer you want.
Instead of finding and downloading by yourself, Driver Easy helps you find and download driver, which is great useful to save much more time. And for Driver Easy Pro Version, it helps fix all of your drivers problems in just one click: Update All, which can keep your computer in super great condition. How tempting it is! TRY NOW!