


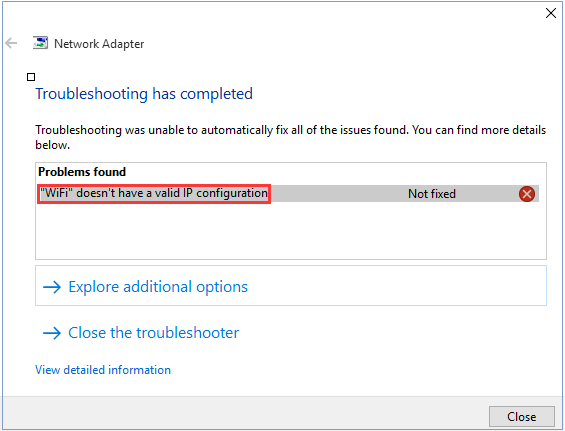
In most cases, Windows Troubleshooting may just find issues but not provide fixes. Issue “WiFi doesn’t have a valid IP configuration” is the case. After finishing the troubleshooting, you need to solve the issue manually. Here you will learn how to fix this issue on Windows 10.
The problem can be caused by several issues, such as incorrect network settings, faulty network drivers. There are five solutoins you can use to fix the problem. You may not have to try them all. Just work your way down at the top of the list until you find the one that works for you.
- Release and renew IP address
- Reset TCP/IP
- Uninstall wireless adapter driver
- Update the drivers
- Manually set IP address
Solution 1: Release and renew IP address
In some cases, this solution would work if there are problems with the network. And many users have reported it helped them with the WiFi doesn’t have a valid IP configuration problem. Follow steps below and it may work like a charm for you.
1) Open Command Prompt as an administrator.
If you’re using Windows 10, 8 or 8.1, visit How to Open Command Prompt in Windows 10, 8 & 8.1 for the insrtructions.
If you’re using Windows 7, visit How to Open Command Prompt in Windows 7 for the instrucitons.
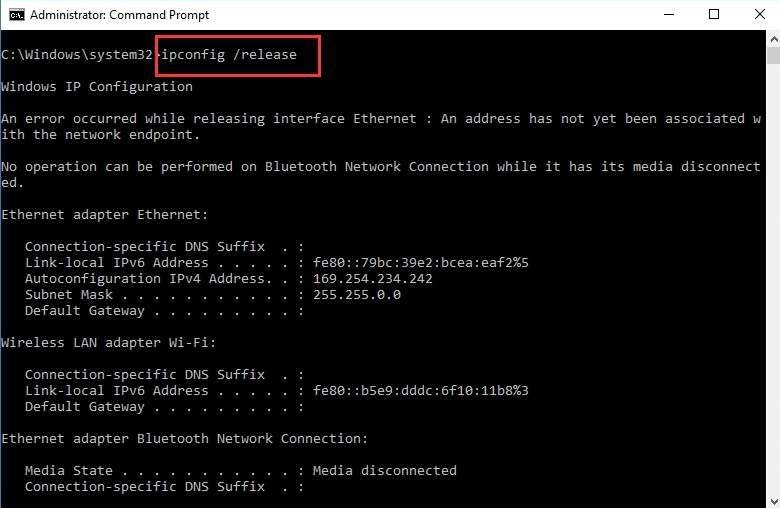
2) In Command Prompt, type ipconfig /release and hit Enter.
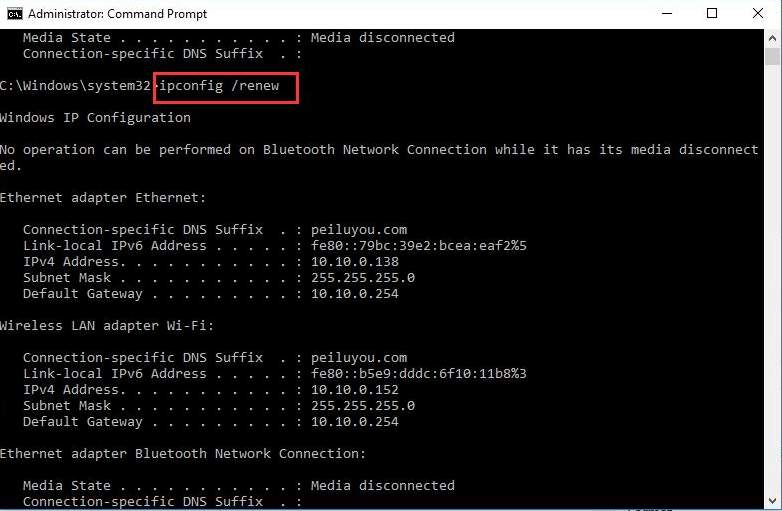
3) Then type ipconfig /renew and hit Enter.
4) Type Exit and hit Enter.
Solution 2: Reset TCP/IP
Follow these steps:
1) Open Command Prompt as an administrator.
If you’re using Windows 10, 8 or 8.1, visit How to Open Command Prompt in Windows 10, 8 & 8.1 for the insrtructions.
If you’re using Windows 7, visit How to Open Command Prompt in Windows 7 for the instrucitons.
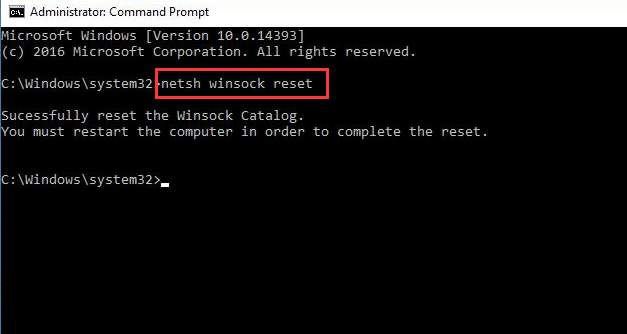
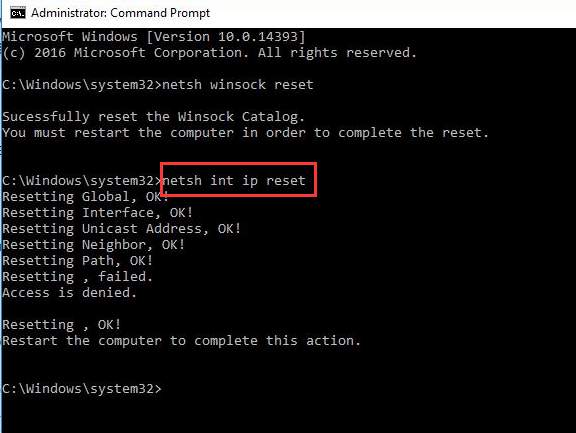
2) When Command Prompt opens, type netsh winsock reset and hit Enter.
3) Then type netsh int ip reset and hit Enter.
4) Restart your computer and see if the problem resolves.
If the problem persists after you restart the computer, check and ensure the Wired Autoconfig service and the WLAN autoconfig service are running and their Startup type is set Automatically. Follow steps below:
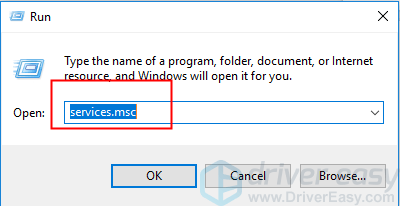
1) On your keyboard, press the Win+R (Windows logo key and R key) at the same tiem to invoke the run box.
2) Type services.msc and click the OK button.
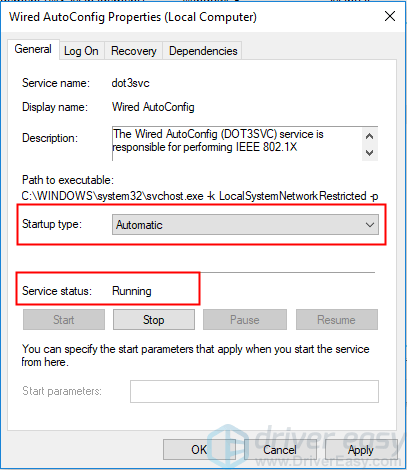
3) Double-click on Wired Autoconfig to open the Properties window.

4) Ensure the Startup type is Automatic and the Service status is Running. After you change the settings, click the Apply button.
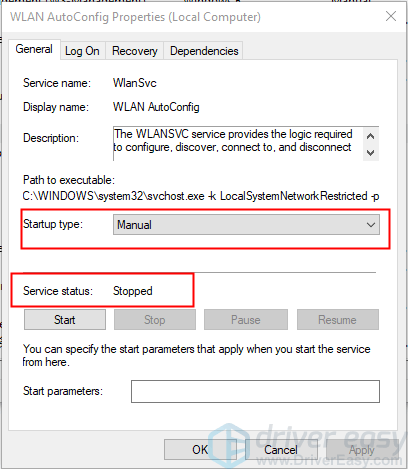
5) Double-lcick on WLAN AutoConfig.
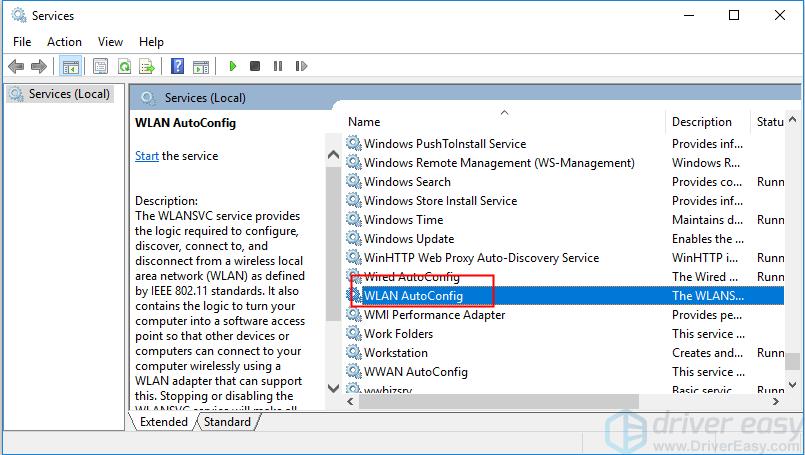
6) Ensure the Startup type is Automatic and the Service status is Running. After you change the settings, click the Apply button.
7) Check to see if the problem is resolved.
Solution 3: Uninstall wireless adapter driver
The problem can also be caused by faulty network driver. Try to uninstall the wireless adapter driver and allow Windows to reinstall the driver.
Follow steps below to uninstall the driver.
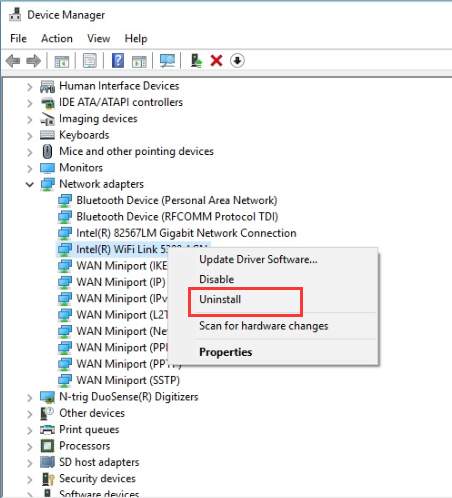
1) Go to Device Manager.
2) Expand categories “Network adapters”. Right-click on wireless device and select Uninstall.
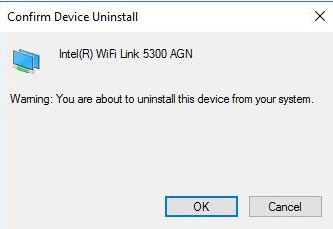
3) Then click “OK” button to confirm the Uninstall. If you see “Delete the driver software for this device.” at the bottom corner, before pressing OK, check the box next to it.
4) Reboot your PC.
Solution 4: Update the drivers
If uninstalling the network driver doesn’t work, try to update the drivers. or you’re not confident playing around with drivers manually, you can do it automatically with Driver Easy.
Driver Easy will automatically recognize your system and find the correct drivers for it. You don’t need to know exactly what system your computer is running, you don’t need to risk downloading and installing the wrong driver, and you don’t need to worry about making a mistake when installing.
You can update your drivers automatically with either the FREE or the Pro version of Driver Easy. But with the Pro version it takes just 2 clicks (and you get full support and a 30-day money back guarantee):
1) Download and install Driver Easy.
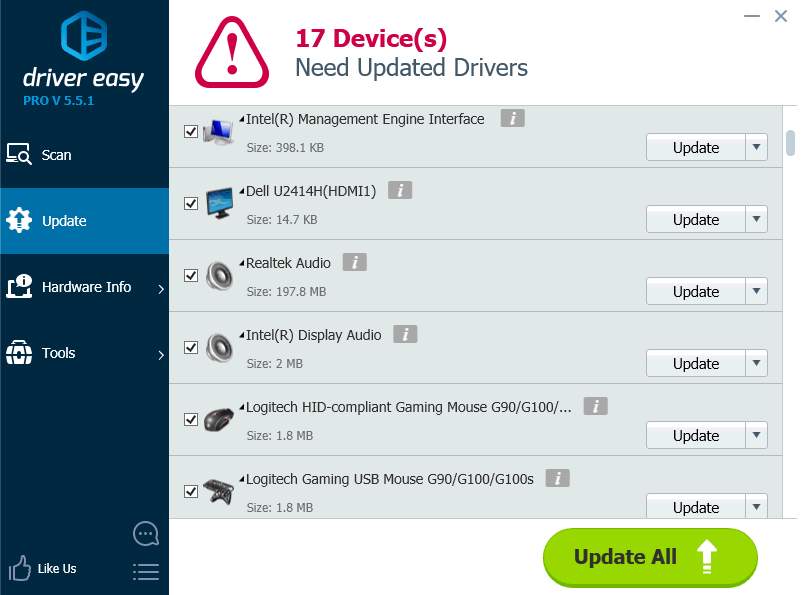
2) Run Driver Easy and click Scan Now button. Driver Easy will then scan your computer and detect any problem drivers.

3) Click the Update button next to a driver to automatically download and install the correct version of this driver (you can do this with the FREE version). Or click Update All to automatically download and install the correct version of all the drivers that are missing or out of date on your system (this requires the Pro version – you’ll be prompted to upgrade when you click Update All).
Solution 5: Manually set IP address
If you have a home network with several computers, the IP address of each computer will be automatically assigned . To fix the problem, you can try to reset the IP on the computer that has the network problem.
Follow these steps:
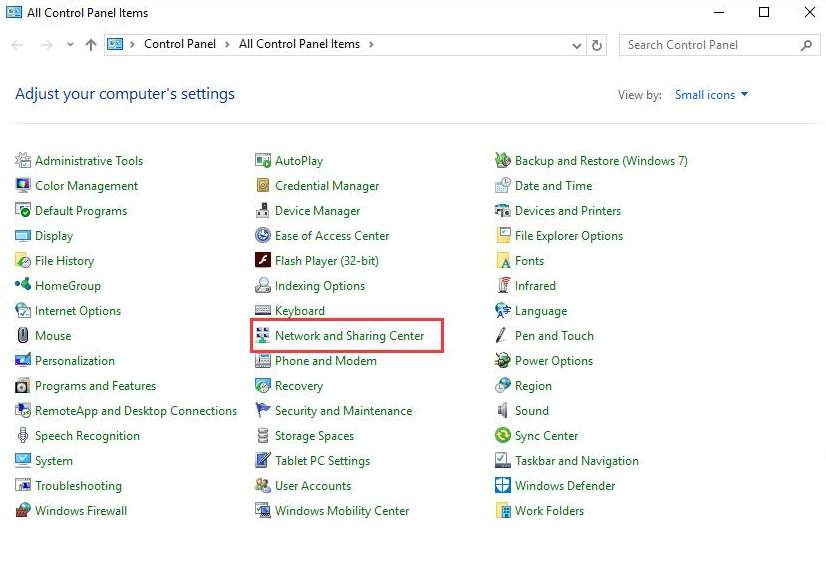
1) Open Control Panel.
2) View by Small icons, click Network and Sharing Center.
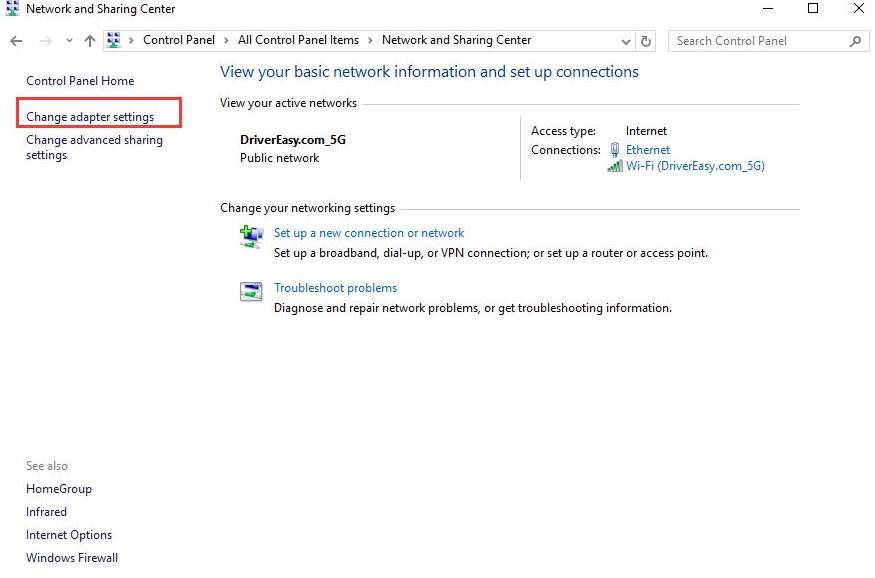
3) Select Change adapter settings in the left pane.
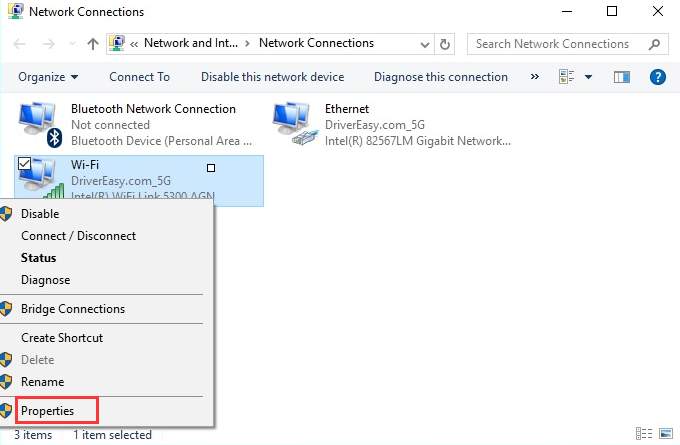
4) Right-click on WiFi connection (In my case, the WiFi connection is DriverEasy.com_4G.) and click Properties.
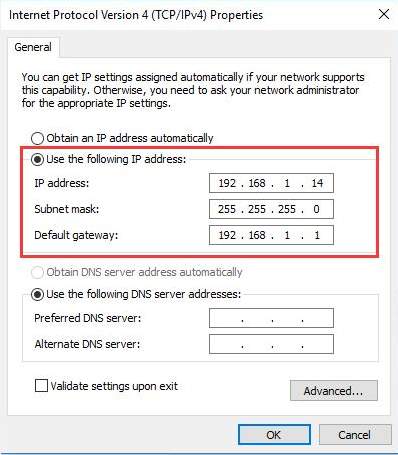
5) Select Internet Protocol Version 4 (TCP/IPv4) and click Properties.
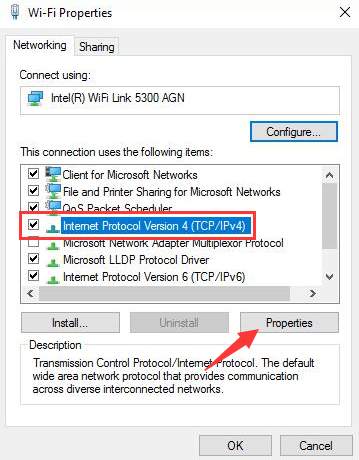
6) Select Use the following IP address, then set IP address to 192.168,1.x (You can choose x to any digit number. If you are not sure about this, use 192.168,1.14.). Set Subnet mask to 255.255.255.0 and set IP gateway to 192.168.1.1.
7) Under Use the following DNS server addresses, then set the Preferred DNS server to 208.67.222.222 and set the Alternate DNS server to 208.67.220.220.
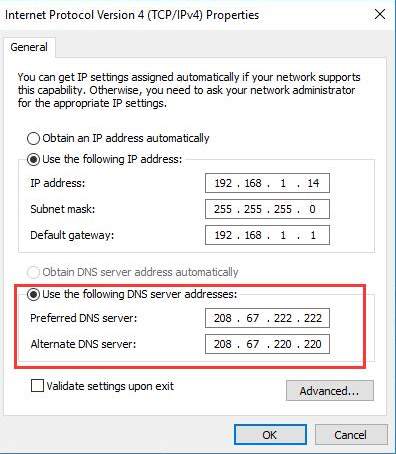
8) Click OK button.
Hope the solutions here help fix your WiFi doesn’t have a valid IP configuration issue on Windows 10.
