


We have covered some basic features in YouTube Editor before (see this web page here), in this post, we will mainly talk about how to improve your videos (even the already uploaded ones) with Enhancements in YouTube Editor. Stay tuned 🙂
Note: Enhancements are available on computers, Android phones and iPhone or iPad. We are demonstrating on a computer environment.
The amazing thing about adding enhancements to your uploaded videos is that the URL, view count and comments will remain the same after you make changes to the video if it receives no more than 100,000 views and has no Content ID Match.
To improve your video with Enhancements:
1) Go to Video Manager.
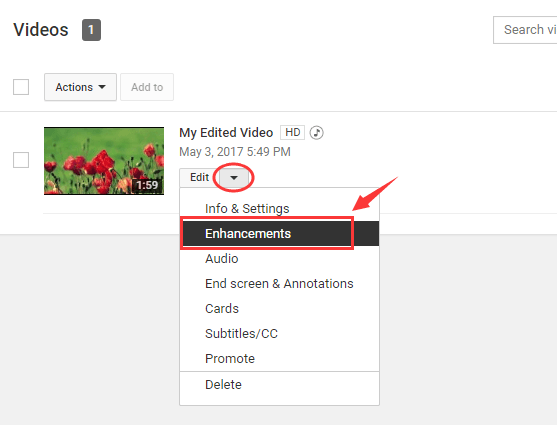
2) Locate the video that you want to edit. Then click the down-arrow button here and choose Enhancements.
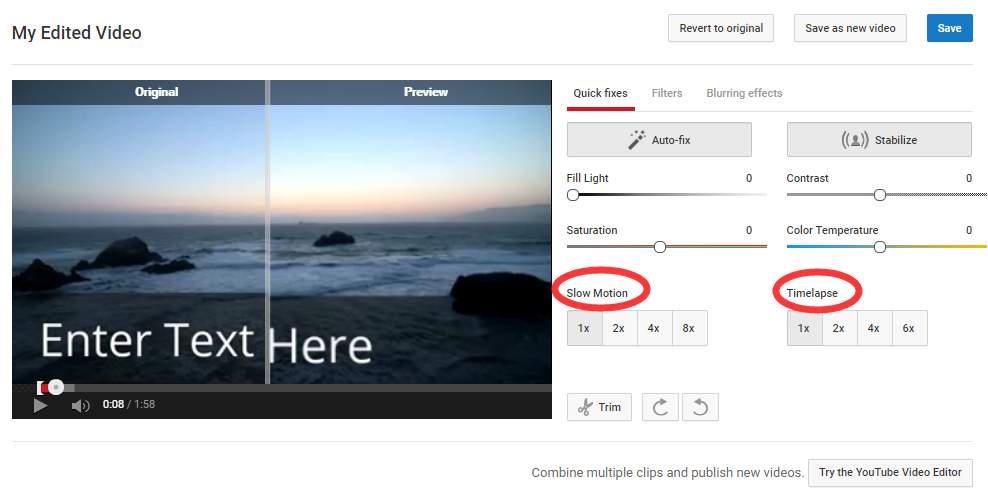
3) Under Quick fixes tab, you can add the following enhancements:
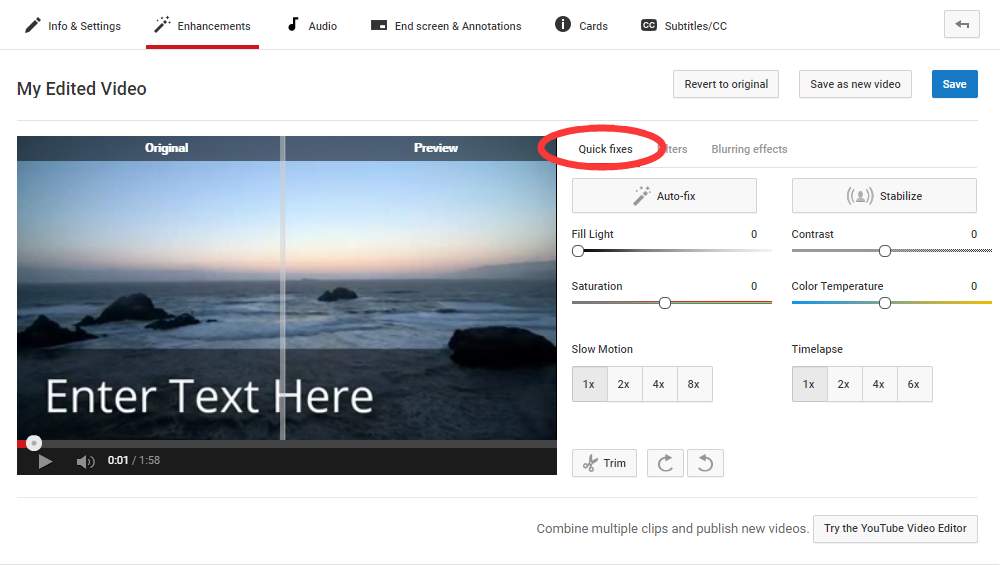
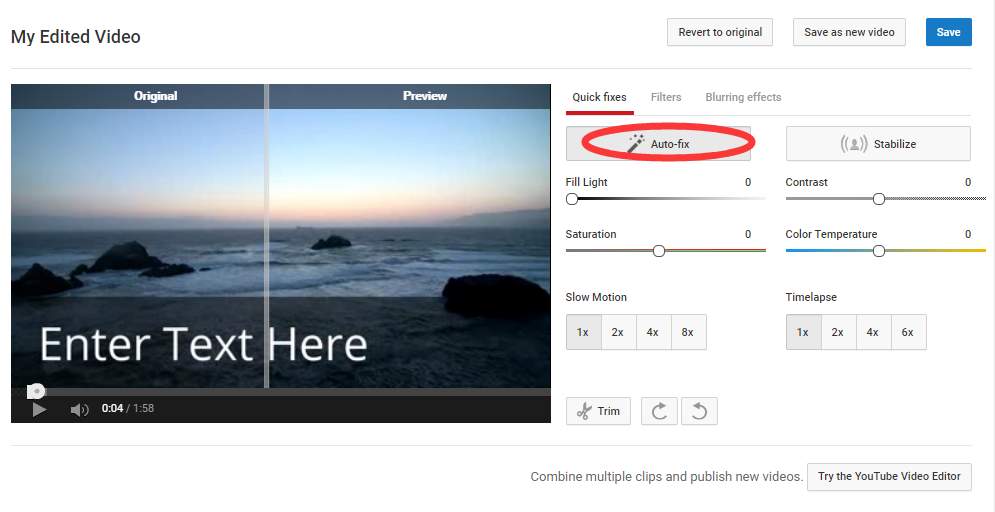
a) Auto-fix allows you to improve the lighting and color for your video in just one click. As you can see the result from the Preview window in the following screen shot.
The options listed here: Fill light, Contrast, Saturation and Color Temperature are available for you to choose to change your video however you want it.
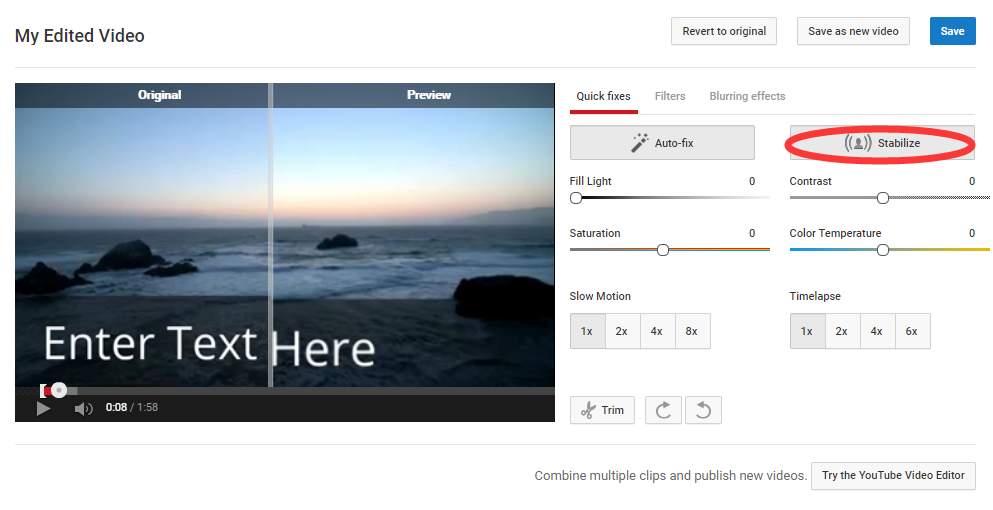
b) Stabilize button allows you to rid your video of shaky camera motions.
c) Slow Motion and Timelapse allow you to adjust the speed your video plays.
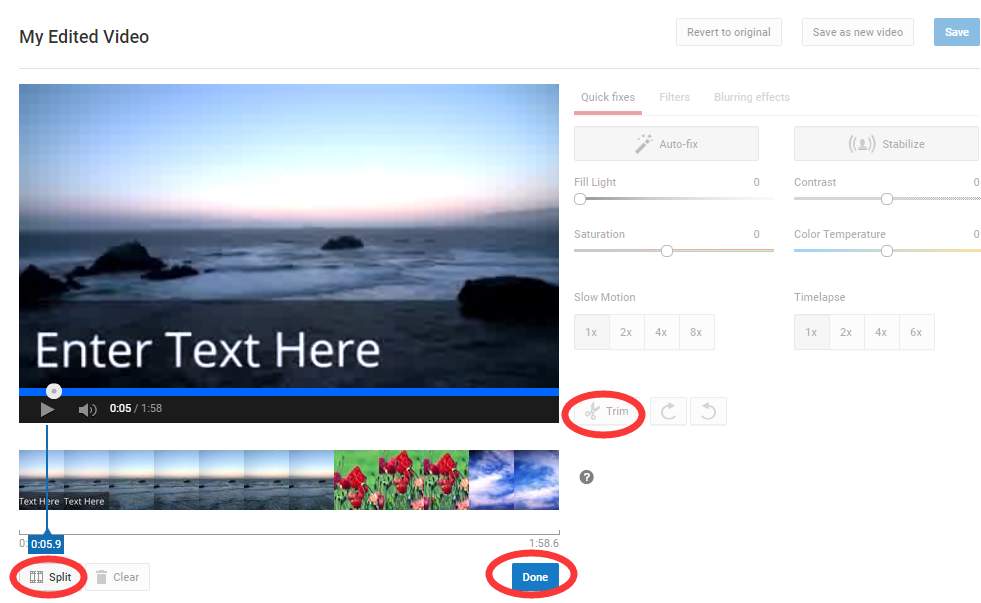
d) Trim option allows you to cut parts off the beginning or end of your video as you like it. Click the Trim button, then you will be in a new window. The video will play automatically, then you can stop at a point where you prefer and then hit the Split button to cut the whole video off. Hit Done button when you finish the editing.
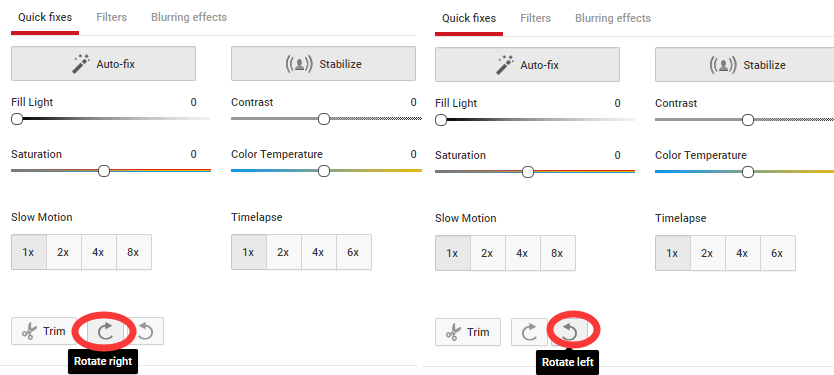
e) By clicking the Rotate right and Rotate left buttons, you will be rotate 90 or 180 degrees of your video.
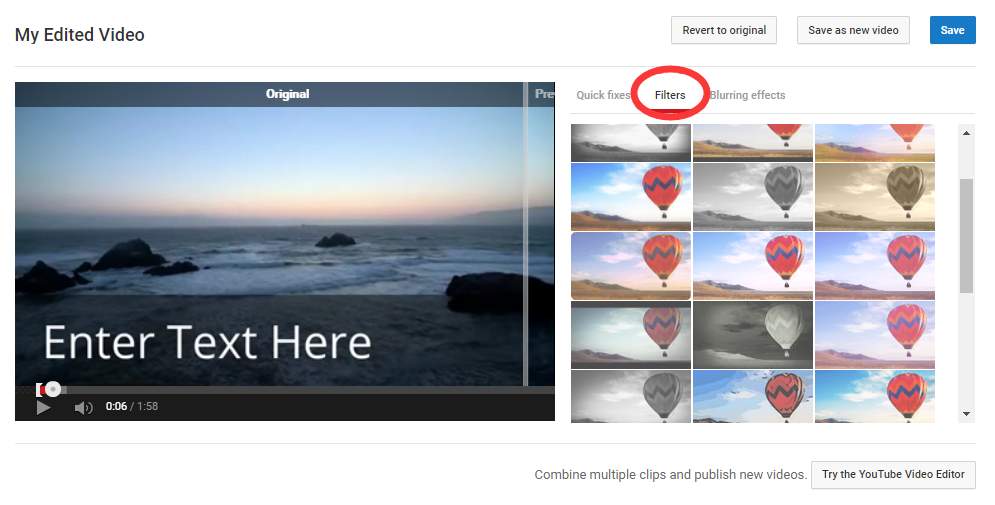
3) Filters provide you with many filters that can add more colors to your original videos. Choose one if you need.
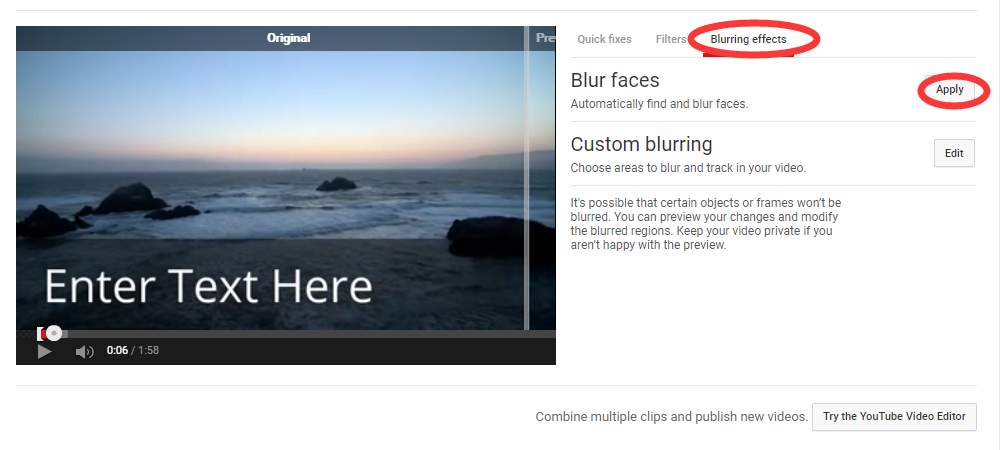
4) Under Blurring effects tab, you can choose to blur all the faces appear in the video by hitting the Blur faces option.
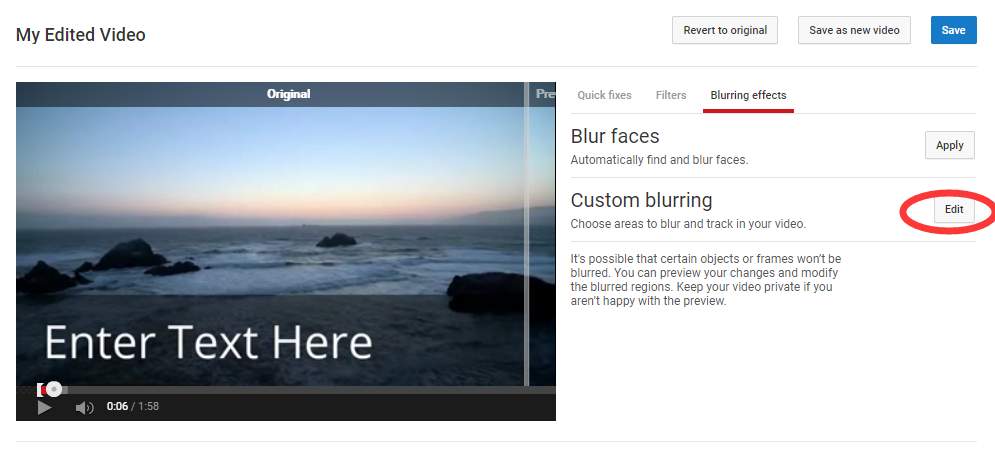
If you have taped some private information that you do not want the public to see, choose Custom blurring by clicking the Edit button.
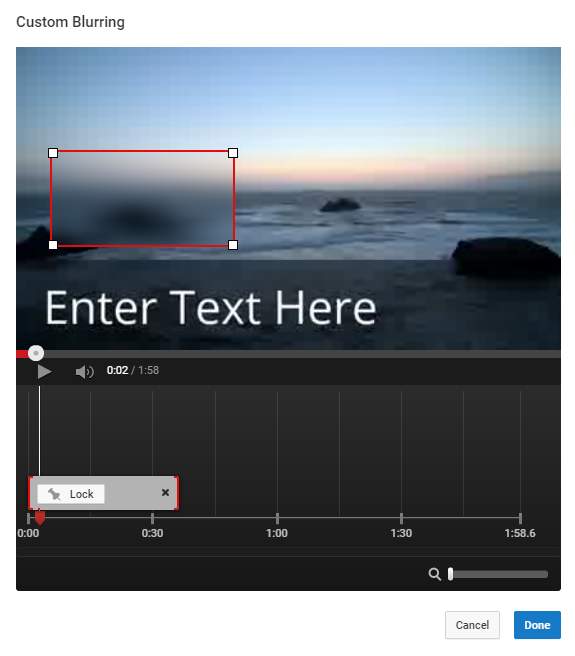
As you can see, you can use your mouse cursor to draw a rectangle to blur the objects you want. The size of the rectangle can be adjusted and you can draw as many rectangles as you like. When the custom blurring finishes, hit the DONE button to save it.
That’s it! Here is everything that you need to know about how to add enhancements to the video, even after the upload, to make it more dazzling! Easy and fast to understand and operate!