


Wireless networks have become an indispensable part of our daily life. If WiFi isn’t working on your Windows 11 computer, it can really affect your work and life. But don’t worry. This post will introduce 7 potential fixes for this problem.

How to fix Windows 11 Wi-Fi not working?
Here are 7 possible fixes for your Wi-Fi not working problem. You don’t have to try them all; just work down the list until you find the one that fixes the problem for you.
- Try the basics first
- Run the Internet troubleshooter
- Remove and reinstall WiFi driver
- Update to the latest WiFi driver
- Turn on the WLAN AutoConfig service
- Release IP and flush DNS cache
- Uninstall Windows 11 updates
Fix 1: Try the basics first
Before investing time in any more complex fixes, you should check the basics. They may sound obvious, but you’d be surprised how many times they’re the cause of the no WiFi problem.
First, check your phone or another laptop to see if WiFi is working there. If it’s not working there, the problem isn’t your computer.
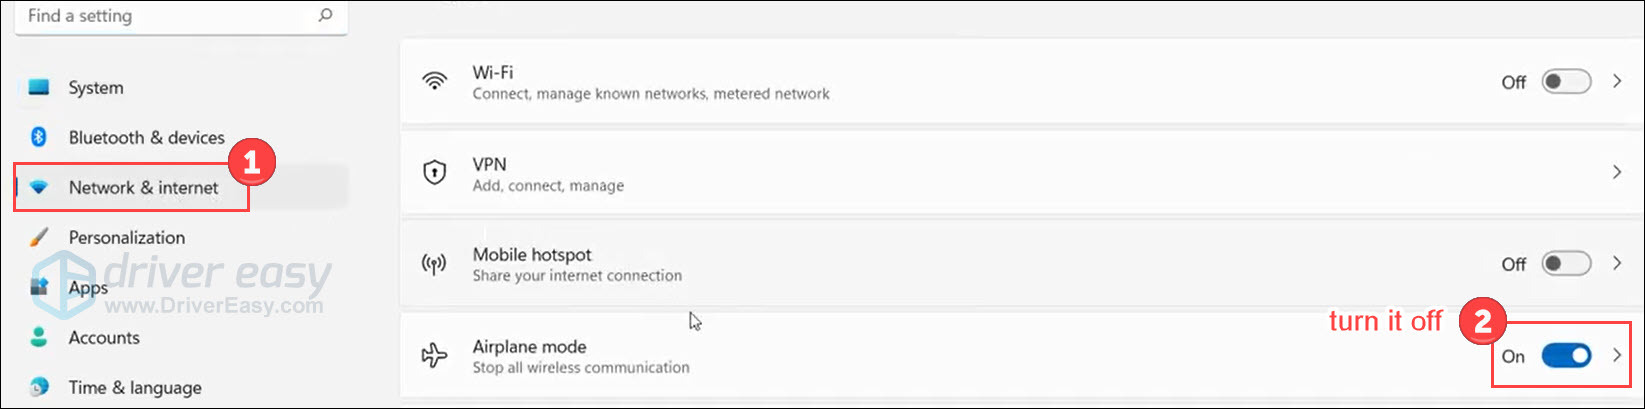
If WiFi is working on your other device(s), check that
- Airplane mode is OFF on your computer:
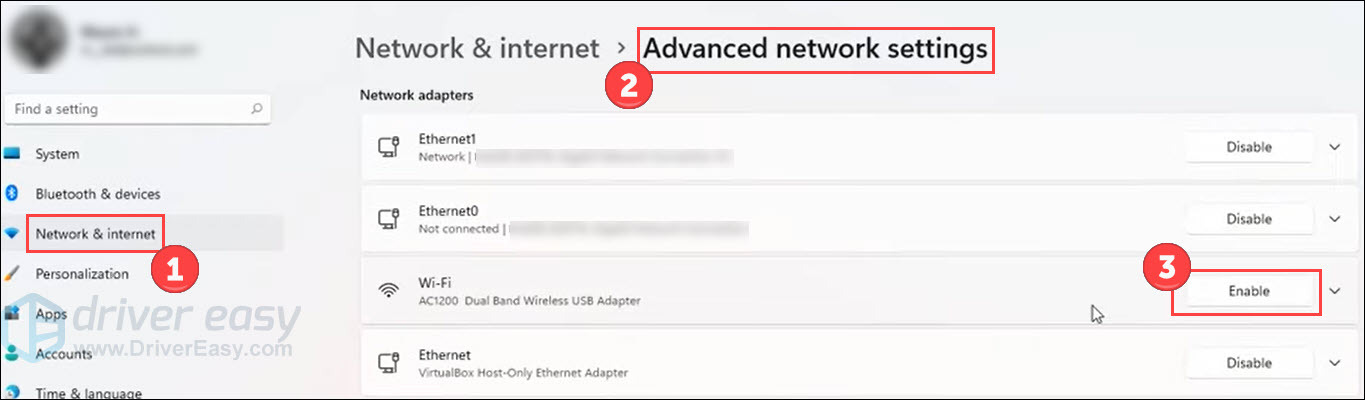
Next, ensure that
- Wi-Fi adapter is enabled on your computer:
If you’ve checked all of the above and WiFi still isn’t working on your computer, try the next fix…
Fix 2: Run the Internet troubleshooter
The Internet troubleshooter is a powerful built-in feature in Windows. It’s able to find and fix problems related to the Internet, audio, printer, update and many others. Running it is very easy:
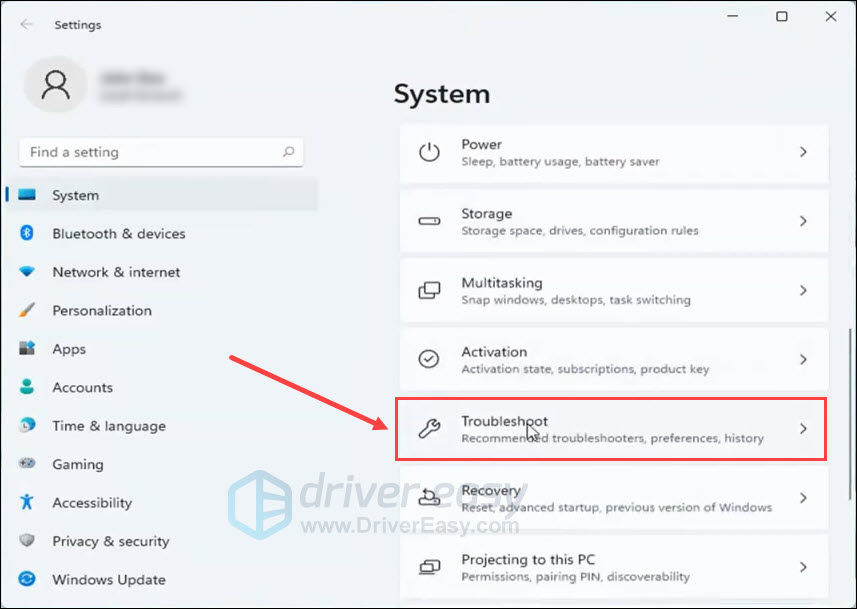
- On your keyboard, press the Windows logo key and I (the “i” key) to launch the Settings.
- Scroll down and select Troubleshoot in the System tab.
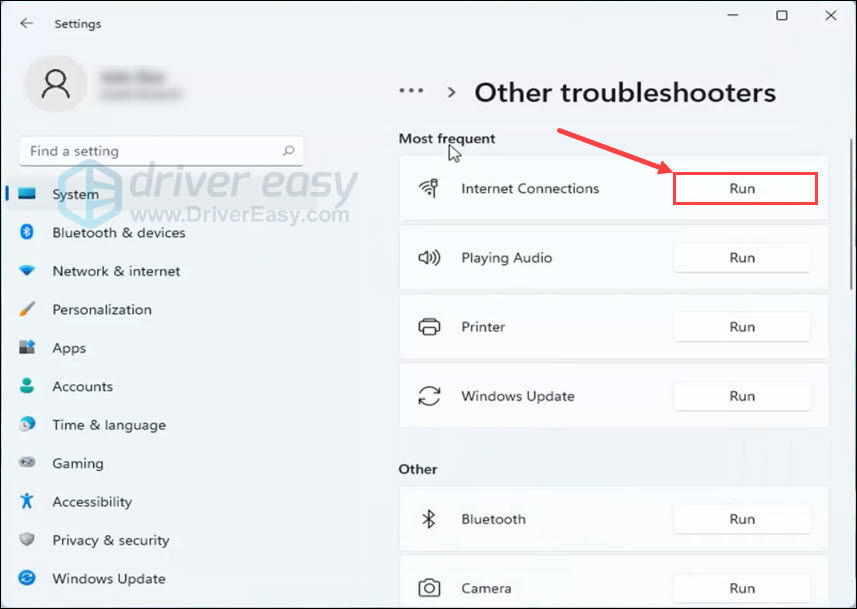
- Click Other troubleshooters.

- Click Run next to Internet Connections.
- Select Troubleshoot my connection to the Internet in the pop-up Window.
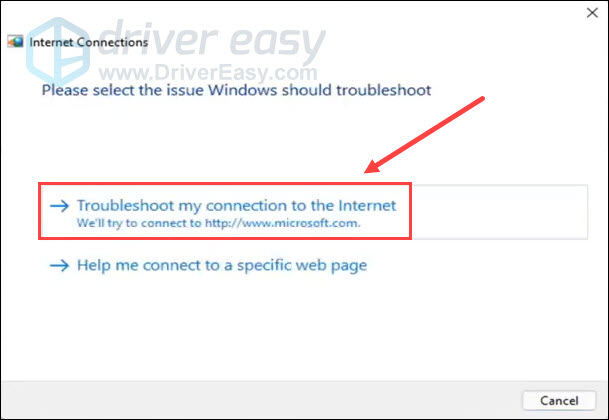
The system troubleshooter will then run and detect your Internet connection. Wait for it to complete to see if it finds anything. If it detects nothing, continue to the next fix.
Fix 3: Remove and reinstall Wi-Fi driver
Missing, outdated, incompatible or corrupted wireless network drivers may be the cause of your Windows 11 WiFi problem. Therefore, removing and reinstalling your WiFi driver could be a recipe for dealing with Windows 11’s WiFi issue.
Before proceeding the steps, we recommend you to create a restore point in case of any bad luck. A restore point allows you to recover the system to an earlier point of time with a backup copy of important Windows operating system files and settings.
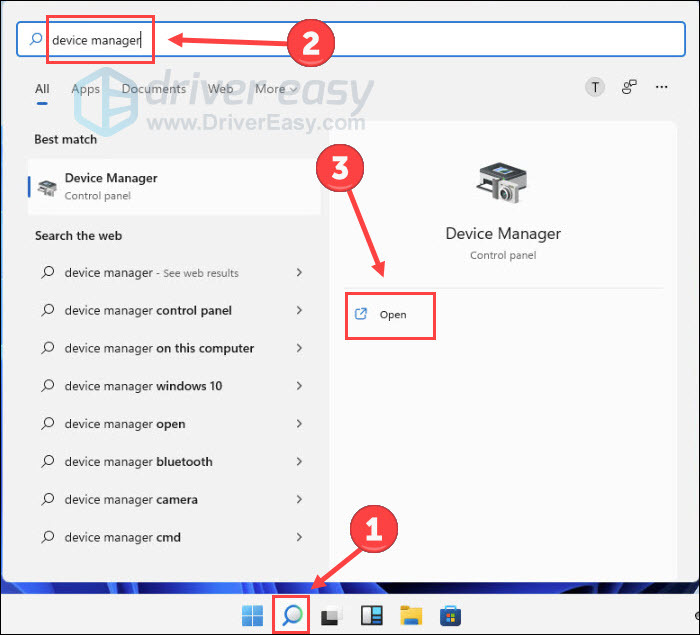
- Search device manager in Windows search bar and open the program.
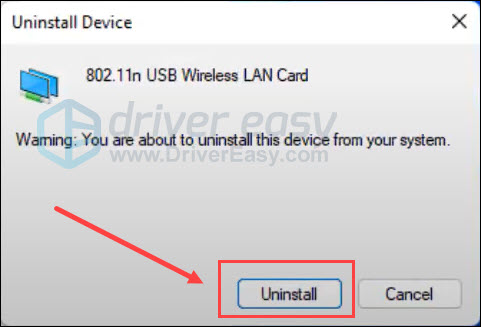
- Double-click Network adapters. Right-click the WiFi driver and select Uninstall device.
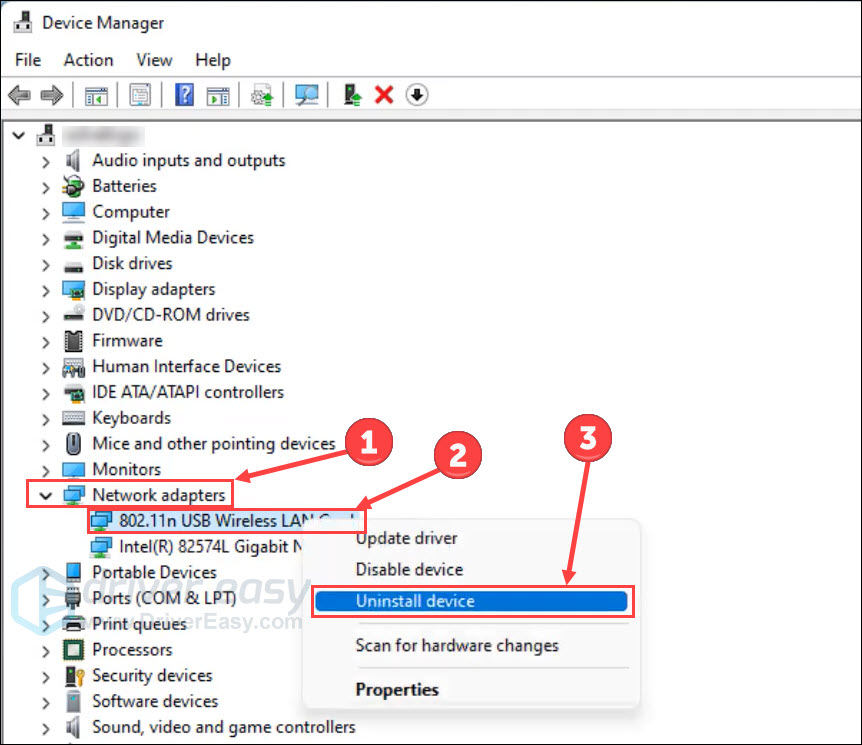
- Click Uninstall in the pop-up Windows.
- Restart your computer. After that, it will automatically look for stored drivers (may not be the latest version) from your system and get it installed.
- Reconnect the Wi-Fi and check for any improvement.
If the problem persists, move on to the next fix…
Fix 4: Update to the latest WiFi driver
If you uninstalled and reinstalled your WiFi driver using Windows Device Manager, and that didn’t solve your problem, it’s possible that Windows didn’t install the right driver. (Learn why this happens…)
You should now find, download and install the latest driver, directly from your device manufacturer. If your WiFi problem is caused by drivers, this should fix it.
You can do this manually or automatically.
To do it manually:
- Identify your WiFi device manufacturer and model.
- Identify your exact Windows version and whether your computer is 32bit or 64bit.
- Visit the device manufacturer’s download page.
- Locate the correct driver.
- Download the driver.
- Install the downloaded driver.
To do it automatically:
You can find, download and update your WiFi driver automatically, using Driver Easy.

The process varies, depending on whether you can access the internet.
How to reinstall/update driver without Internet access?
All you need is another computer with Internet and Driver Easy.
Driver Easy’s powerful offline scan tool will automatically recognize your system and find the correct WiFi drivers for it. Therefore, you don’t need to know exactly what system your computer is running, you don’t need to be troubled by the wrong driver you would be downloading, and you don’t need to worry about making a mistake when installing.
- Download and install Driver Easy on the computer with the Internet.
- Copy the downloaded Driver Easy.exe files to the computer without internet access, and install it there too.
- Follow the detailed instructions in this article.
After updating your WiFi driver, restart your computer to see if there is any improvement in Windows 11 WiFi-not-working matter. If not, move on to the next fix.
How to reinstall/update Wi-Fi driver with Internet?
- Download and install Driver Easy.
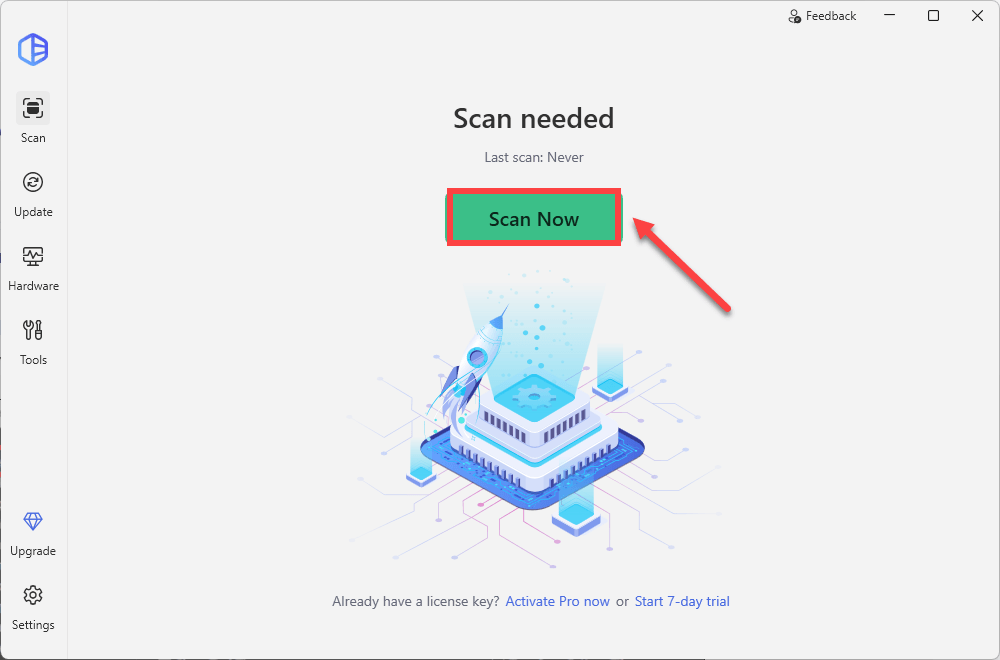
- Run Driver Easy and click the Scan Now button. Driver Easy will then scan your computer and detect any problem drivers.
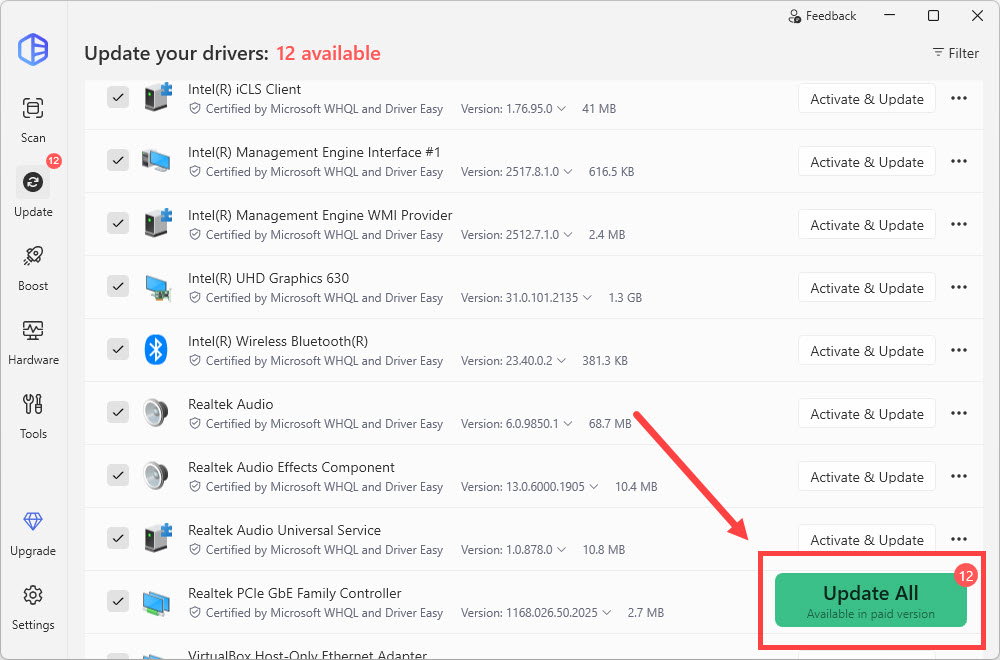
- Click Update All to automatically download and install the correct version of all the drivers that are missing or out of date on your system.
After the reinstallation, restart your computer to see if there is any improvement in Windows 11 WiFi-not-working matter. If not, go on to try the next one.
Fix 5: Turn on the WLAN AutoConfig service
The WLAN AutoConfig service is a wireless connection management utility. Once enabled, it dynamically selects which wireless network the computer automatically connects to, and configures the necessary settings on the wireless network adapter. To enable it:
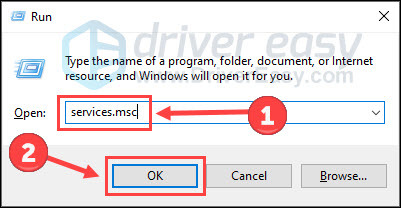
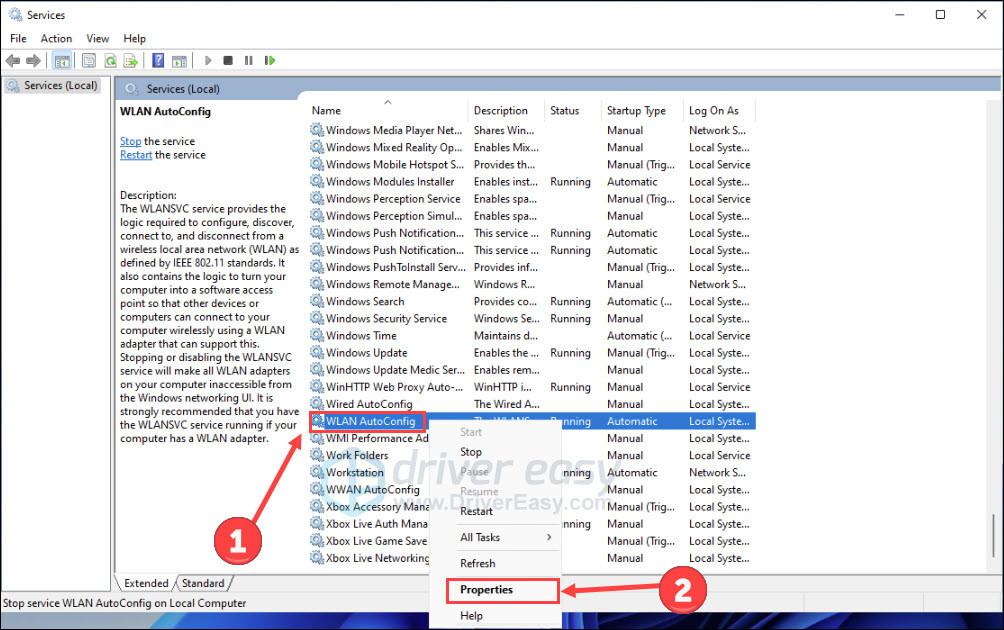
- On your keyboard, press the Windows logo key and R to invoke the Run box. Type services.msc and then click OK.
- Scroll down and right-click WLAN AutoConfig. Click Properties.
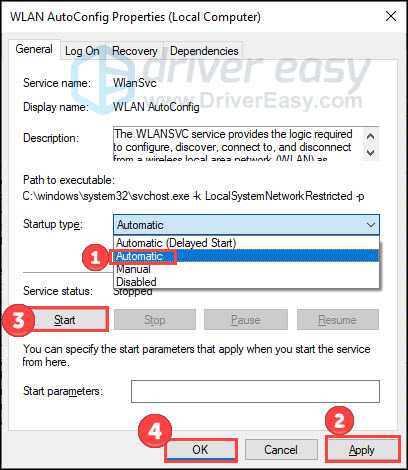
- Select Automatic in Startup type. Then click Apply, Start, and OK one by one.
Restart your PC and reconnect your wireless network to see if it works. If not, move on to the next fix.
Fix 6: Release your IP and flush your DNS cache
If you can establish a WiFi connection but fail to access the Internet, your IP or DNS (Domain Name System) may be the problem. But you can clear IP addresses or other DNS records, and request a new IP address with a bunch of commands to refresh this data. Here’s how:
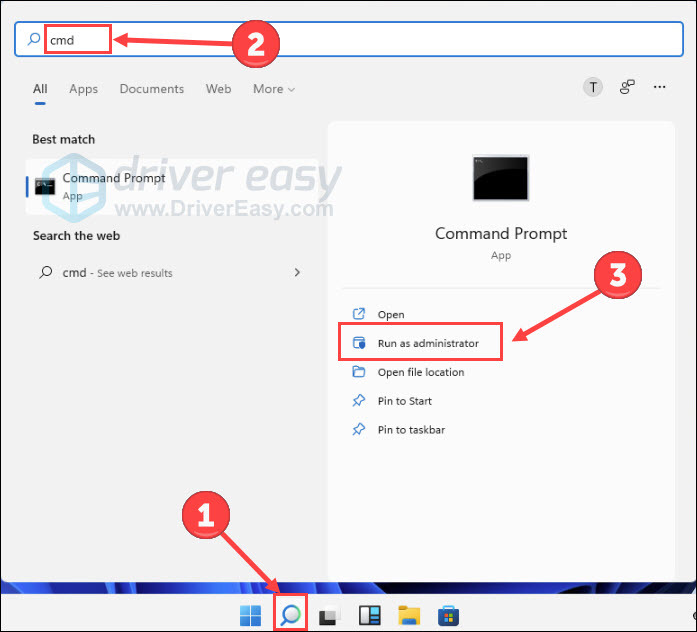
- Click the Windows search bar and type cmd. Choose Run as administrator to open Command Prompt.
- Copy and paste the following 5 commands, one at a time, and press Enter, on your keyboard, after each.
netsh winsock resetnetsh int ip reset
ipconfig /release
ipconfig /renew
ipconfig /flushdns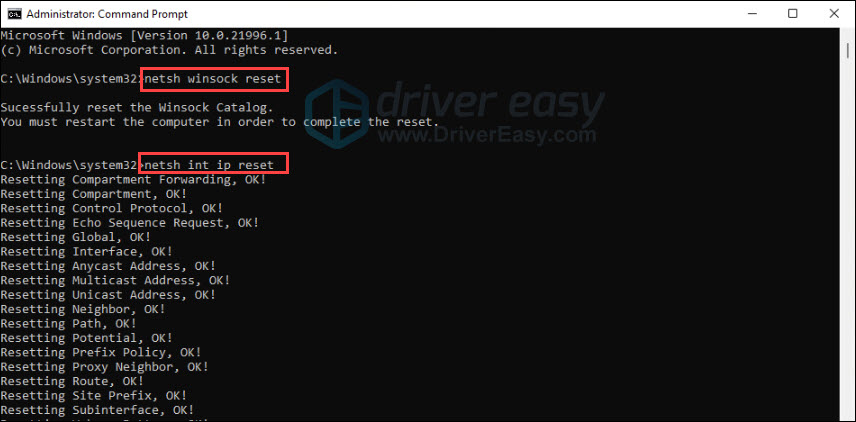
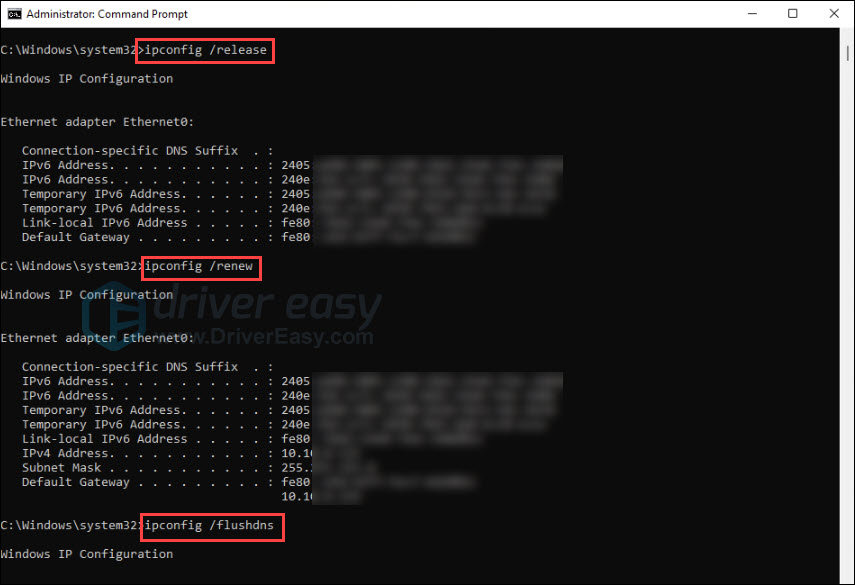
After completing, reconnect your computer to WiFi and try to browse the Internet. If it’s still out of the reach of the Internet, go ahead and try the next fix.
Fix 7: Uninstall Windows 11 updates
If the WiFi not working problem in Windows 11 only started happening after you did a Windows Update, uninstall those recent updates to see if that solves the problem.
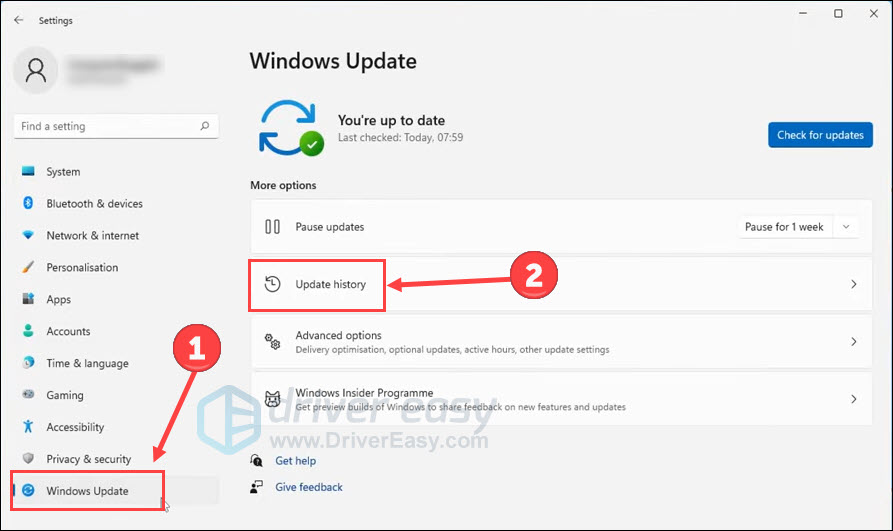
- On your keyboard, press the Windows logo key and I (the “i” key) at the same time to launch the Settings.
- Select Windows Update in the left tab. And then click Update history.
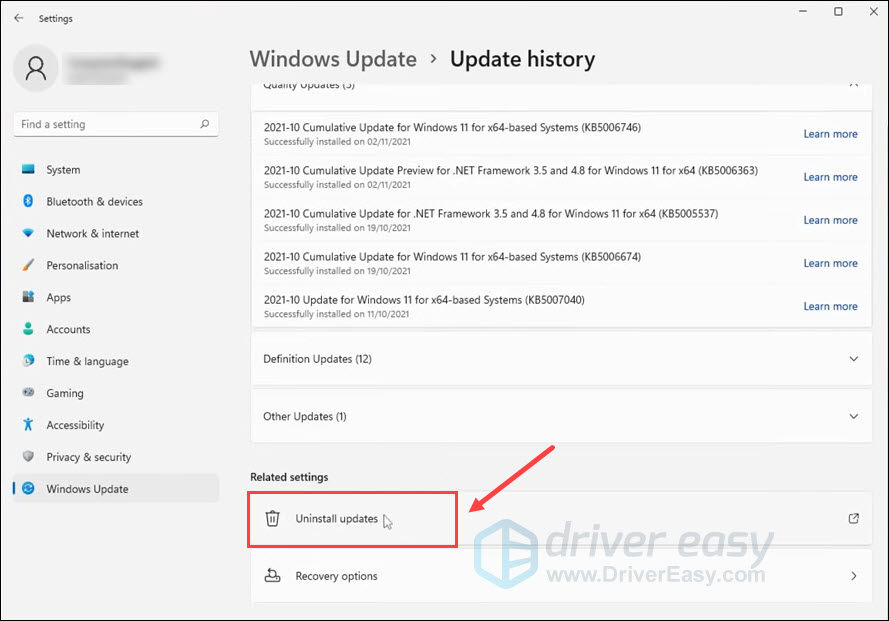
- Click Uninstall updates.
- Select the update you want to remove and click Uninstall.
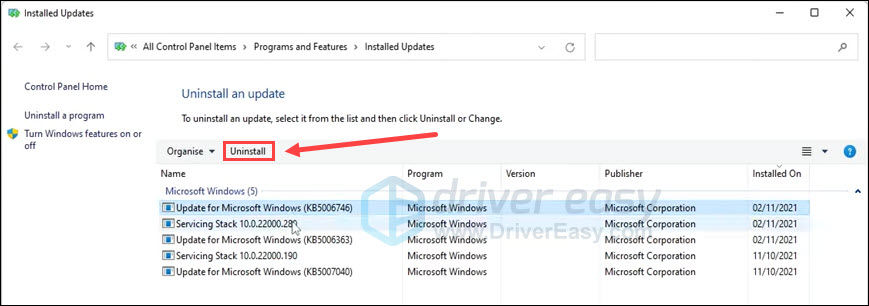
- Click Yes when you’re prompted with a dialogue box.

Try to reconnect the wireless network and surf the Internet. If the WiFi works after these steps, the problem could very well lie in that update change.
I hope this article helped you fix the Windows 11 WiFi not working issue. If you have any suggestions, please don’t hesitate to share them below with us.