


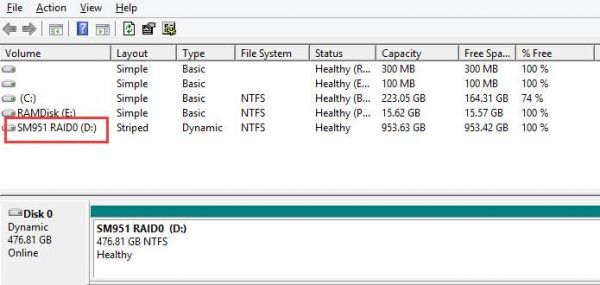
RAID stands for Redundant Array of Independent Disks, or Redundant Array of Inexpensive Disks. It is created to combine multiple, less expensive drives into a single, higher-capacity and/or faster volume.
To put it in a simpler term, RAID is very useful if you want to keep the data in your drives safe even when you are having some sort of hardware failure. You may see RAID 0, RAID 1 or RAID 5 somewhere in your computer’s disk section, the different numbers show the different levels, or methods by which the drives are gathered together.
If RAID suddenly stops working, you will find that you are unable to read certain information from your disks, and there is also a possibility that your data cannot be recovered unless you pay a lot for it.
If this is happening to you, you should first consider getting the Intel Rapid Storage Technology driver updated, which could be a hard work to some.
But no worries, we will show you how to update your Intel Rapid Storage Technology RAID step-by-step with clear and easy-to-follow instructions. Please choose accordingly the options that you are more inclined to.
Option 1: Update via Device Manager
Option 2: Update Manually
Option 3: Update Automatically (Recommended)
Option 1: Update via Device Manager
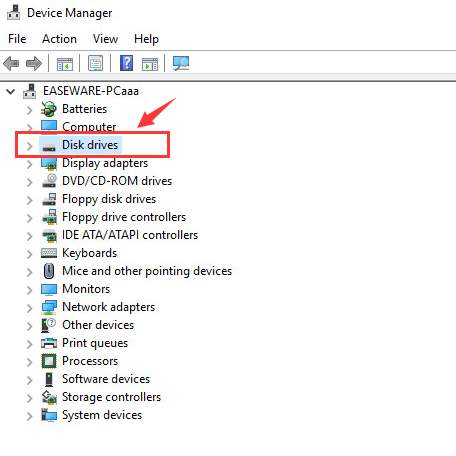
1) Open Device Manager. Locate and expand category Disk drives.
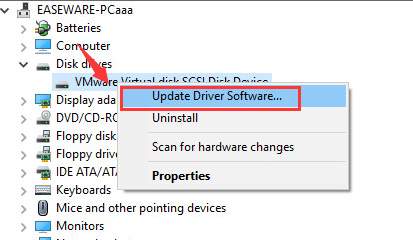
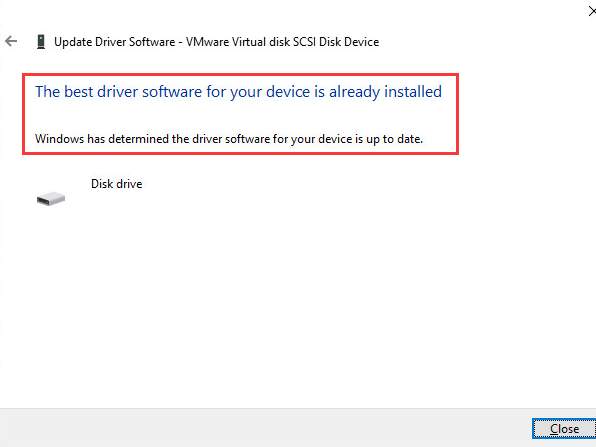
2)Then right click the Intel Rapid Storage Technology you have on your computer and choose Update Driver Software….
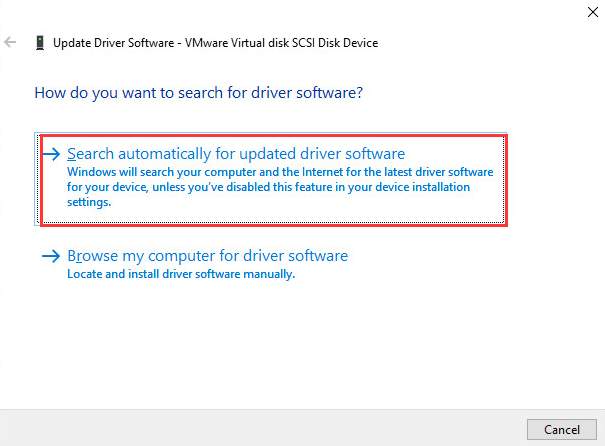
3) Then choose Search automatically for updated driver software.
4) Wait for Microsoft to help you get the latest version of disk drive driver installed. If you see the notification telling you that your device is up to date, then you might want to consider getting the latest version of you disk drive installed manually.
Option 2: Update Manually
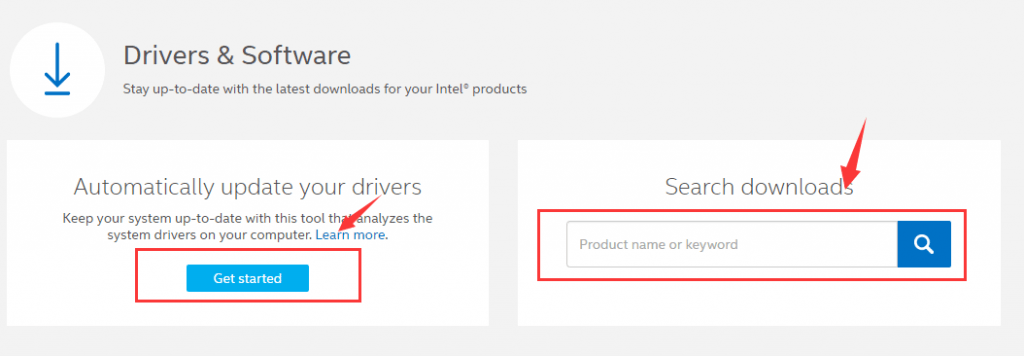
1) To update your Intel Rapid Storage Technology disk driver properly, first you need to go to the support website of Intel. Choose Download Drivers and Software option.

2) You can choose to let Intel support to detect and update your drivers for you, or you can type in the name of the drivers that you need to search and download it by yourself.
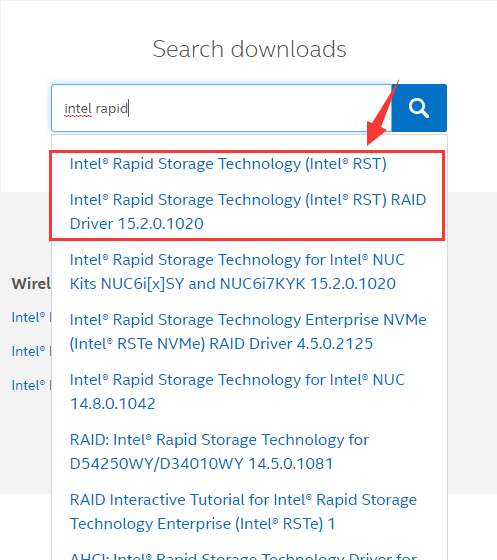
3) Type in intel rapid in the search box and you should be able to see the showing choices that asking you to choose one from.
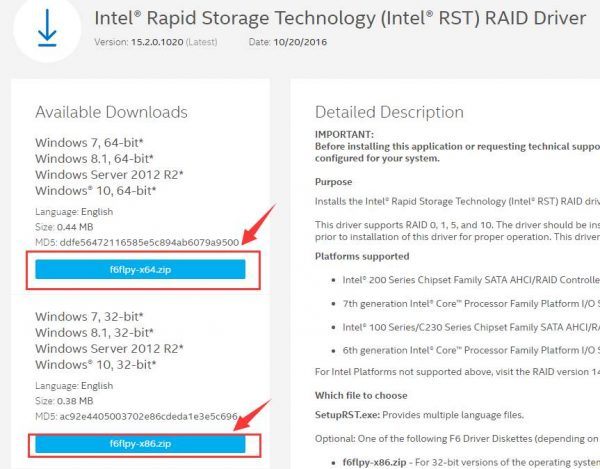
4) On the left pane, choose according to your operating system the right driver, and then hit the blue button to download.
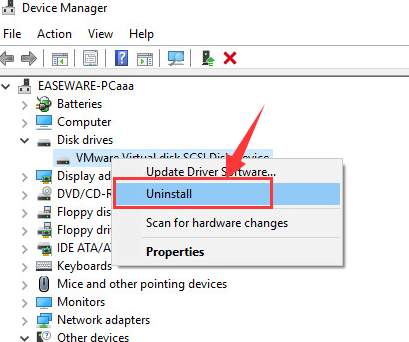
5) Then Open Device Manager again. Locate and expand category Disk drives.
6) Then right click the Intel Rapid Storage Technology you have on your computer and choose Uninstall.
7) Then right click the downloaded setup file and run the installation yourself.
Option 3: Update Automatically (Recommended)
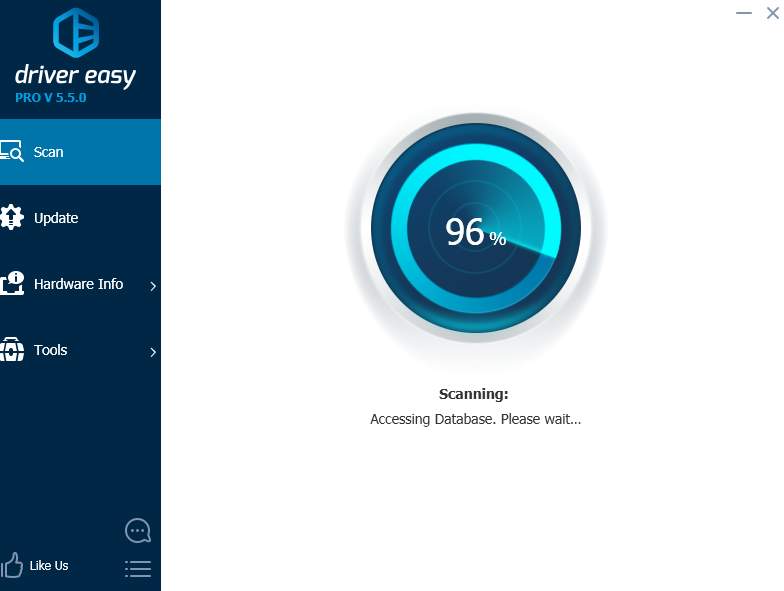
If you don’t have the time, patience or computer skills to update your drivers manually, you can do it automatically with Driver Easy.
Driver Easy will automatically recognize your system and find the correct drivers for it. You don’t need to know exactly what system your computer is running, you don’t need to risk downloading and installing the wrong driver, and you don’t need to worry about making a mistake when installing.
You can update your drivers automatically with either the FREE or the Pro version of Driver Easy. But with the Pro version it takes just 2 clicks (and you get full support and a 30-day money back guarantee).
What are you waiting for? Have a try now!