


Western Digital products are directly connected to your PC, providing a place to store offline files and backups. It’s an affordable hard drive (10% off and $5 off coupon) yet with remarkable performance. To use the hard drive, the SES (SCSI Enclosure Services) driver is needed. In this post, you’ll learn how to install or update the WD SES Device USB Device Driver.
How to Update a WD SES device driver
You’ll need some computer skills and patience to update your drivers this way because you need to find exactly the right driver online, download it and install it step by step.
This is the quickest and easiest option. It’s all done with just a couple of mouse clicks – easy even if you’re a computer newbie.
Option 1 – Manually
You can choose to download the legacy driver from their software & download page, which offers only the old version of 2011 or earlier. You’ll just need to download the setup file and follow the on-screen instructions to complete the installation.
For newer drivers, you can update it in Device Manager using Windows Update. Here’s how to do it:
1) Right-click the Start menu and select Device Manager.
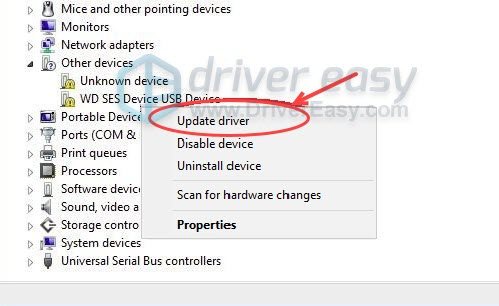
2) Expand Other devices or WD Drive Management Devices.
3) Right-click WD SES Device, and select Update driver.
4) Choose Search automatically for drivers.
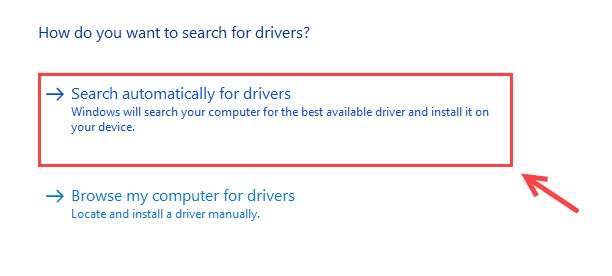
5) Windows will find the latest driver for you. If it shows “The best drivers for your device are already installed”, you can try installing WD Security, WD Drive Utilities, or Driver Easy, which will install the latest WD SES Device Driver for you automatically.
Option 2 – Automatically (Recommended)
If you don’t have the time, patience or computer skills to update your drivers manually, you can, instead, do it automatically with Driver Easy. Driver Easy will automatically recognize your system and find the correct WD SES Device USB Device Driver, and it will download and install them correctly:
1) Download and install Driver Easy.
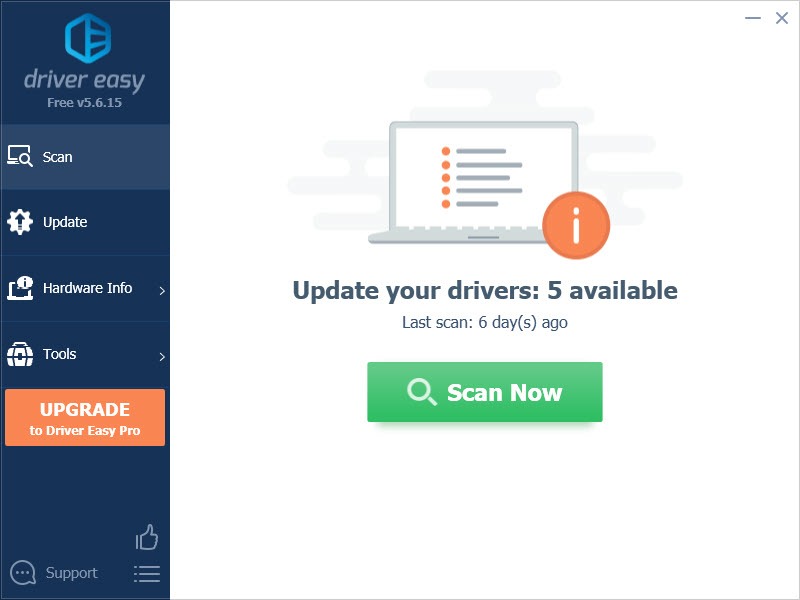
2) Run Driver Easy and click the Scan Now button. Driver Easy will then scan your computer and detect any problem drivers.
3) Click the Update button next to the flagged network adapter driver to automatically download the correct version of that driver, then you can manually install it (you can do this with the FREE version).

Or click Update All to automatically download and install the correct version of all the drivers that are missing or out of date on your system. (This requires the Pro version which comes with full support and a 30-day money-back guarantee. You’ll be prompted to upgrade when you click Update All.)
4) Restart your PC for the changes to take effect.
Now you can connect your WD external hard drive successfully. Feel free to drop us a line if you have any questions or suggestions.