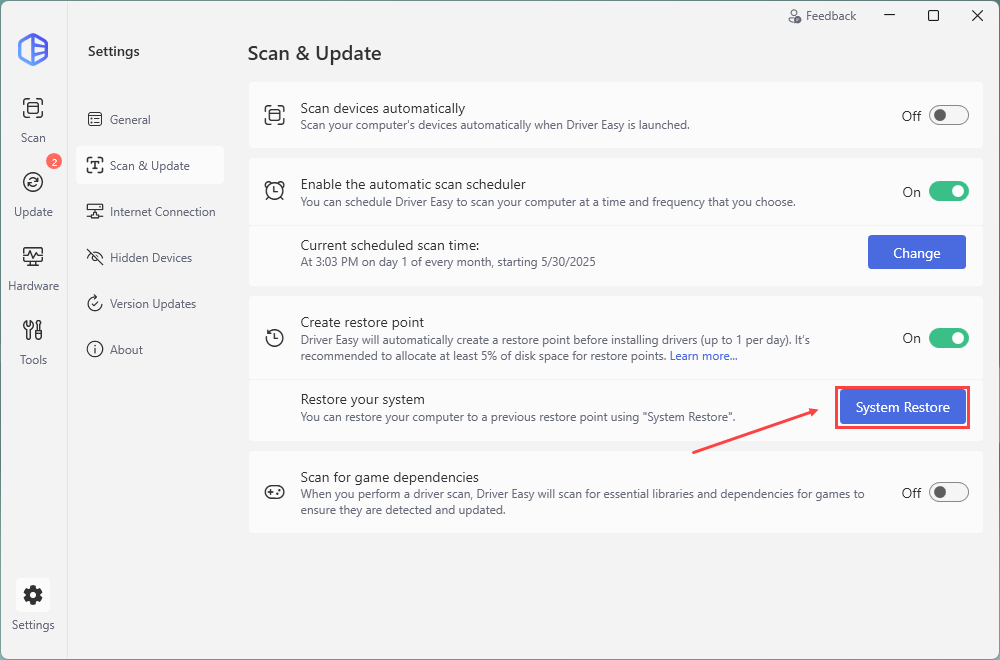
Driver Easy can automatically create a restore point before updating your drivers. You can follow the instructions below to view and modify the settings about this feature:
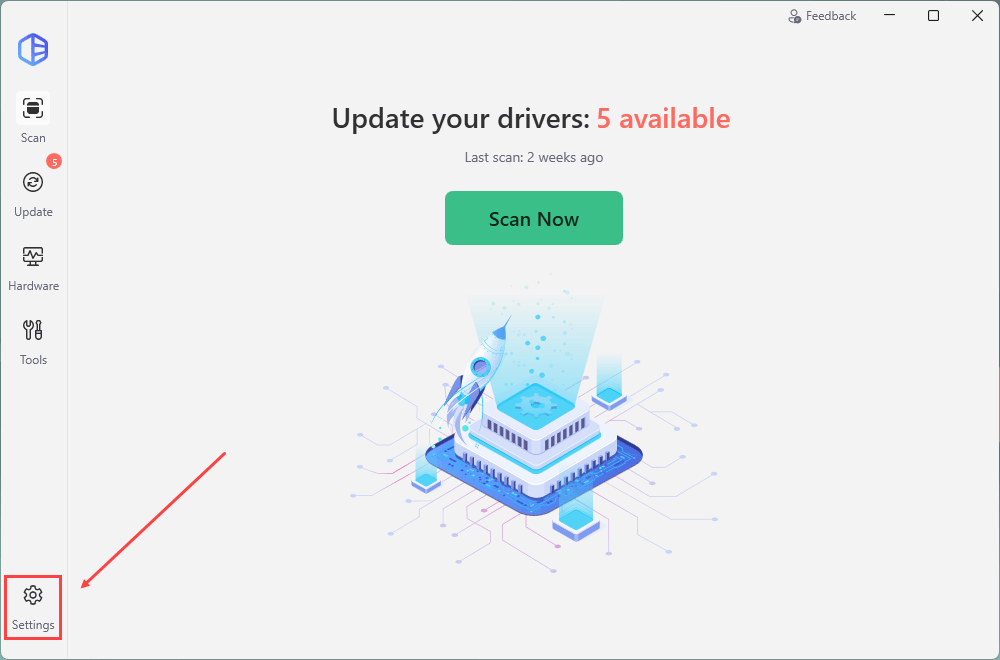
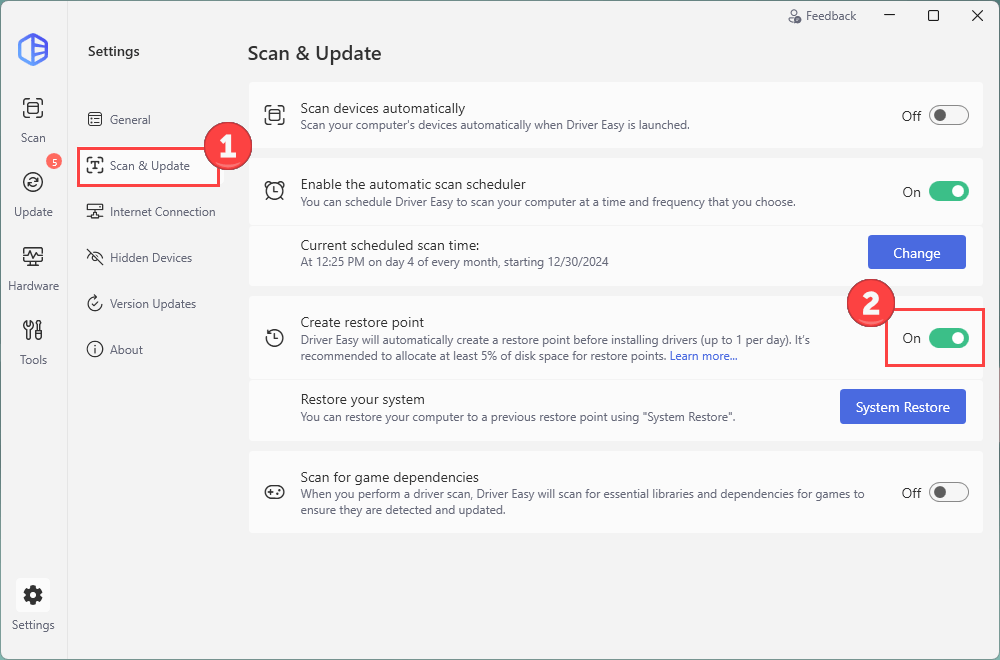
1) Click Settings.
2) Click Scan & Update. You can choose whether to Turn on system protection. By enabling this, Driver Easy will automatically create a restore point before it installs drivers for you.
The changes will be saved automatically.
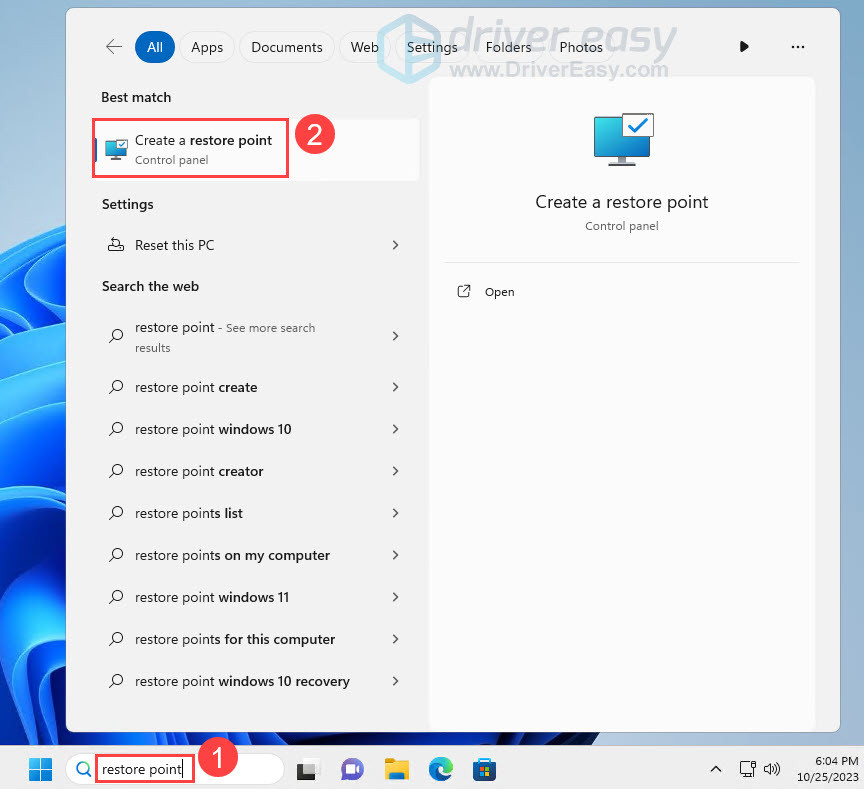
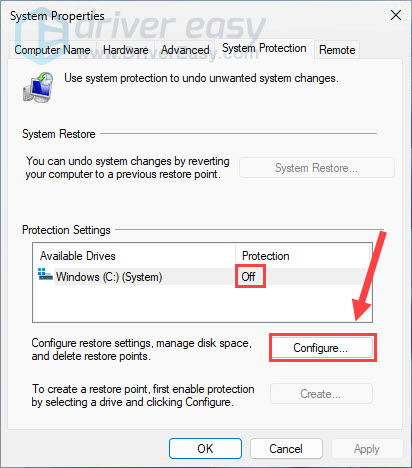
To ensure Driver Easy can create a restore point automatically, you’ll need to adjust the disk space properly on your computer. Here’s how:
1) On the Windows search bar, type restore point and click Create a restore point.
2) You may see the system protection is, by default, turned off. Click Configure.
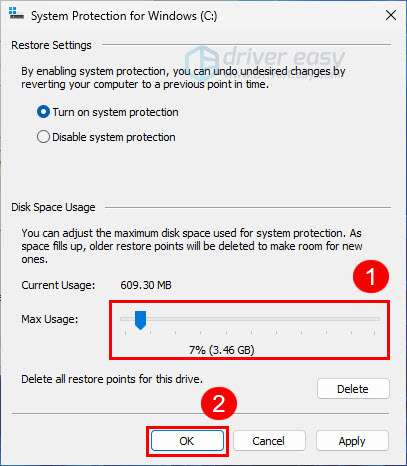
3) Drag the slider next to Max Usage to determine how much of your disk space to be used for system protection. Usually 5% – 10% is enough. Click OK to save the changes.
If you want to restore your operating system from a restore point, click System Restore and then follow the on-screen instructions to restore your system.